|
STEP 1
|
(Enlarge)
|
- The developer machine is assumed to be running 64-bit Windows 7 Ultimate or Enterprise.
- The VM, by completion of this tutorial, will be approximately 32GB in size.
- The developer machine will need to have virtualization enabled in the BIOS if it is not by default.
- Download and install the Oracle Virtualbox.
- Download and install a drive mounting utility if you need to point to .iso files such as Virtual CloneDrive by ElaborateBytes.
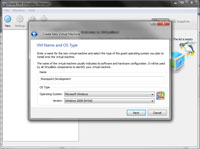
- Open Oracle and click on "New" to create a new VM.
- Provide a name for the VM and choose "Microsoft Windows" for OS and "Windows 2008 (64-bit)" for version.
|
|
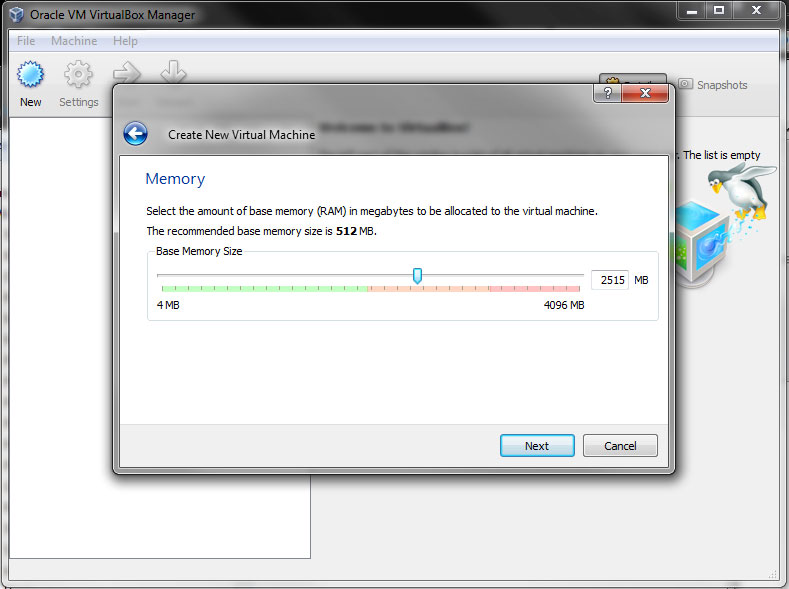
STEP 2
|
(Enlarge)
|
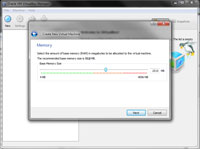
- Select amount of RAM to dedicate; this will vary based on what the development machine has (it is probably best if the development machine has 8GB of RAM).
|
|
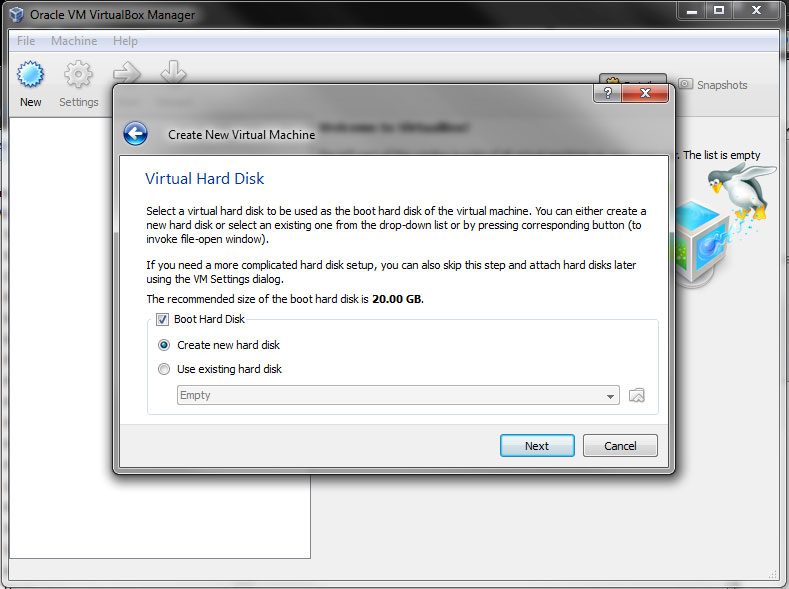
STEP 3
|

(Enlarge)
|
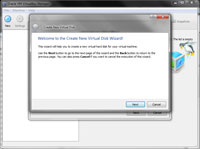
- Select Boot Disk and the option "create new hard disk".
|
|
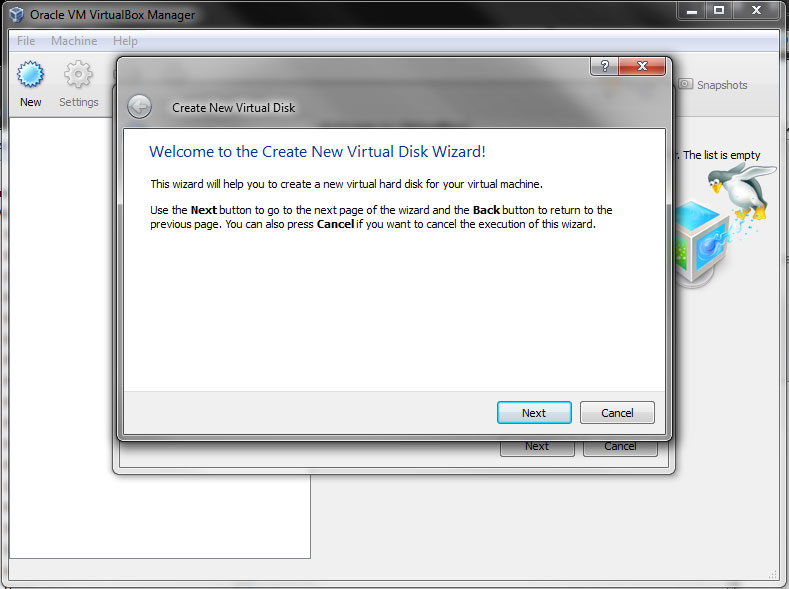
STEP 4
|
(Enlarge)
|
- Click "Next".
|
|
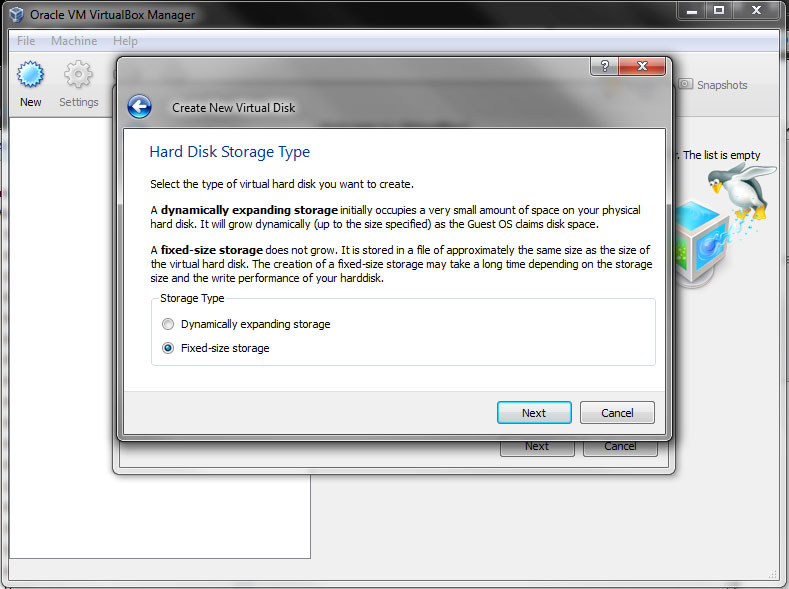
STEP 5
|
(Enlarge)
|
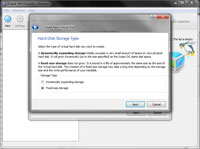
- I chose "Fixed size storage" for disk size but you may prefer to allow it to grow dynamically.
|
|
STEP 6
|

(Enlarge)
|
- This pane allows you to specify the size of the hard disk for the VM.
|
|
STEP 7
|
(Enlarge)
|
- With the Windows Server Enterprise 2008 R2 disk in place or mounting the .iso, the Windows Server 2008 install process will begin.
|
|
STEP 8
|
(Enlarge)
|
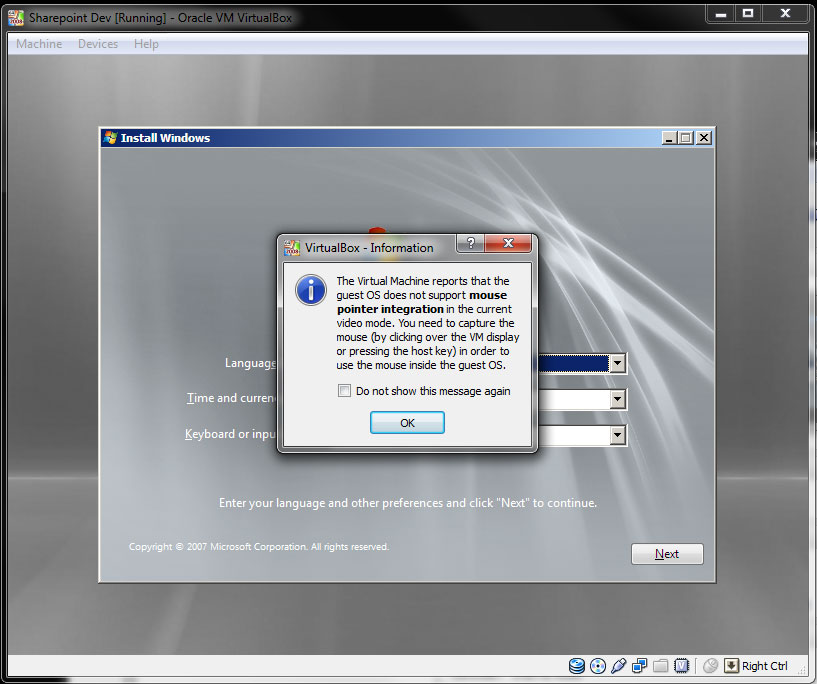
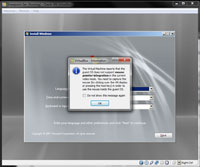
- Select the initial preferences as needed.
|
|
STEP 9
|
(Enlarge)
|
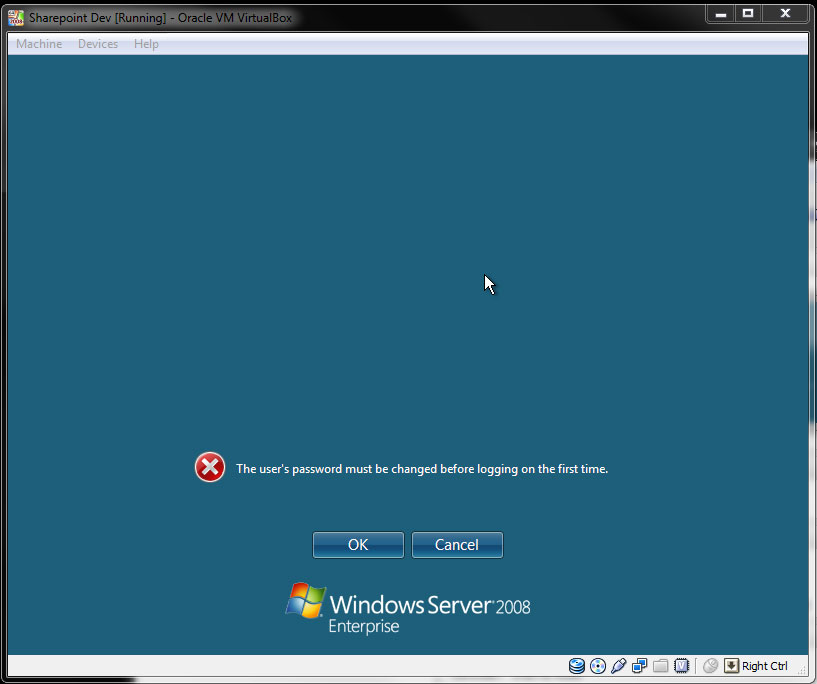
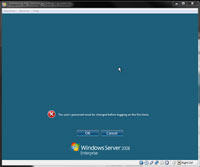
- Click "OK" and set up the password. Write the password down since the developer will need to know what it is.
|
|
STEP 10
|
(Enlarge)
|
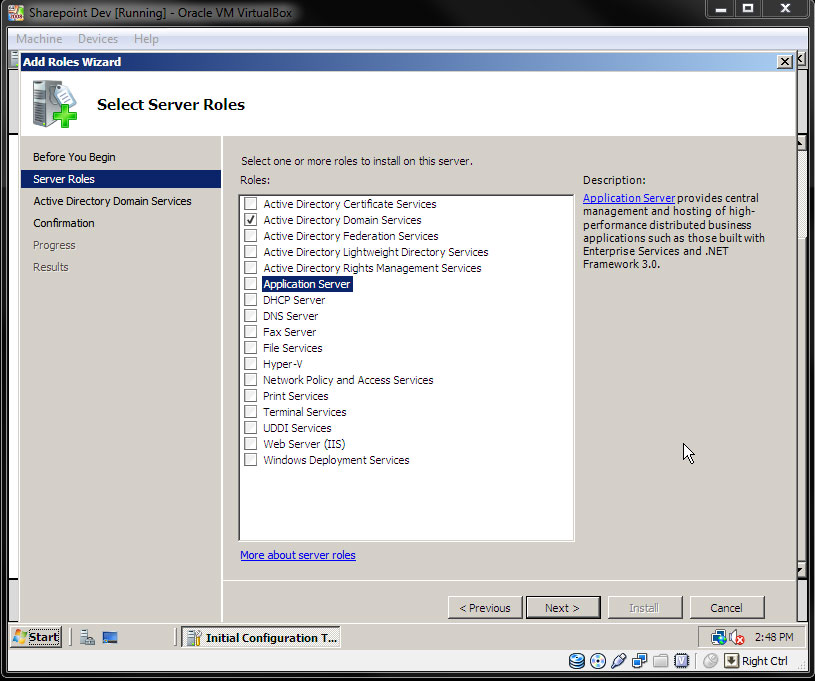
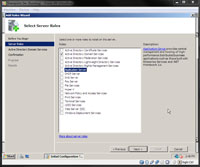
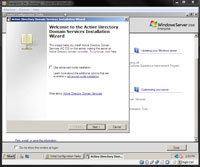
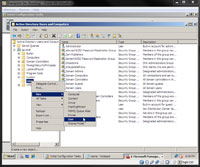
- Select "Active Directory Domain Services" to start with.
|
|
STEP 11
|

(Enlarge)
|
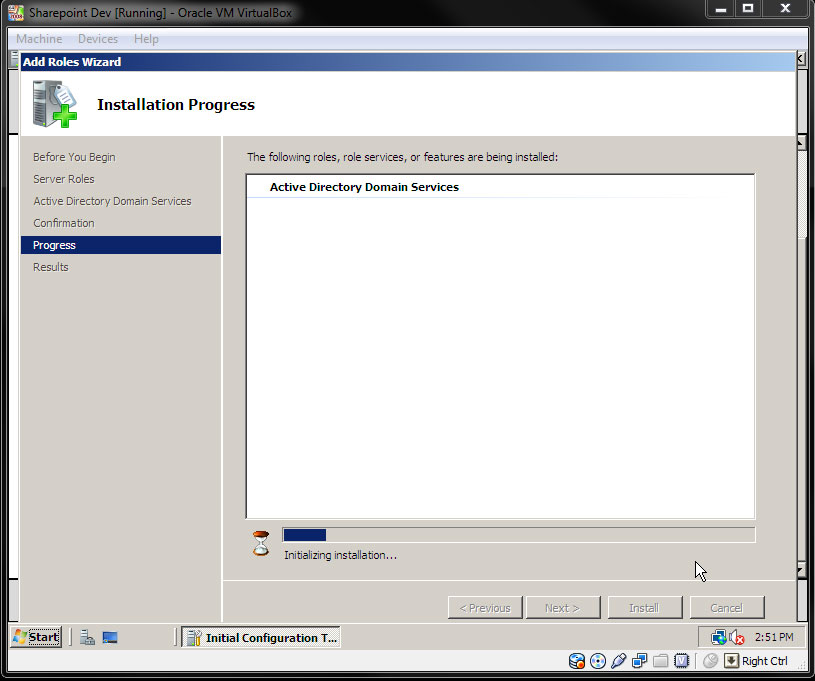
- The install process will begin.
|
|
STEP 12
|
(Enlarge)
|
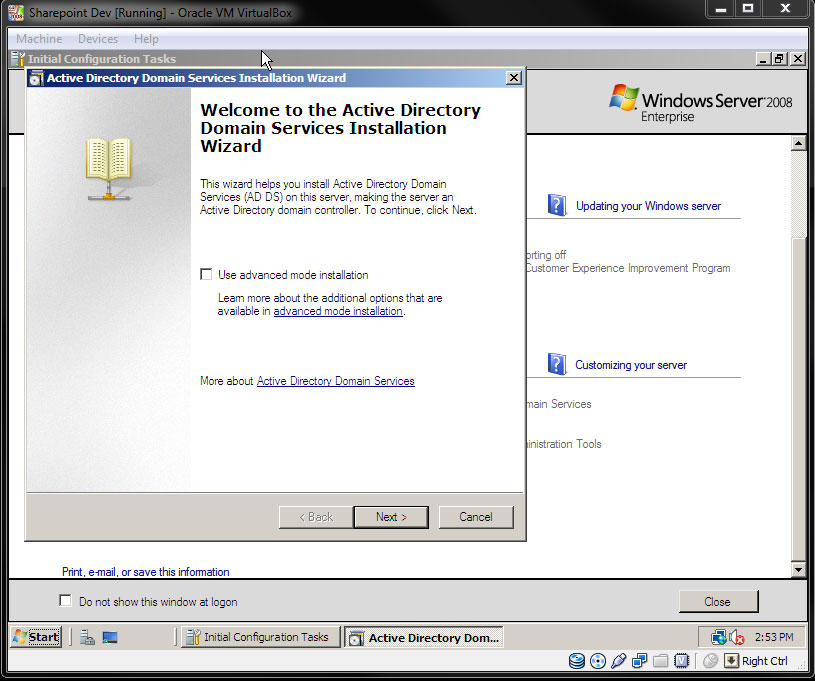
- Click "Next".
|
|
STEP 13
|

(Enlarge)
|
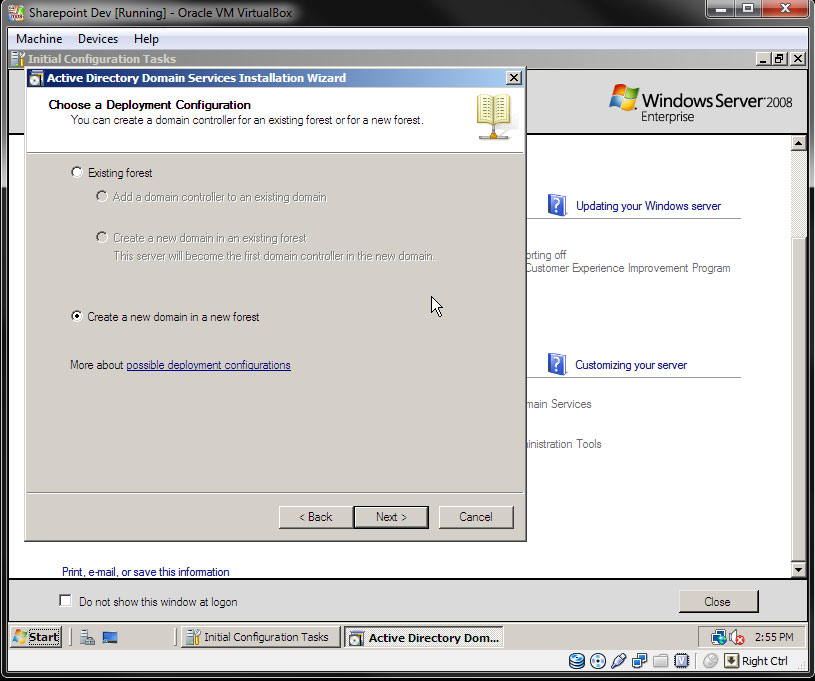
- Select "Create a new domain in a new forest".
|
|
STEP 14
|

(Enlarge)
|
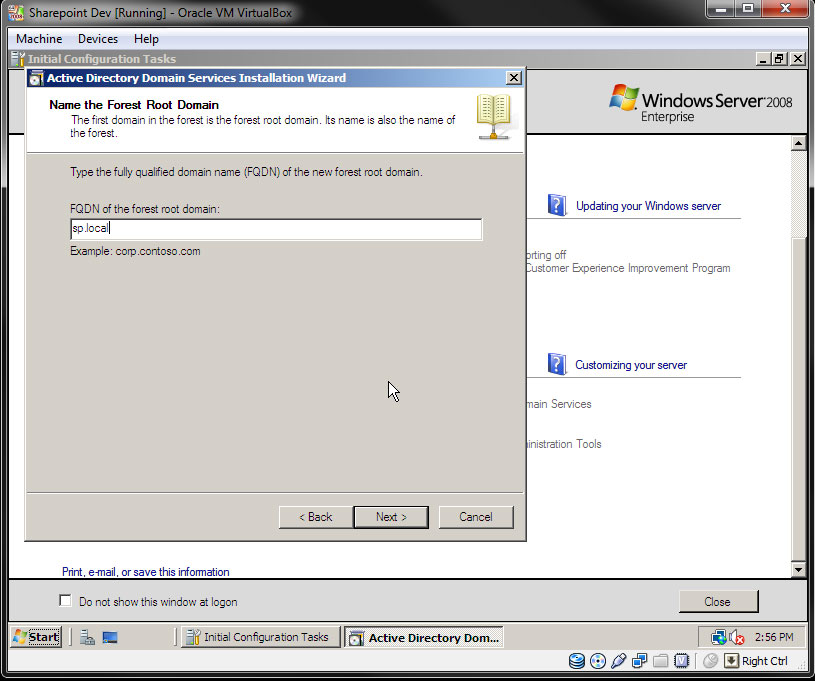
- For the FQDN enter sp.local
|
|
STEP 15
|

(Enlarge)
|
- Select "Windows Server 2008" for the functional level.
|
|
STEP 16
|

(Enlarge)
|
- On the next pane check "DNS server".
|
|
STEP 17
|
(Enlarge)
|
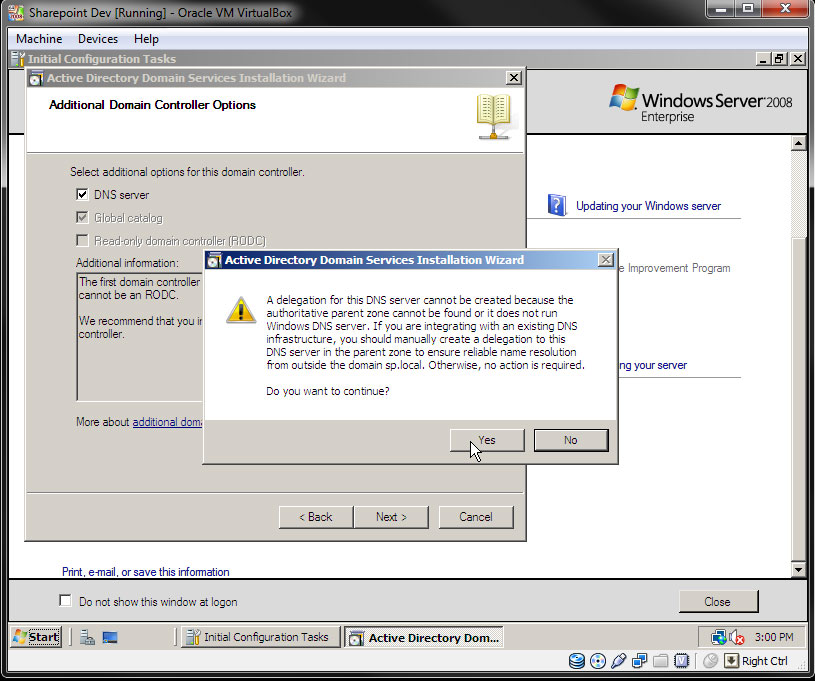
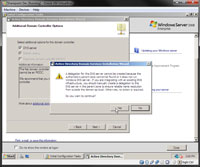
- If you get a warning and you want the VM to remain isolated, select "OK".
|
|
STEP 18
|

(Enlarge)
|
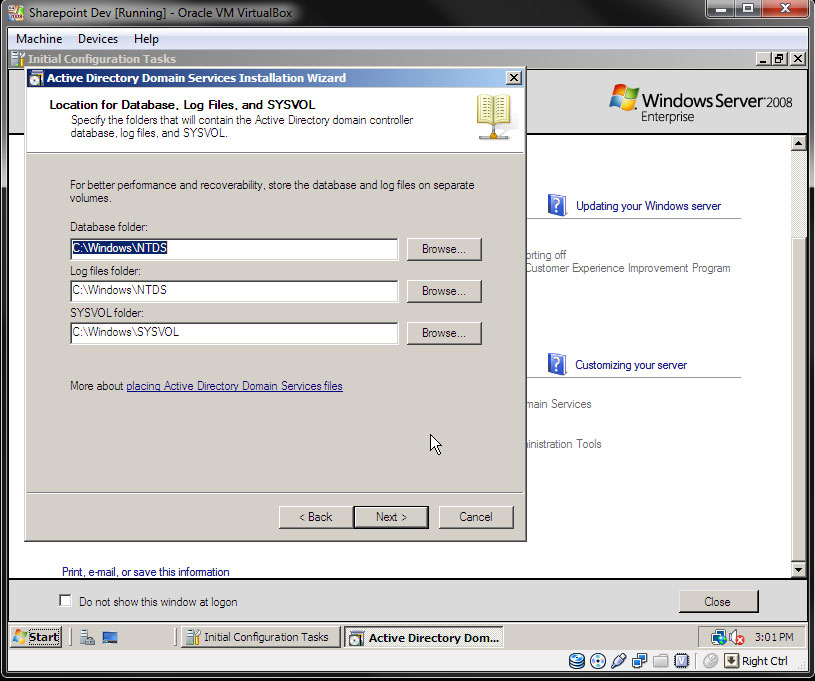
- On this pane you can choose where various files are maintained.
|
|
STEP 19
|

(Enlarge)
|
- Enter a password for the Directory Services Restore Mode. You may want to write this down in the event the developer needs it.
|
|
STEP 20
|
(Enlarge)
|
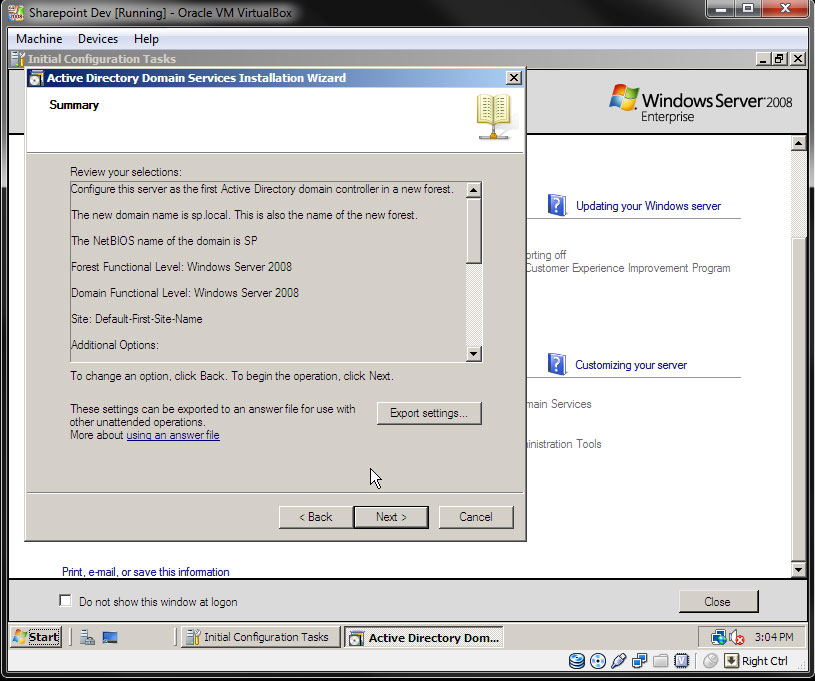
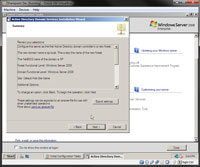
- Review and click "Next".
|
|
STEP 21
|
(Enlarge)
|
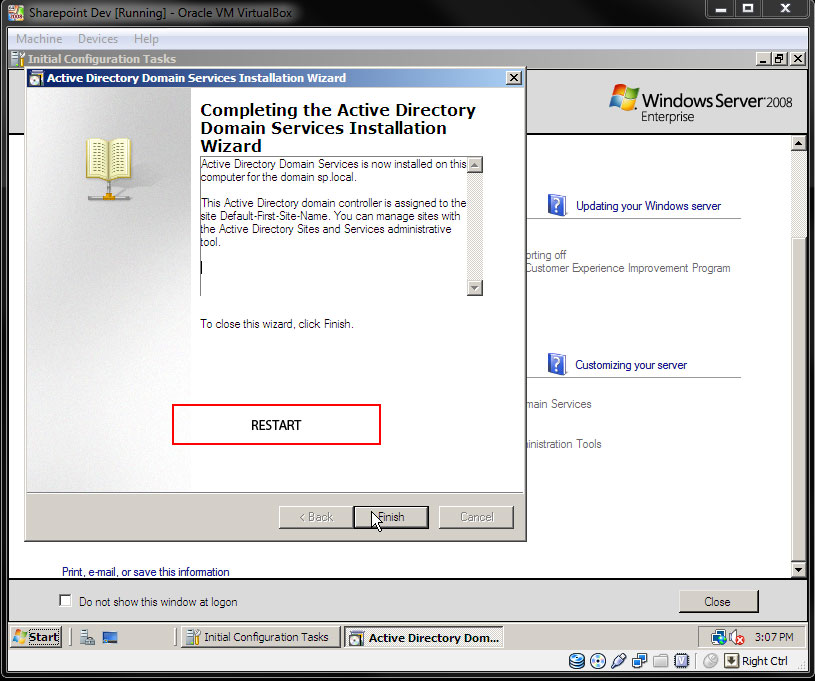
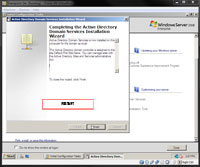
- Click "Finish". Activate Windows at this point by entering the product key or MAK.
- Restart the server.
|
|
STEP 22
|

(Enlarge)
|
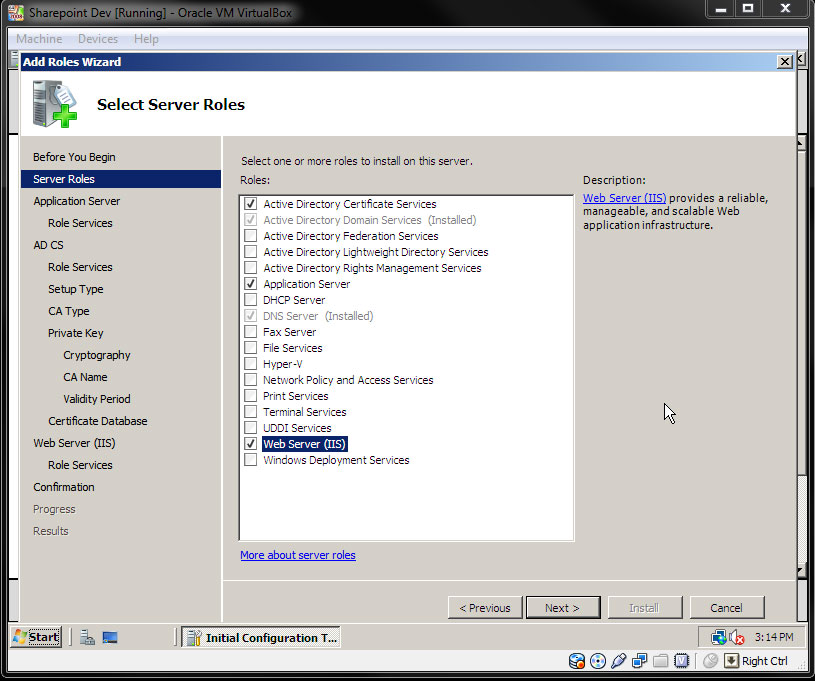
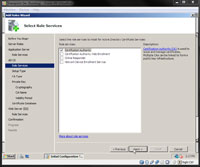
- Once restarted it is time to add some more roles to the server.
- Select "Active Directory Certificate Services", "Application Server" and "Web Server".
|
|
STEP 23
|

(Enlarge)
|
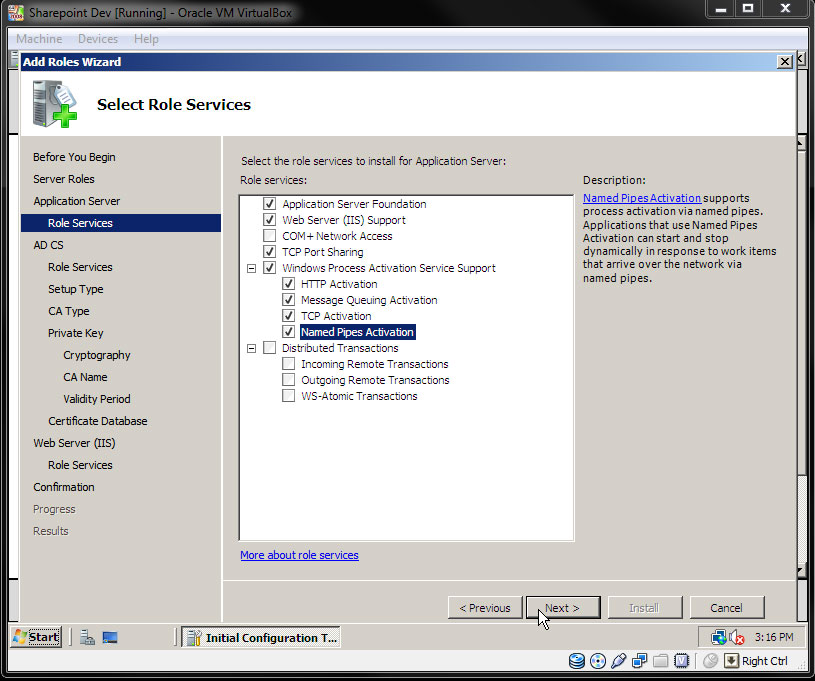
- Check "Application Server Foundation", "Web Server (IIS) Support", "Windows Process Activation Service Support", "HTTP Activation", "Message Queuing Activation", "TCP Activation", "Named Pipes Activation".
|
|
STEP 24
|
(Enlarge)
|
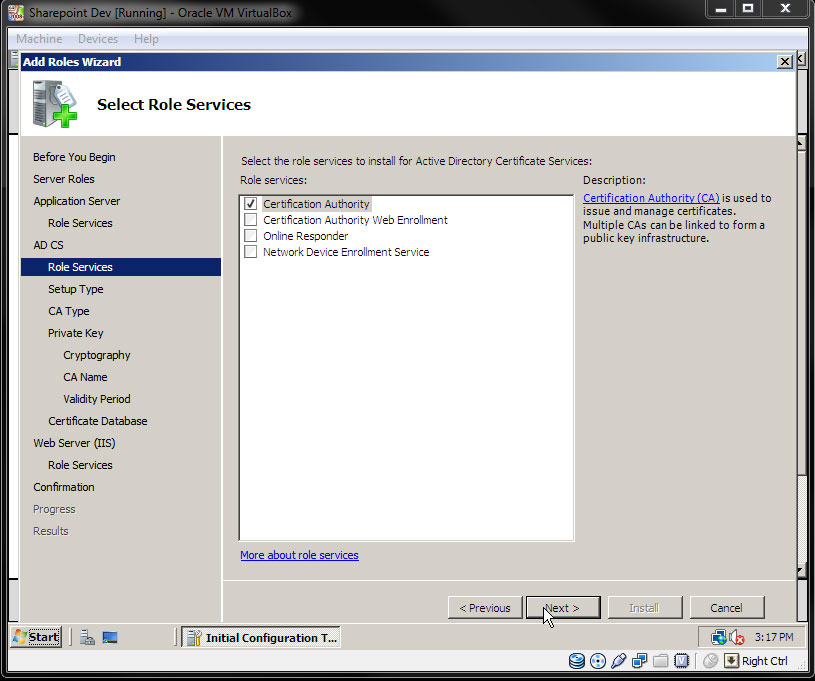
- Under Role Services check "Certification Authority".
|
|
STEP 25
|

(Enlarge)
|
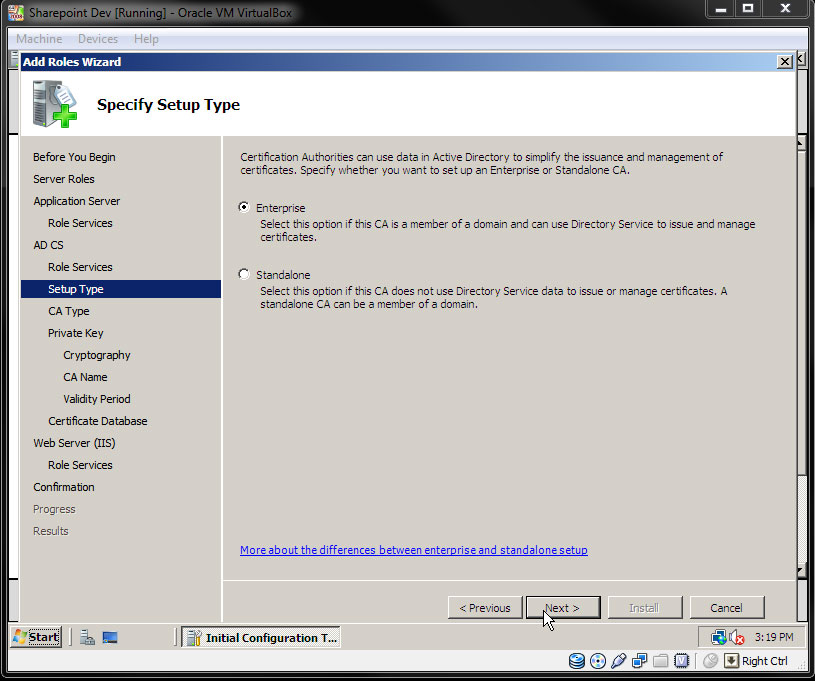
- For setup type, select "Enterprise" if appropriate.
|
|
STEP 26
|
(Enlarge)
|
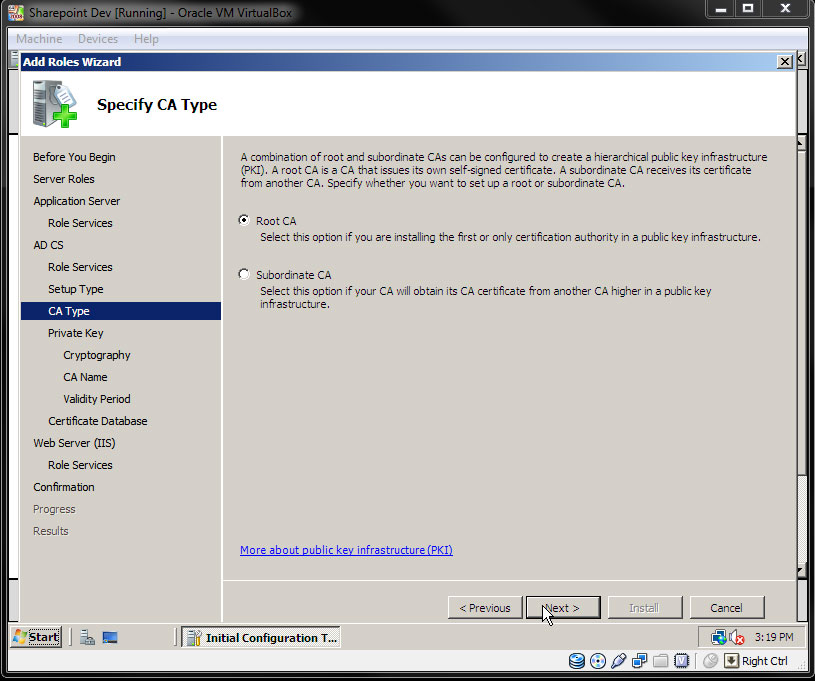
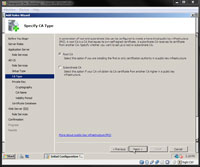
- For CA Type select "Root CA" if appropriate.
|
|
STEP 27
|
(Enlarge)
|
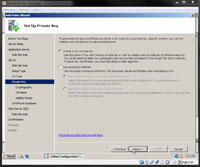
- Under Private Key select "Create a new private key" if appropriate.
|
|
STEP 28
|

(Enlarge)
|
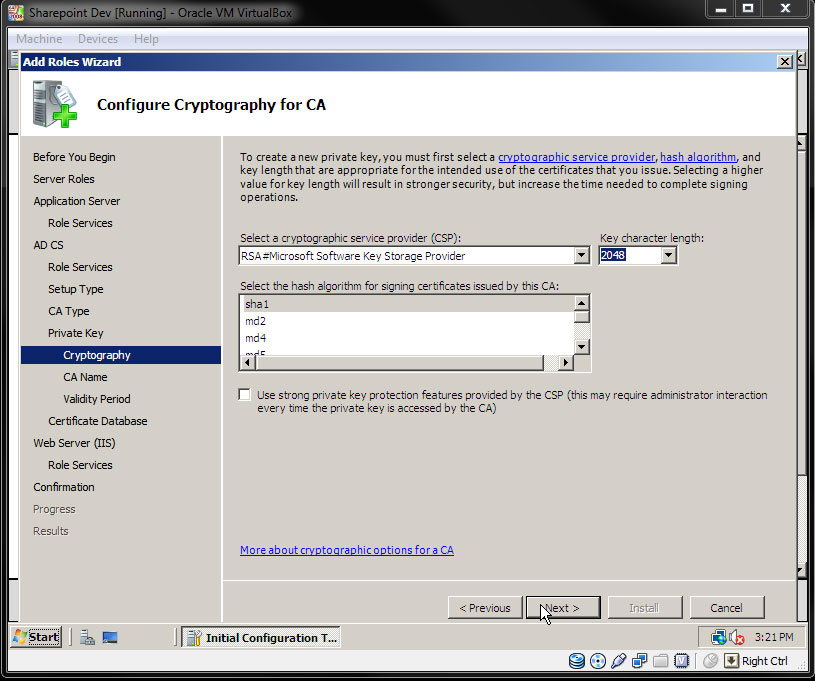
- Under Cryptography select what may be appropriate.
|
|
STEP 29
|
(Enlarge)
|
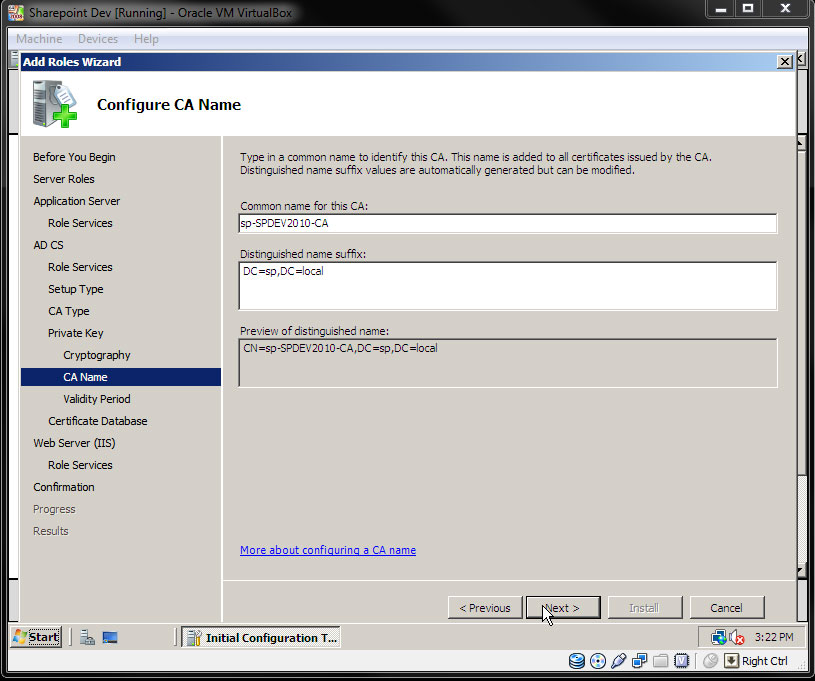
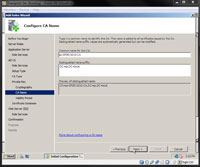
- For the CA Name I left the default values.
|
|
STEP 30
|
(Enlarge)
|
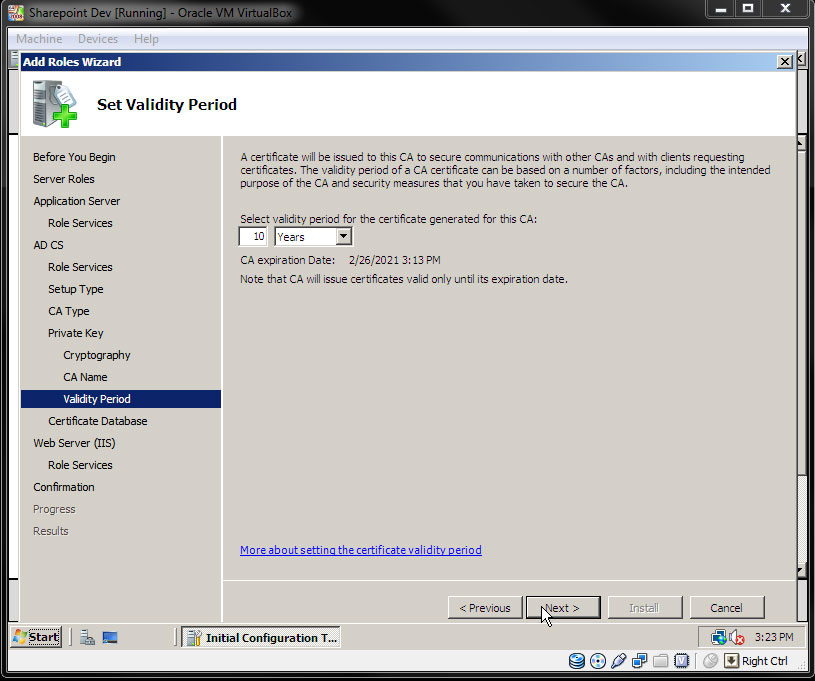
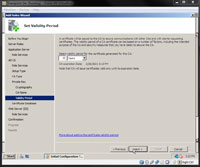
- Under validity period you can choose how long the certificate is valid for.
|
|
STEP 31
|
(Enlarge)
|
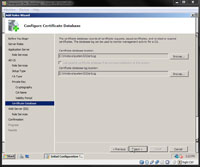
- The certificate database locations are specified on this pane.
|
|
STEP 32
|
(Enlarge)
|
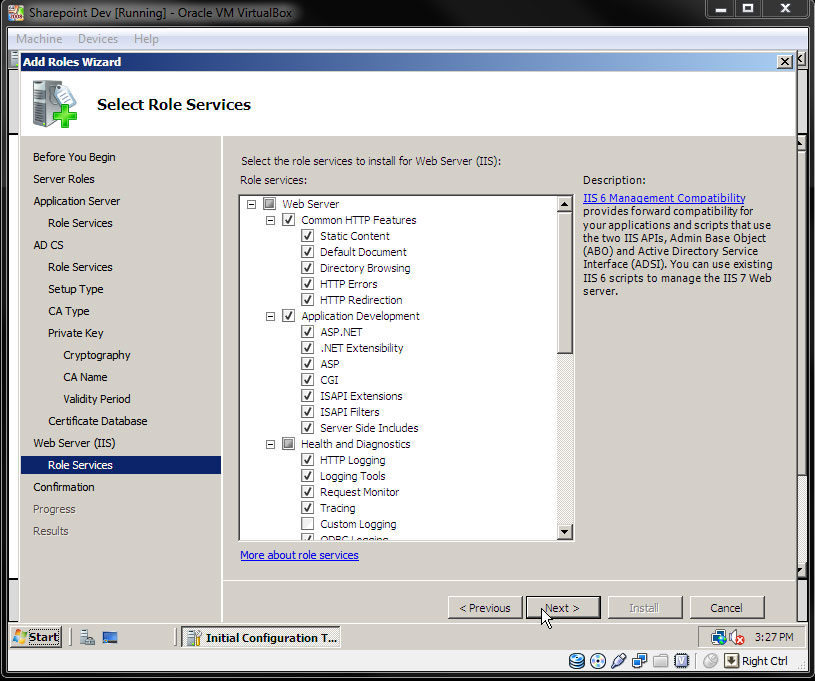
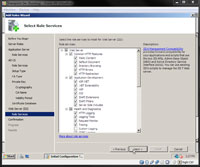
- Under role services (for web server), check "Common HTTP Features", "Static Content", "Default Document", "Directory Browsing", "HTTP Errors", "HTTP Redirection", "Application Development", "ASP.NET", ".NET Extensibility", "ASP", "CGI", "ISAPI Extensions", "ISAPI Filters", "Server Side Includes", "Health and Diagnostics", "HTTP Logging", "Logging Tools", "Request Monitor", "Tracing", "ODBC Logging".
|
|
STEP 33
|
(Enlarge)
|
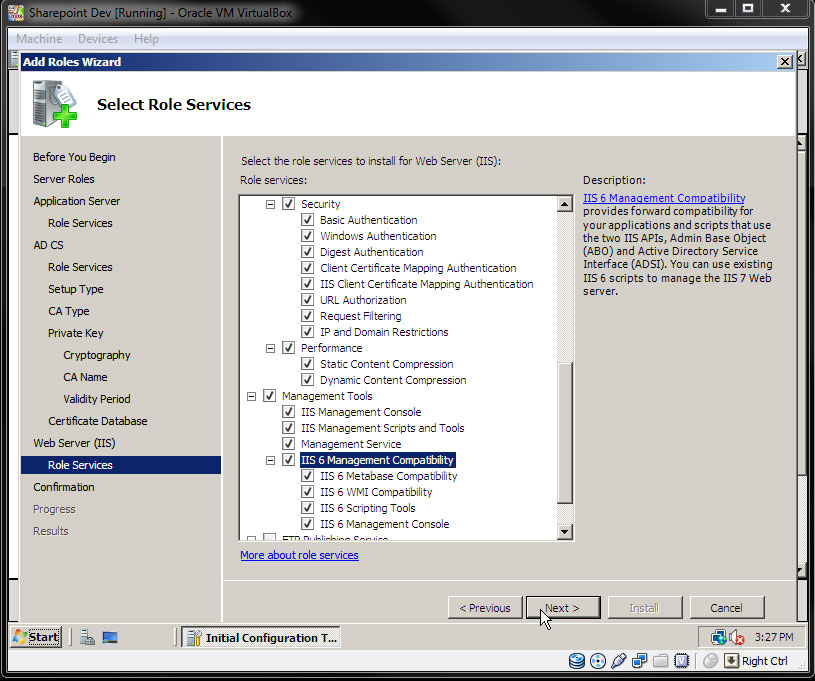
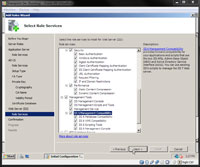
- Scroll down and select "Security", "Basic Authentication", "Windows Authentication", "Digest Authentication", "Client Certificate Mapping Authentication", "IIS Client Certificate Mapping Authentication", "URL Authorization", "Request Filtering", "IP and Domain Restrictions", "Performance", "Static Content Compression", "Dynamic Content Compression", "Management Tools", "IIS Management Console", "IIS Management Scripts and Tools", "Management Service", "IIS 6 Management Compatibility", "IIS 6 Metabase Compatibility", "IIS 6 WMI Compatibility", "IIS 6 Scripting Tools", "IIS 6 Management Console".
|
|
STEP 34
|

(Enlarge)
|
- Under confirmation click "Install".
|
|
STEP 35
|
(Enlarge)
|
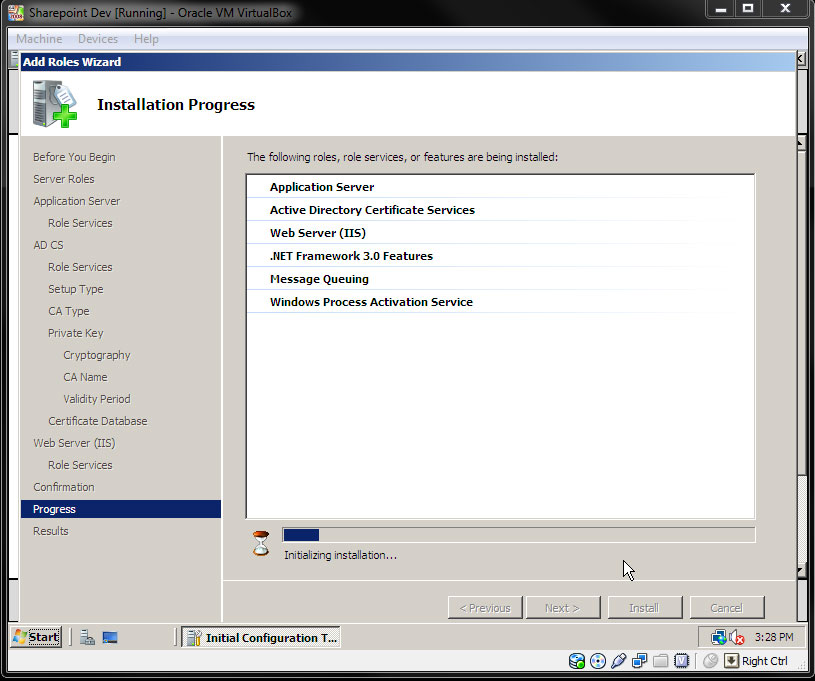
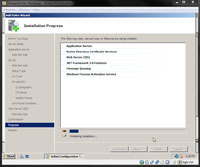
- The install process will begin.
|
|
STEP 36
|
(Enlarge)
|
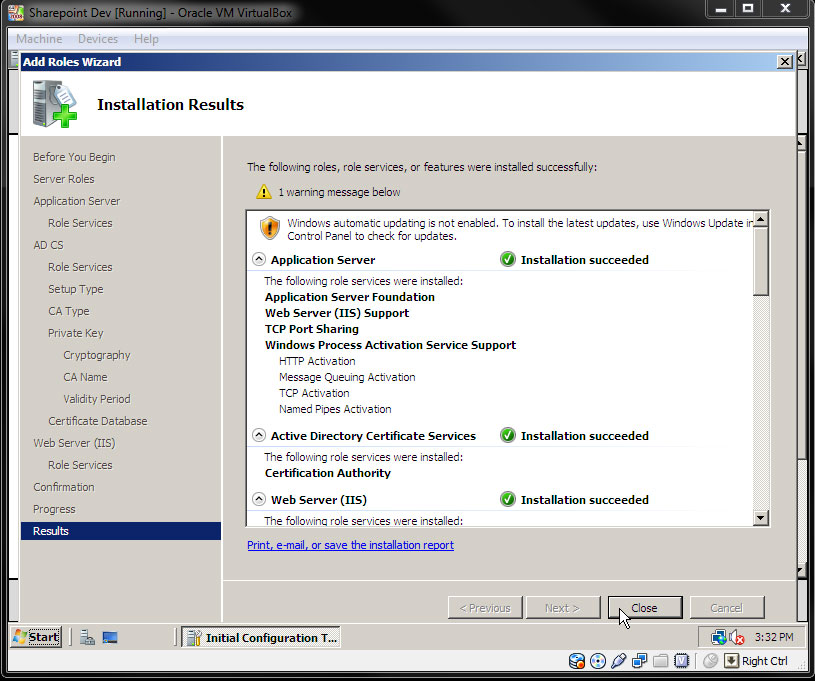
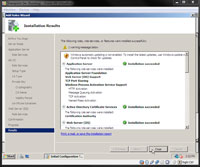
- The install should result in success; click "Close".
|
|
STEP 37
|
(Enlarge)
|
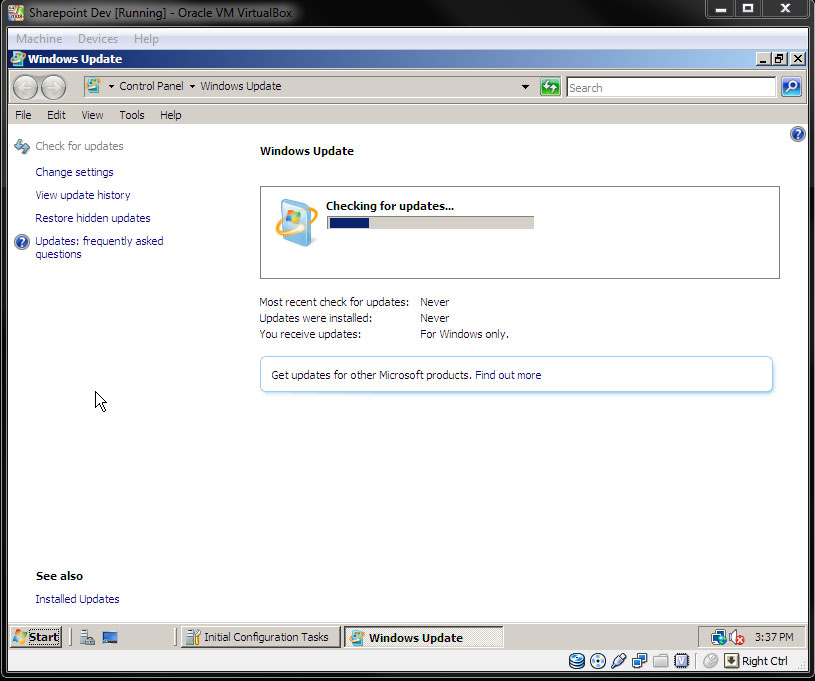
- Now install all applicable updates.
|
|
STEP 38
|
(Enlarge)
|
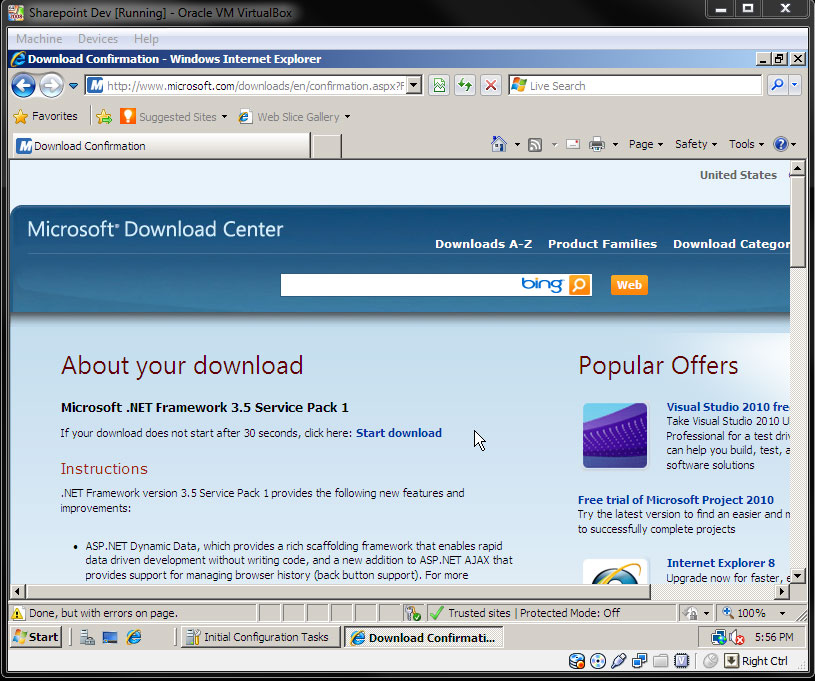
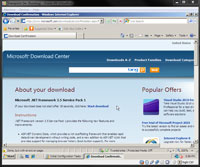
- Install the .NET 3.5 Framework SP1. Install applicable updates.
|
|
STEP 39
|
(Enlarge)
|
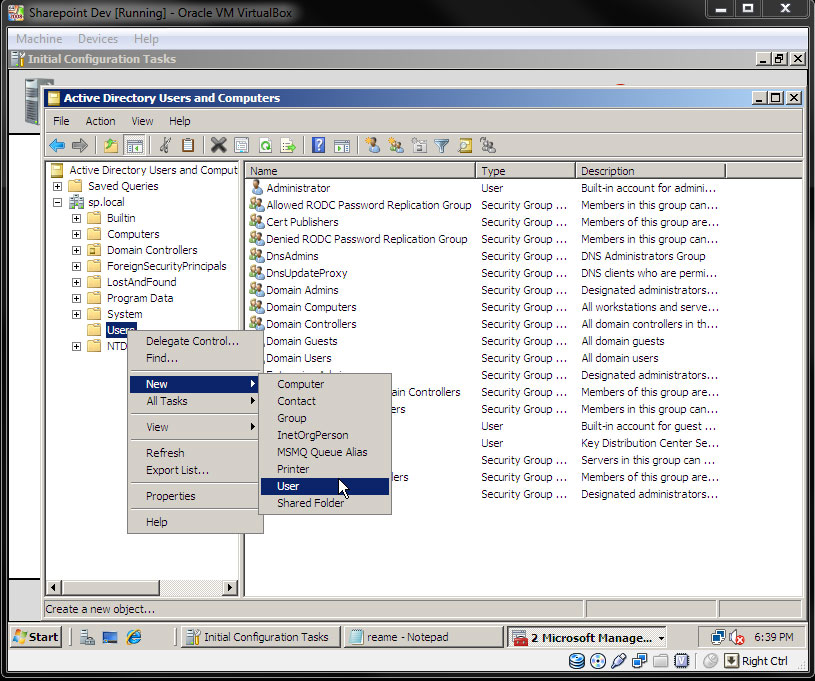
- Open "Active Directory Users and Computers" and create some new users / groups so that the Sharepoint 2010 Synchronization Service will work along with allowing the developer to logon to a Sharepoint site with alternate identities.
|
|
STEP 40
|
(Enlarge)
|
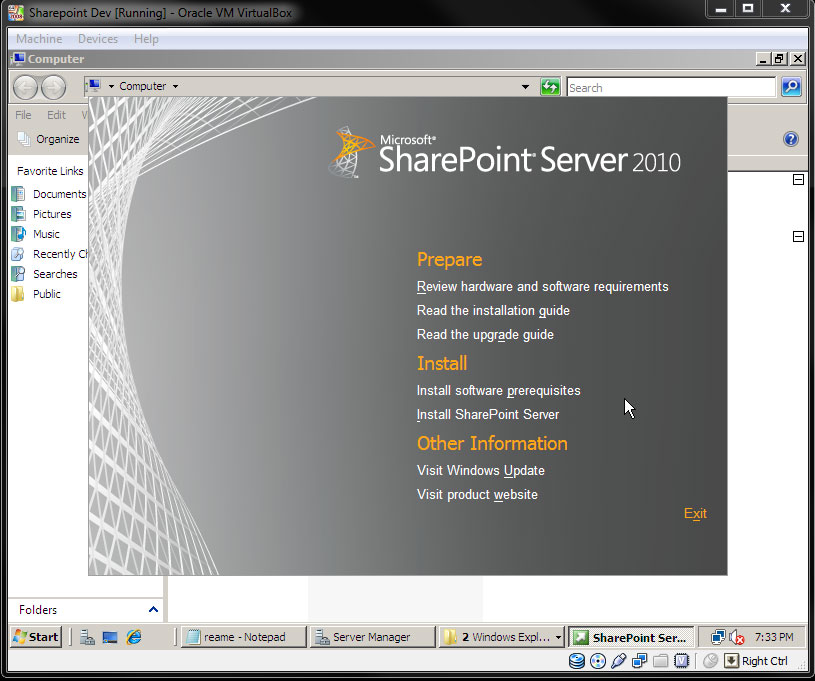
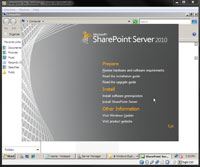
- Start the Sharepoint 2010 Enterprise installation by selecting "Install software prerequisites".
|
|
STEP 41
|
(Enlarge)
|
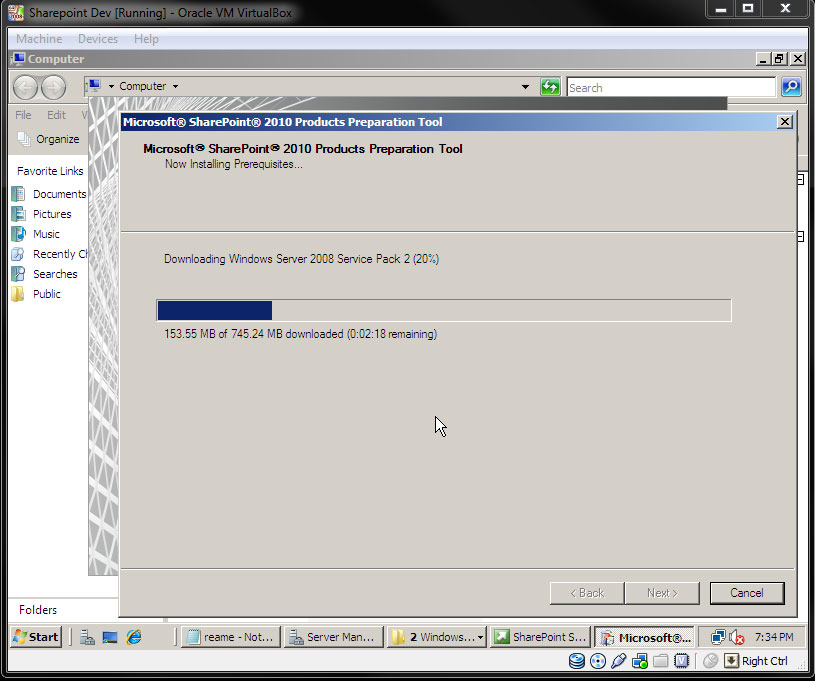
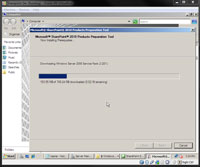
- The preparation tool will perform a variety of downloads.
|
|
STEP 42
|
(Enlarge)
|
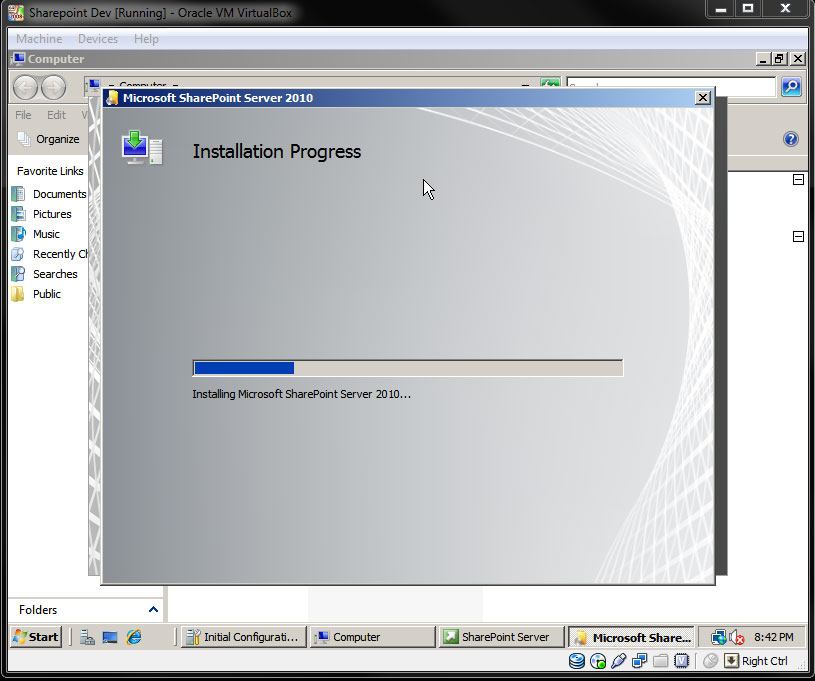
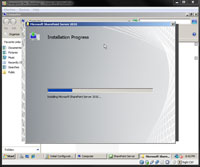
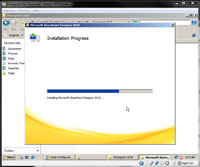
- Then the installation will begin.
|
|
STEP 43
|
(Enlarge)
|
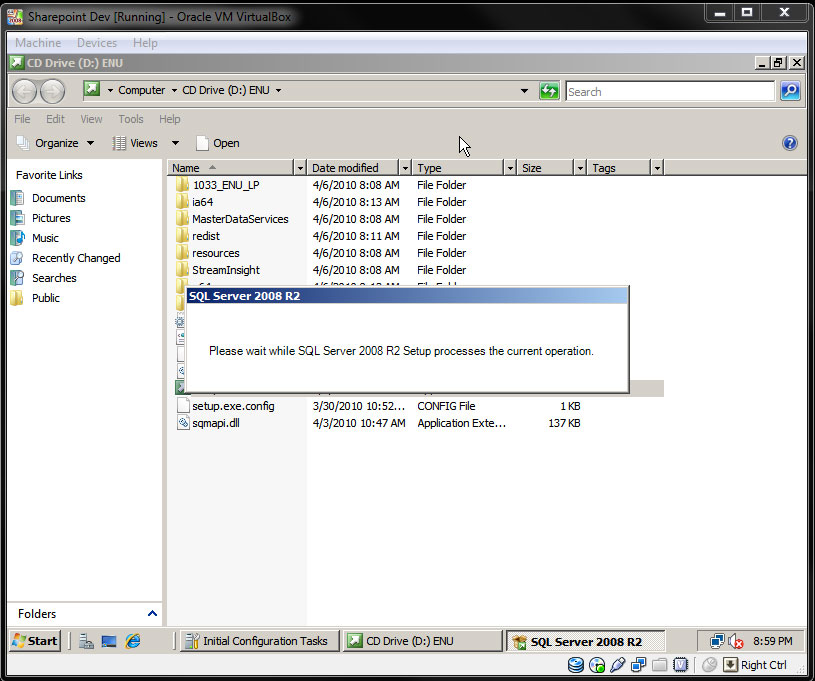
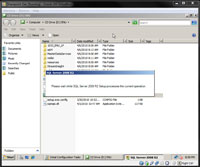
- Once the prerequisites are installed install SQL Server R2.
|
|
STEP 44
|
(Enlarge)
|
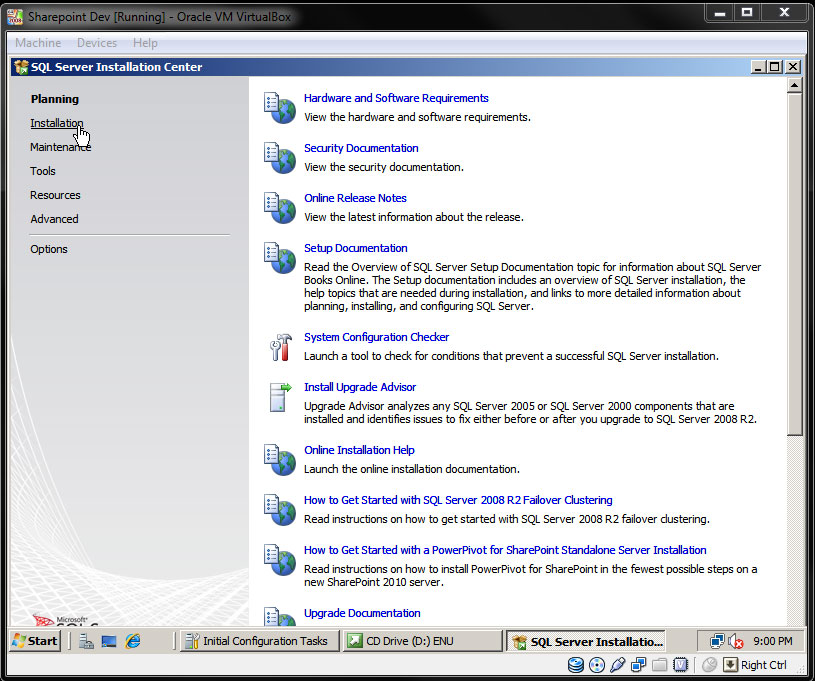
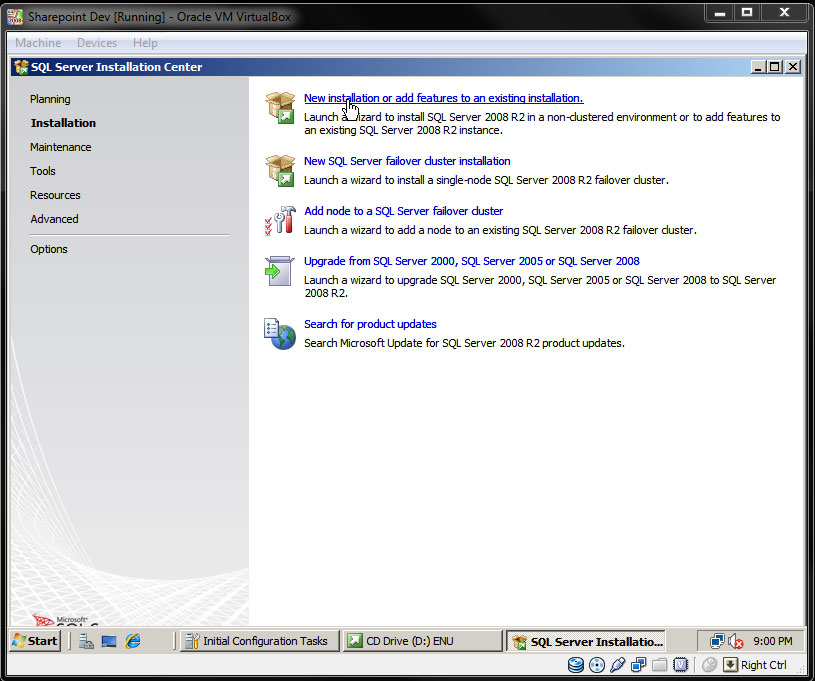
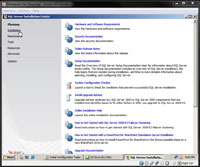
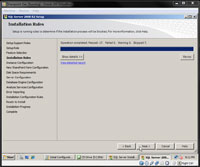
- On the left click "Installation".
|
|
STEP 45
|
(Enlarge)
|
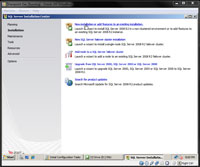
- Click on "New installation or add features to an existing installation".
|
|
STEP 46
|
(Enlarge)
|
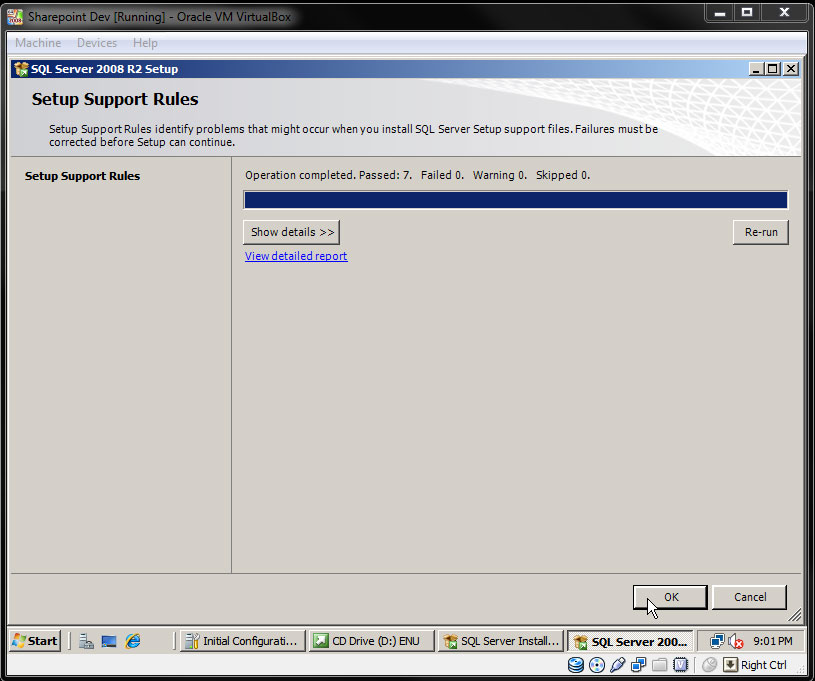
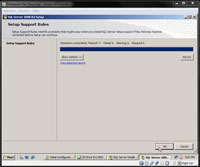
- After the test passes, click on "OK".
|
|
STEP 47
|
(Enlarge)
|
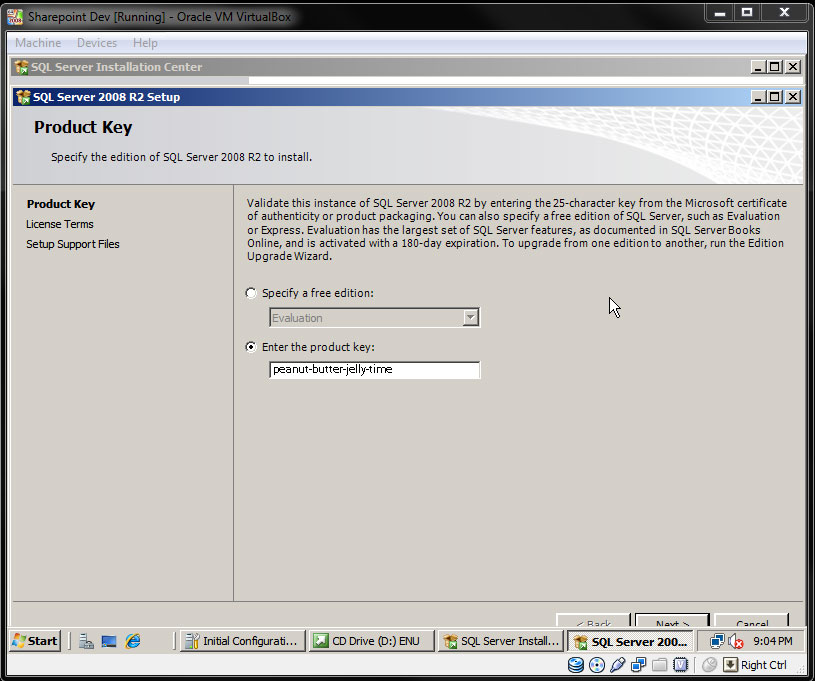
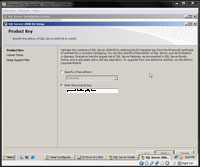
- If you have a product key, enter it here.
|
|
STEP 48
|
(Enlarge)
|
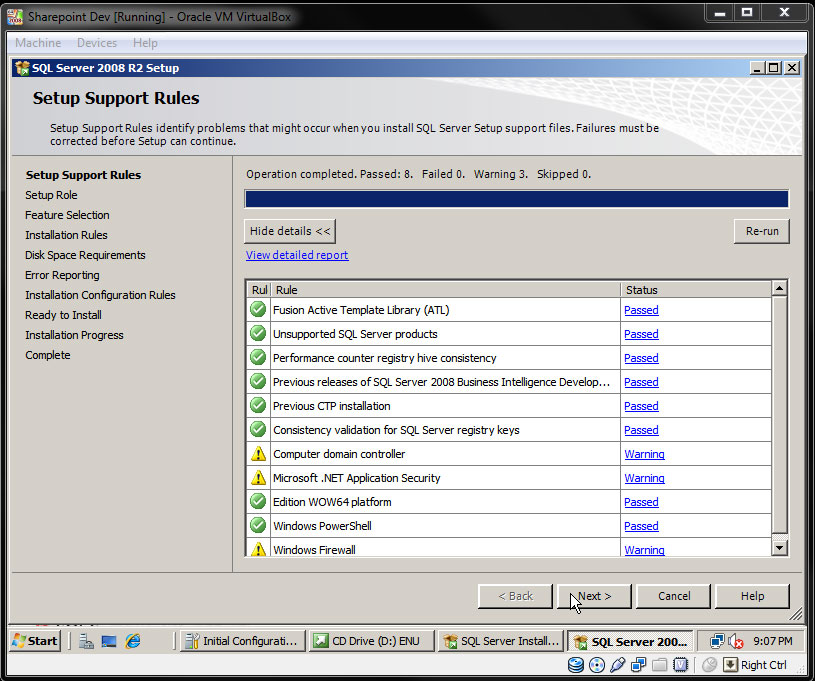
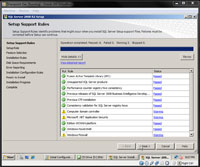
- The test should pass; click "Next".
|
|
STEP 49
|
(Enlarge)
|
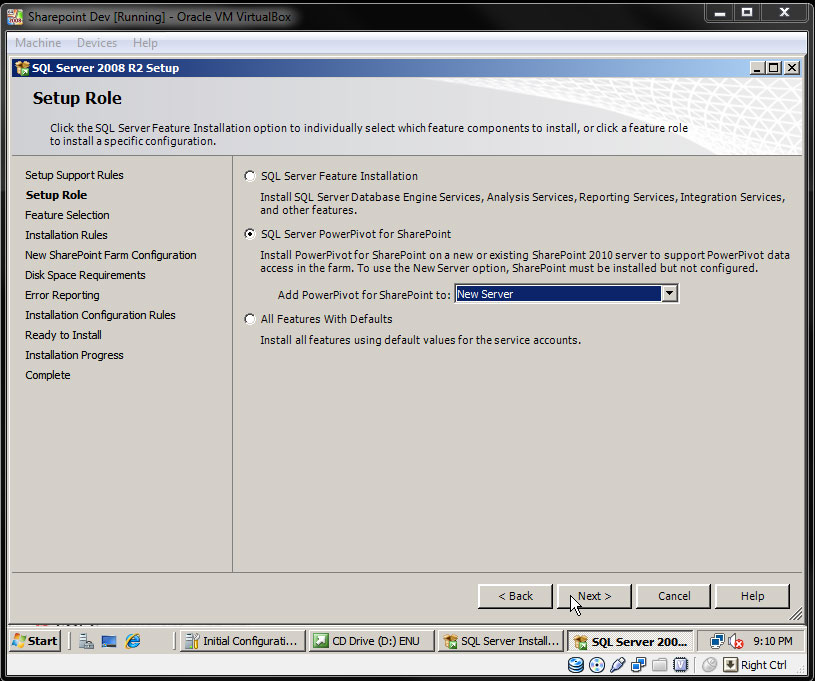
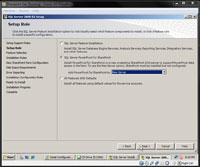
- Under this scenario "SQL Server PowerPivot for SharePoint" was selected as a New Server.
|
|
STEP 50
|
(Enlarge)
|
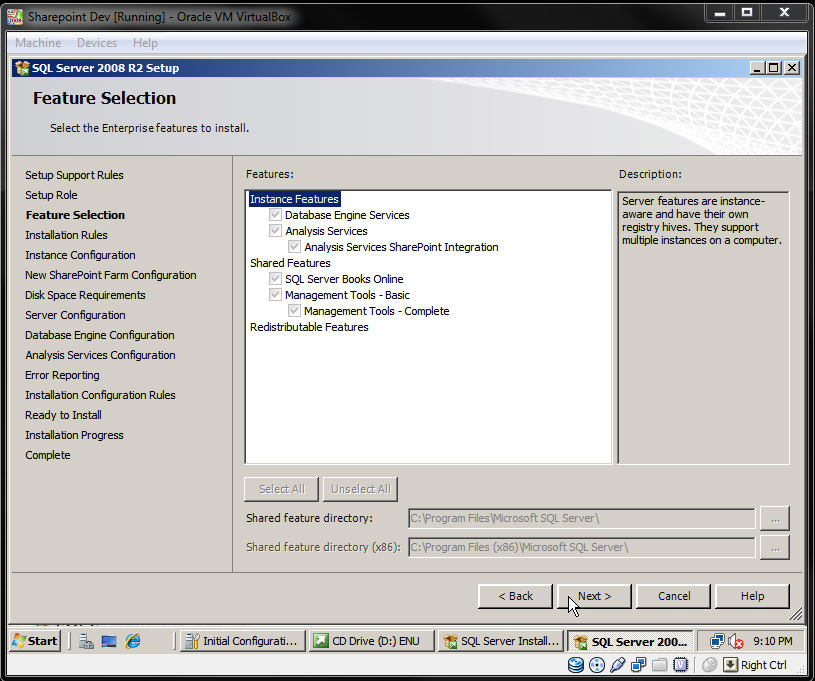
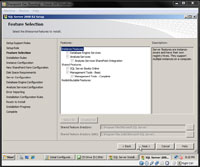
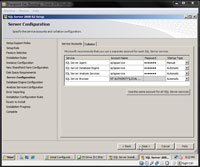
- Check "Database Engine Services", "Analysis Services", "Analysis Services SharePoint Integration", "SQL Server Books Online", "Management Tools - Basic" and "Management Tools - Complete". You can change source paths if needed. Then click "Next".
|
|
STEP 51
|
(Enlarge)
|
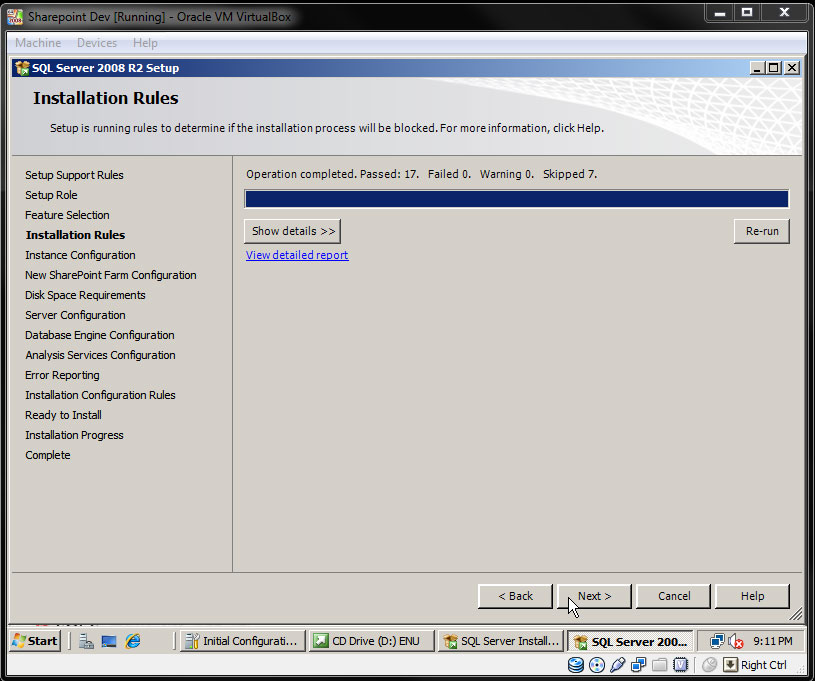
- The test should pass. Click "Next".
|
|
STEP 52
|
(Enlarge)
|
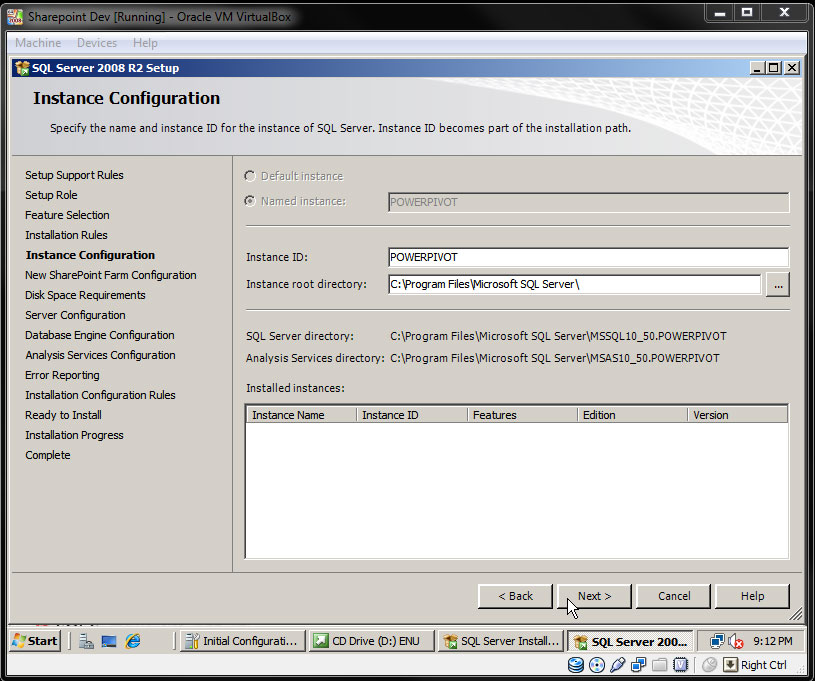
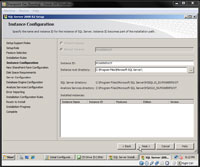
- Here you can choose the directory to place the Powerpivot instance. Click "Next".
|
|
STEP 53
|
(Enlarge)
|
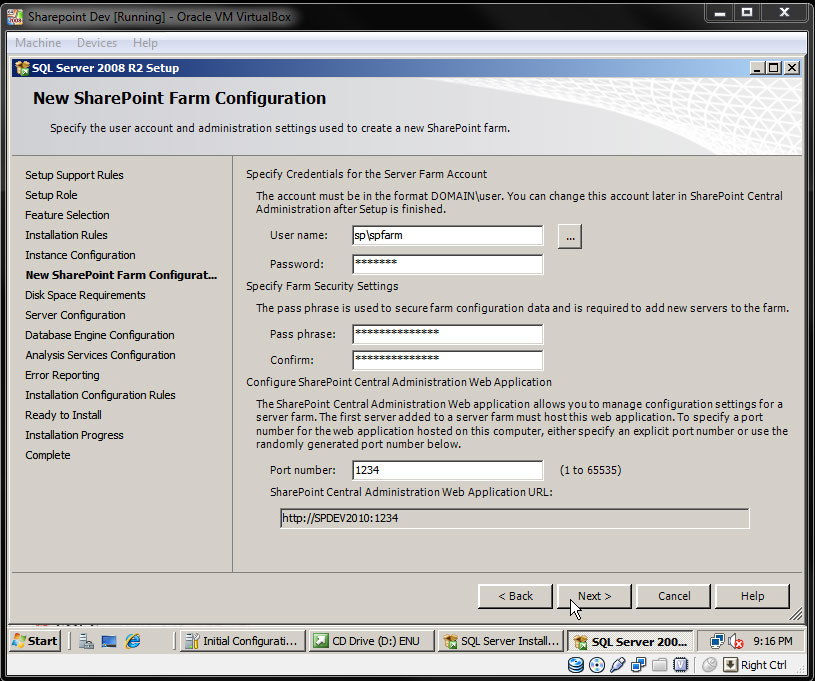
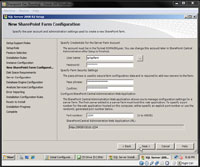
- Enter the farm account, pass phrase and port. You may need to write this down to give to the developer. Click "Next".
|
|
STEP 54
|
(Enlarge)
|
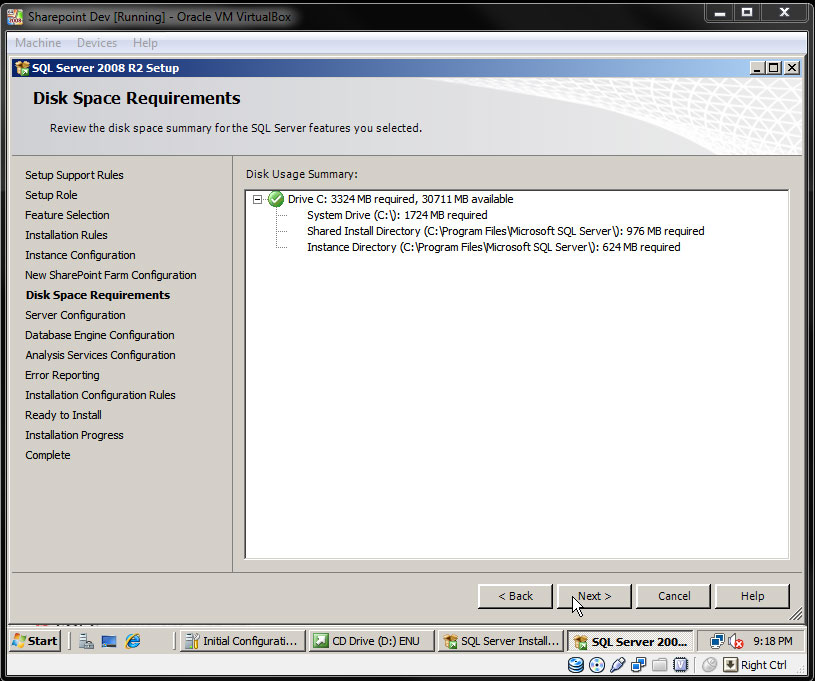
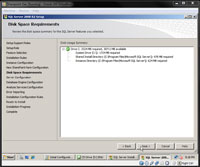
- Review the disk space required and click "Next".
|
|
STEP 55
|
(Enlarge)
|
- To keep things simple for the developer instance, use the same account for "SQL Server Agent", "SQL Server Database Engine", "SQL Server Analysis Services". This account will need to be defined in Active Directory Users and Computers.
|
|
STEP 56
|
(Enlarge)
|
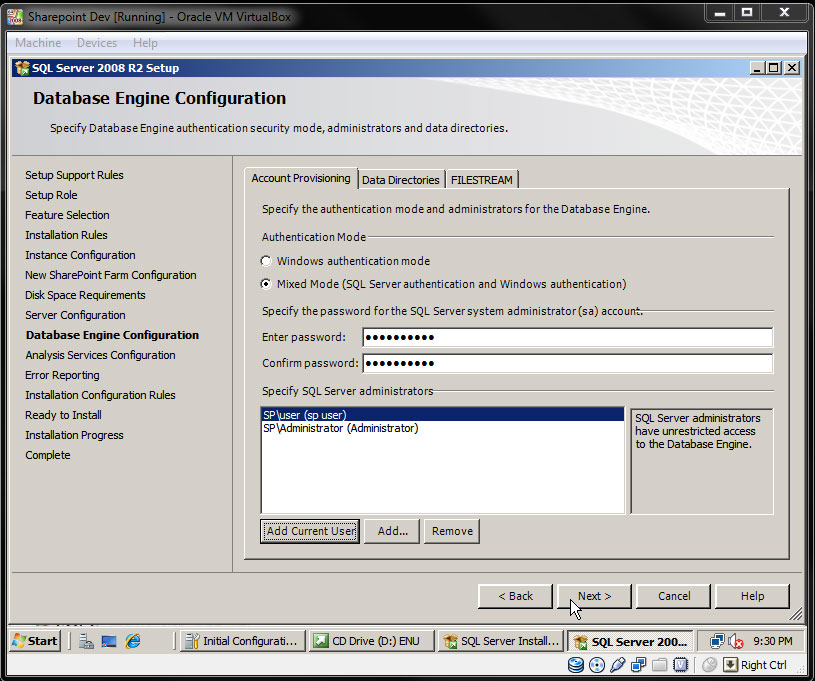
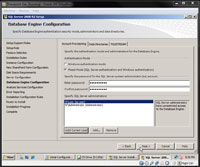
- Select Mixed Mode and enter a password for the SA account (this account is not defined in Active Directory Users and Computers). By default the sp\Administrator account will be added and you can add other accounts under SQL Server Administrators. Click "Next".
|
|
STEP 57
|
(Enlarge)
|
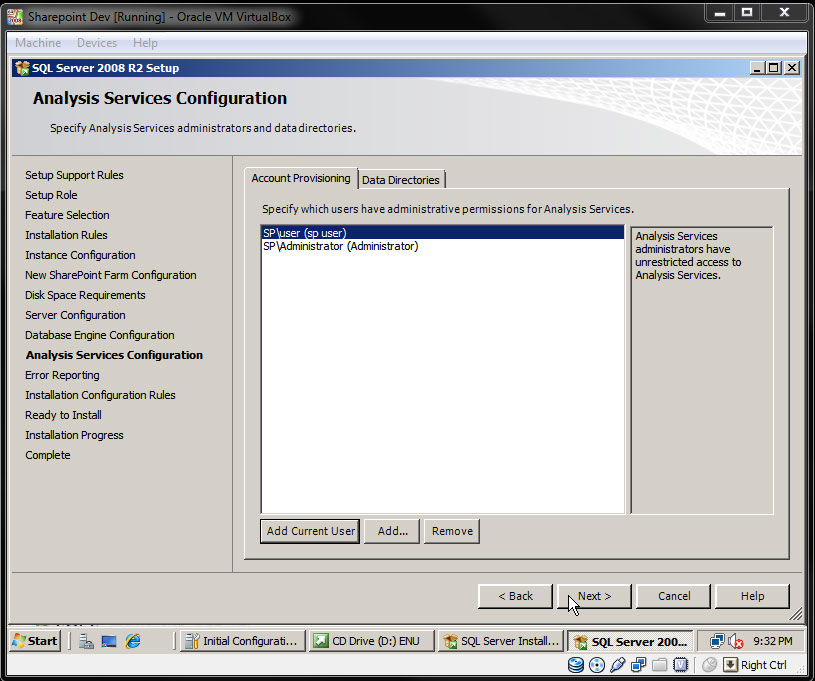
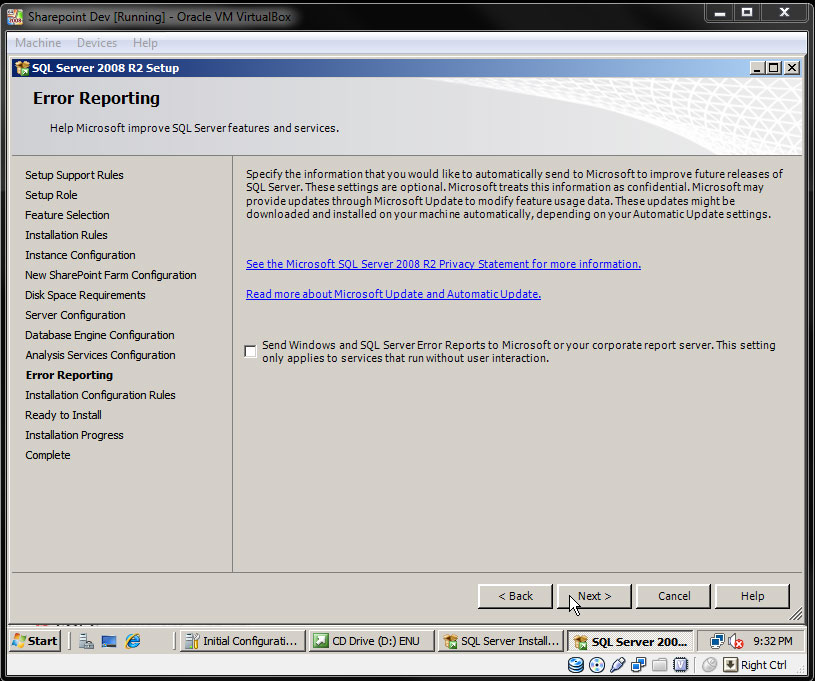
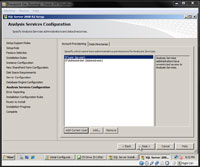
- If needed add a user here for Analysis Services. Click "Next".
|
|
STEP 58
|
(Enlarge)
|
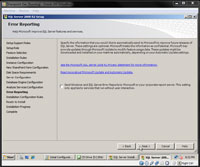
- Click "Next".
|
|
STEP 59
|
(Enlarge)
|
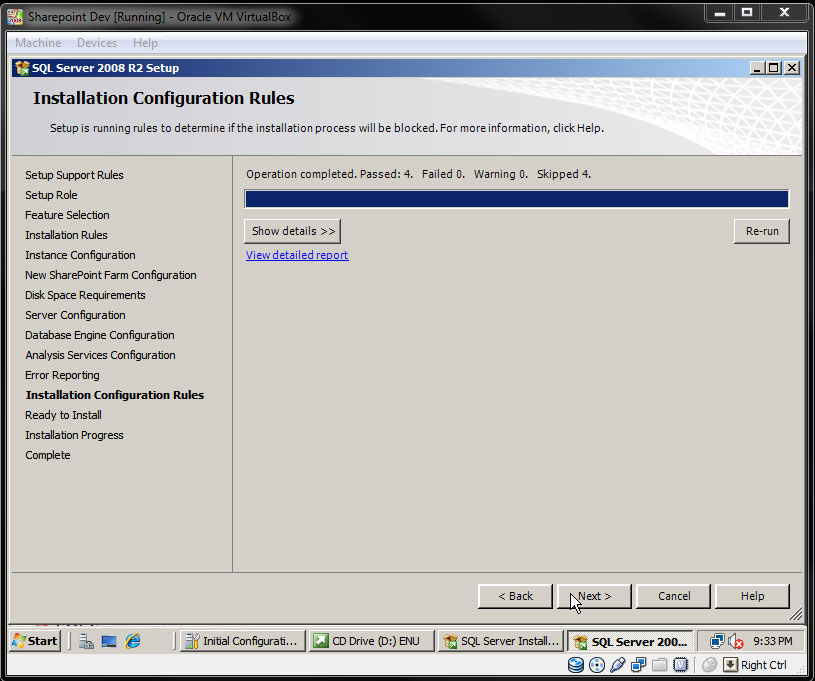
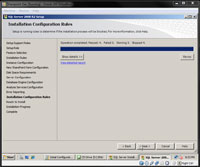
- The test should pass. Click "Next".
|
|
STEP 60
|

(Enlarge)
|
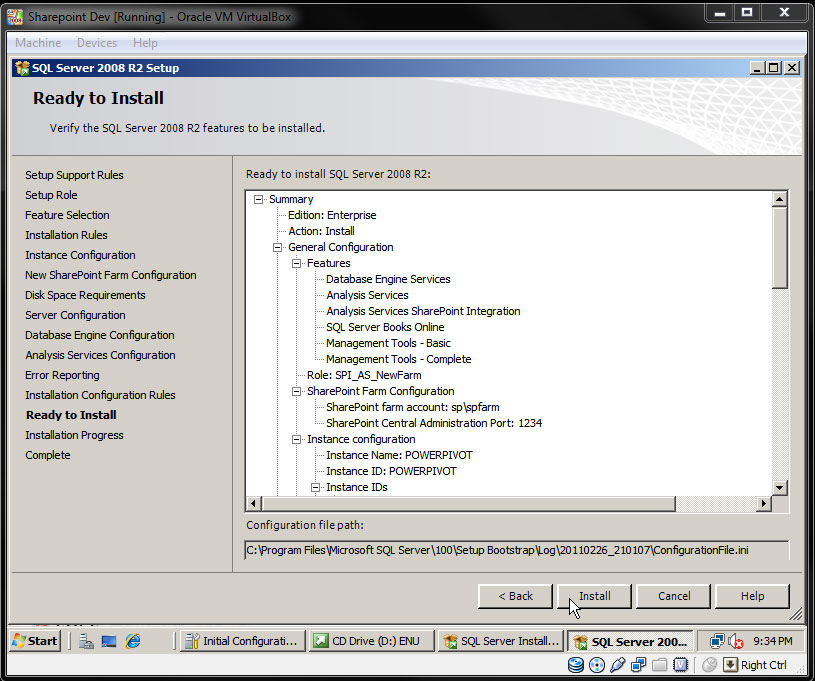
- Review the summary. Click "Install".
|
|
STEP 61
|

(Enlarge)
|
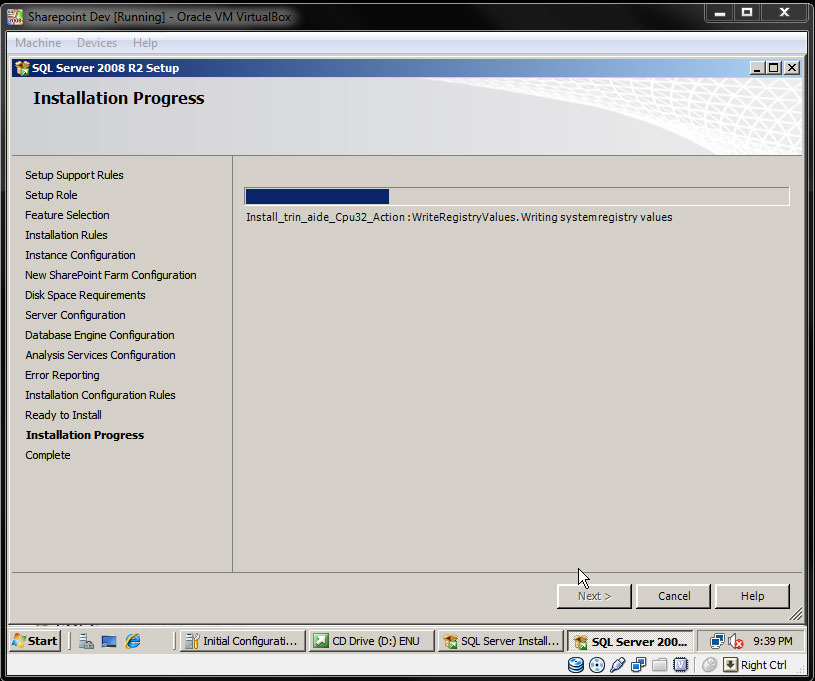
- Installation will begin.
|
|
STEP 62
|
(Enlarge)
|
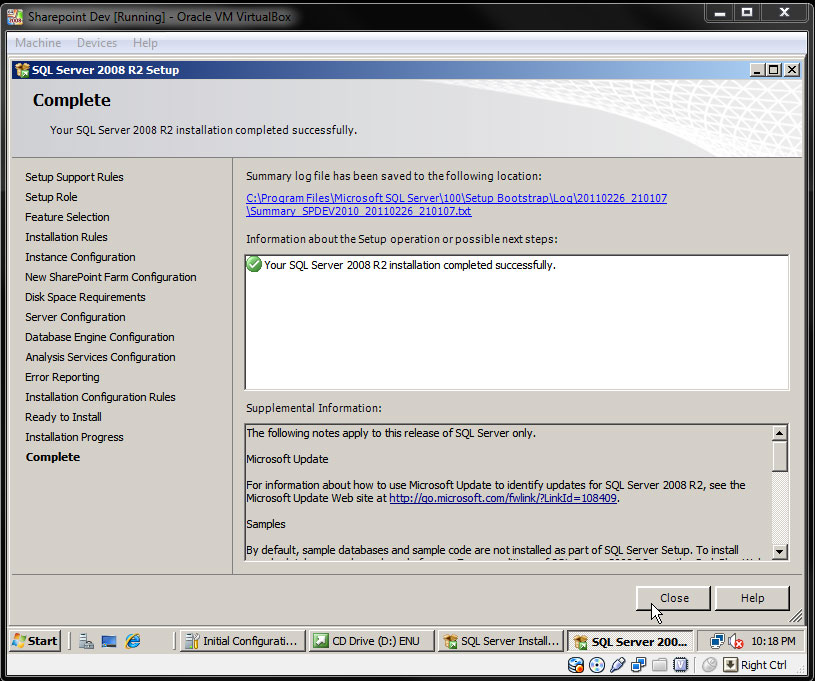
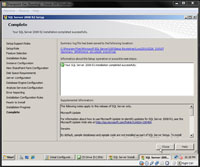
- After installation completes successfully, click "Close".
|
|
STEP 63
|
(Enlarge)
|
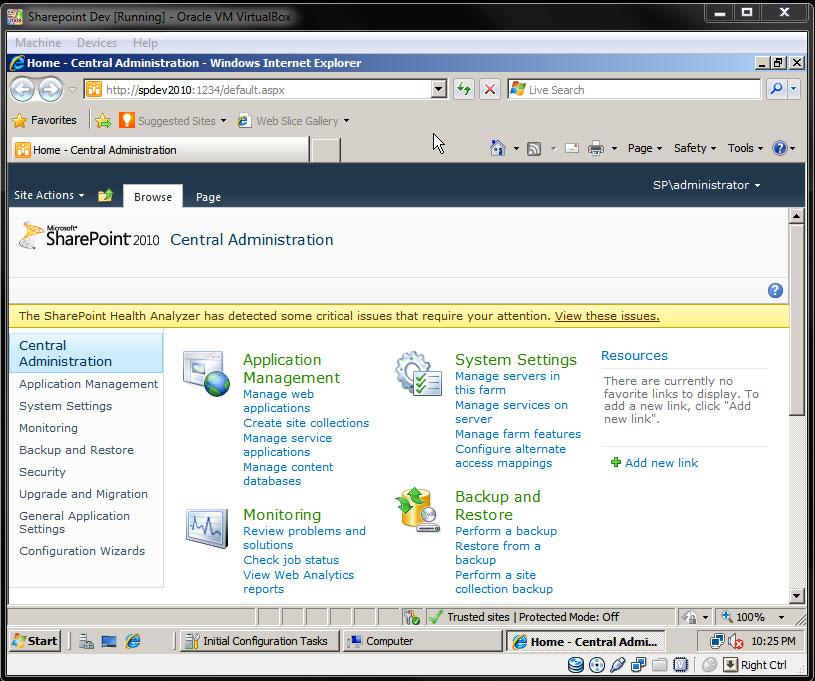
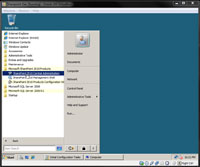
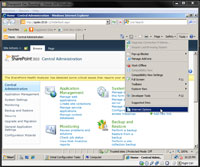
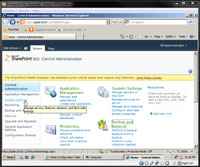
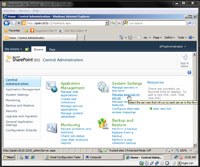
- From Windows Start, expand "Microsoft SharePoint 2010 Products" and click on "SharePoint 2010 Central Administration".
|
|
STEP 64
|
(Enlarge)
|
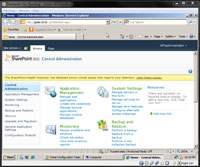
- It will take a few minutes for the webpage to load.
|
|
STEP 65
|
(Enlarge)
|
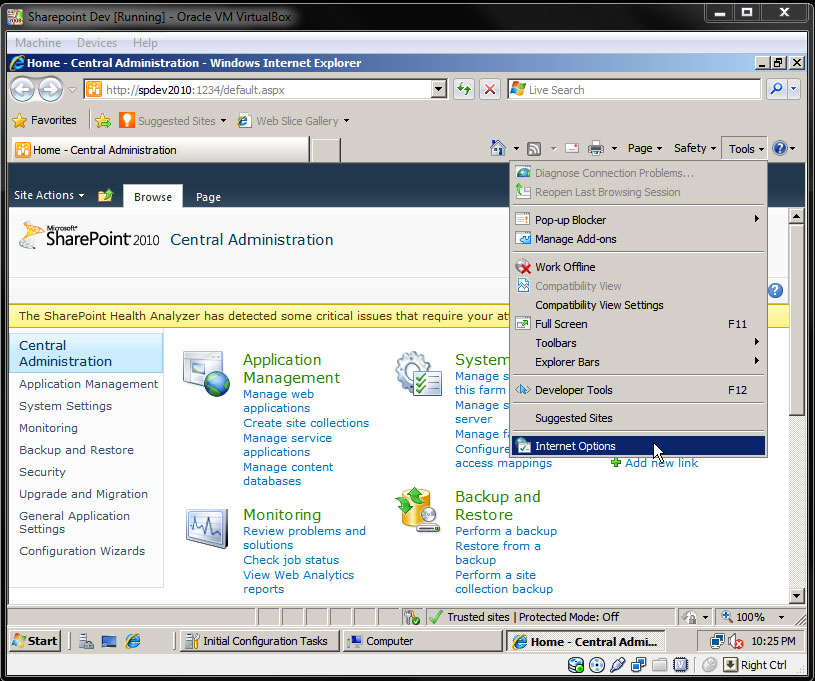
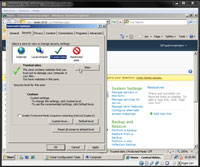
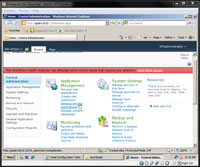
- Under "Tools" of IE8, click on "Internet Options".
|
|
STEP 66
|
(Enlarge)
|
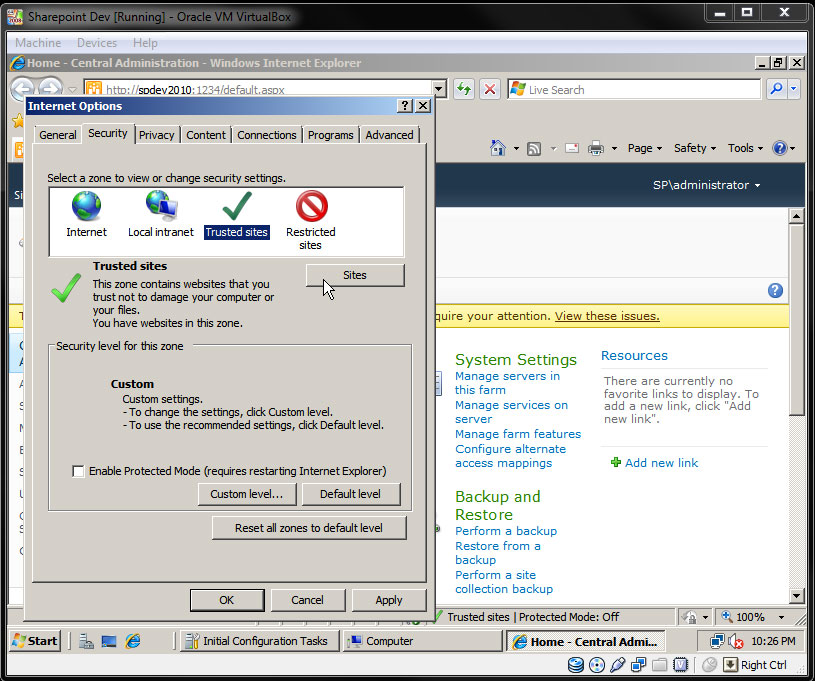
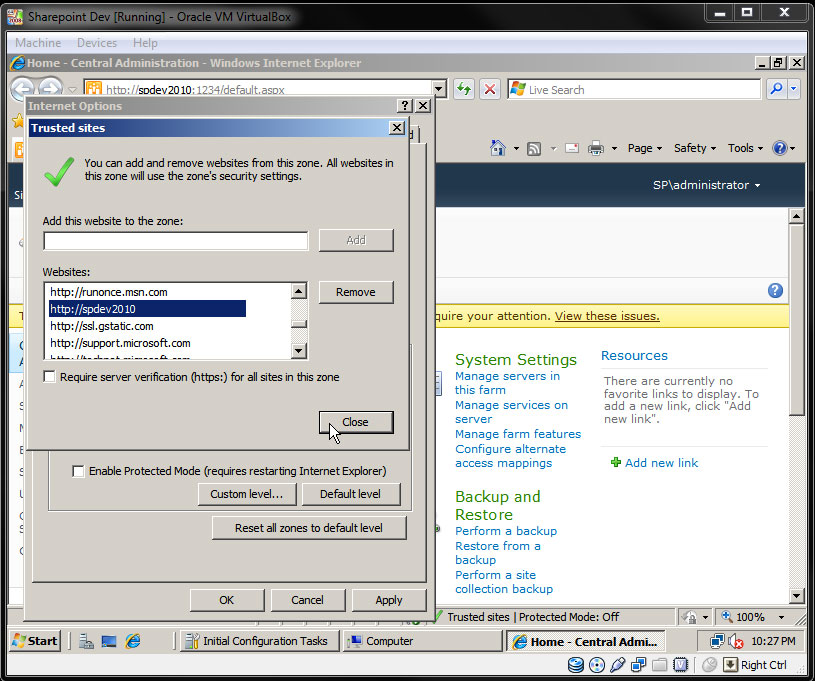
- Select "Trusted sites" from the Security tab. click on the button "Sites".
|
|
STEP 67
|
(Enlarge)
|
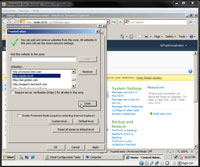
- Ensure the site has been added.
|
|
STEP 68
|
(Enlarge)
|
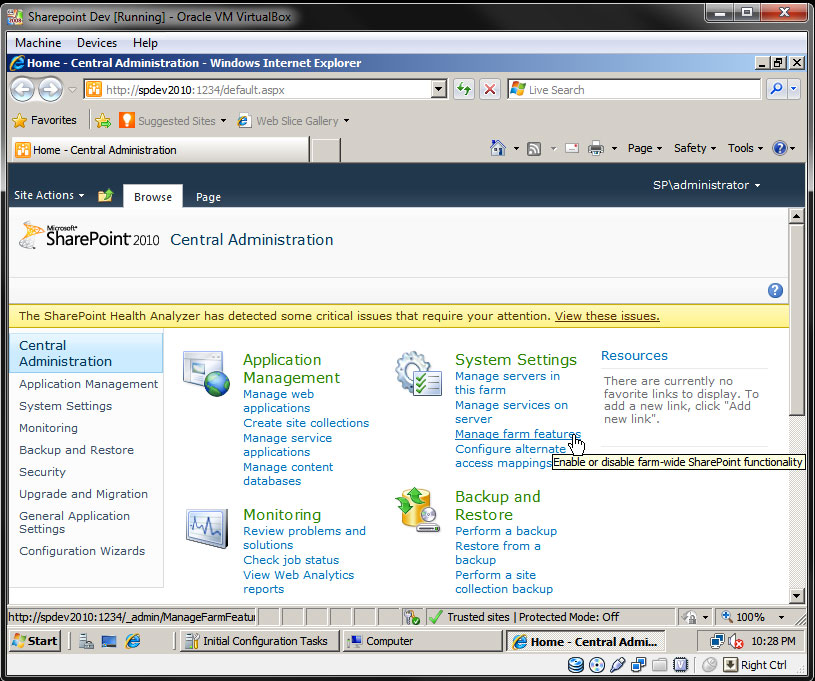
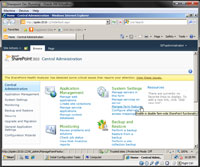
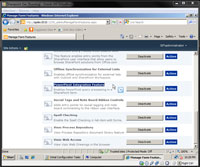
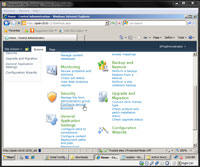
- Under "System Settings" of Central Administration click on "Manage farm features".
|
|
STEP 69
|
(Enlarge)
|
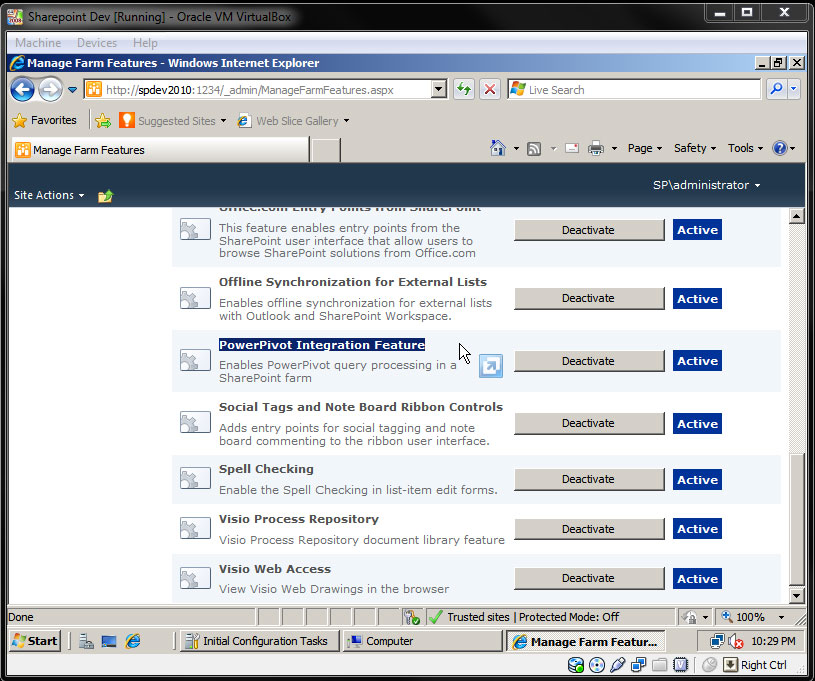
- Ensure that "PowerPivot Integration Feature" is active.
|
|
STEP 70
|
(Enlarge)
|
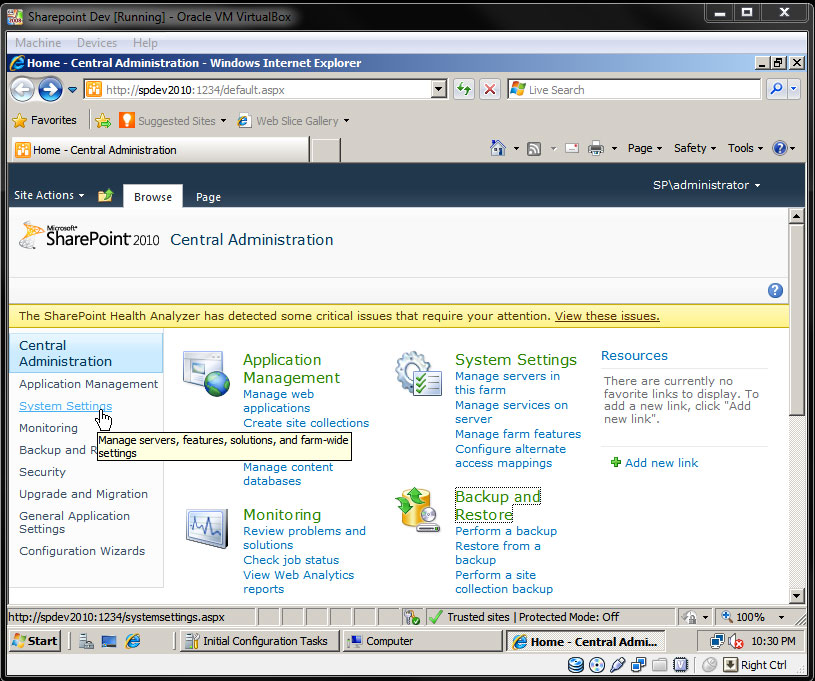
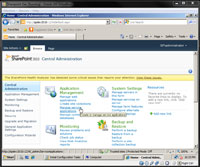
- Go back to Central Administration and from the left menu click on "System Settings".
|
|
STEP 71
|

(Enlarge)
|
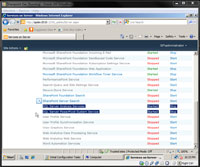
- Under Servers click on "Manage services on server".
|
|
STEP 72
|
(Enlarge)
|
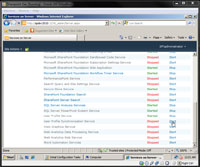
- Make sure that "SQL Server Analysis Services" and "SQL Server PowerPivot System Service" are started.
|
|
STEP 73
|
(Enlarge)
|
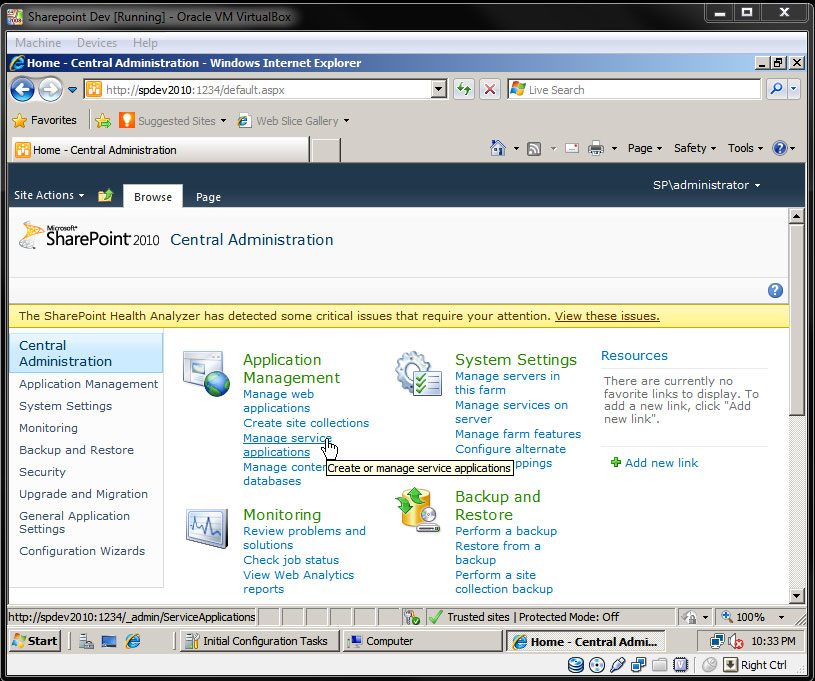
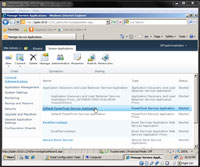
- Go back to Central Administration. Under "Application Management" click on "Manage service applications".
|
|
STEP 74
|
(Enlarge)
|
- Click on "Default PowerPivot Service Application".
|
|
STEP 75
|
(Enlarge)
|
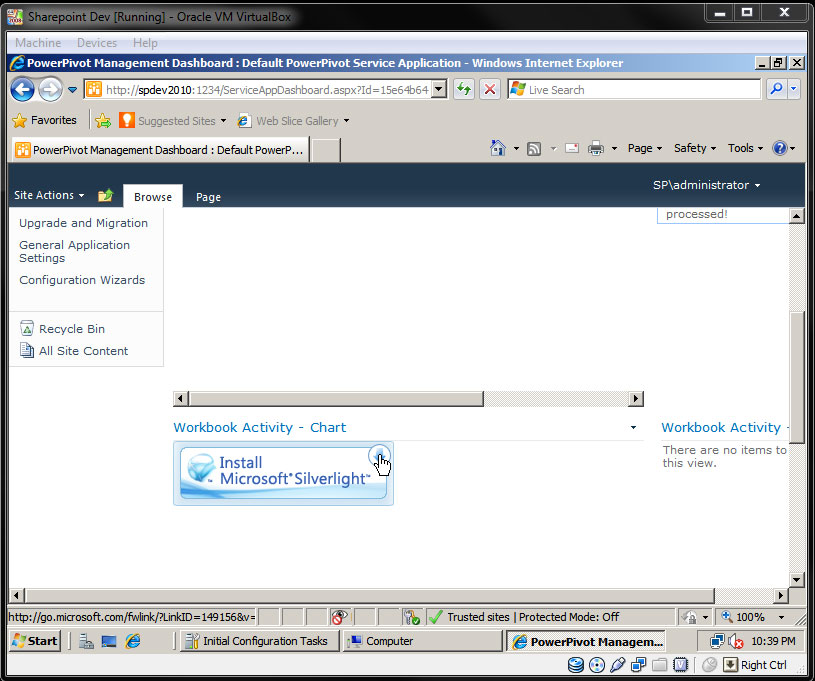
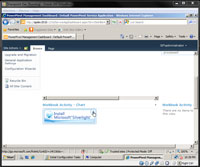
- Unless you've installed Silverlight at some point the resulting page will not show any handy graphs. Click the install silverlight icon to install it for the web browser.
|
|
STEP 76
|
(Enlarge)
|
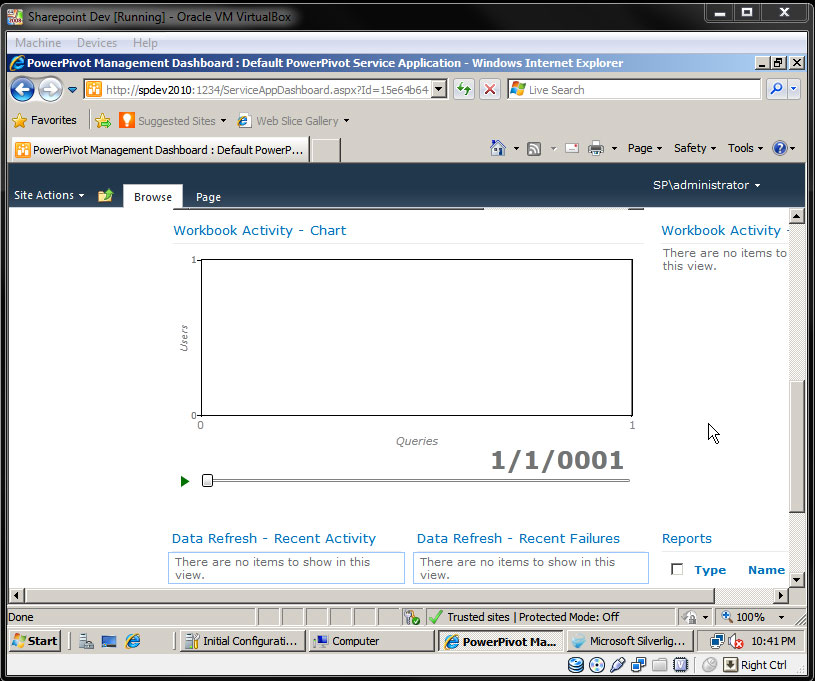
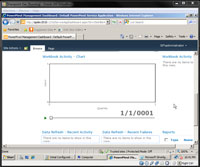
- After installation when you visit the page a graph should show up.
|
|
STEP 77
|
(Enlarge)
|
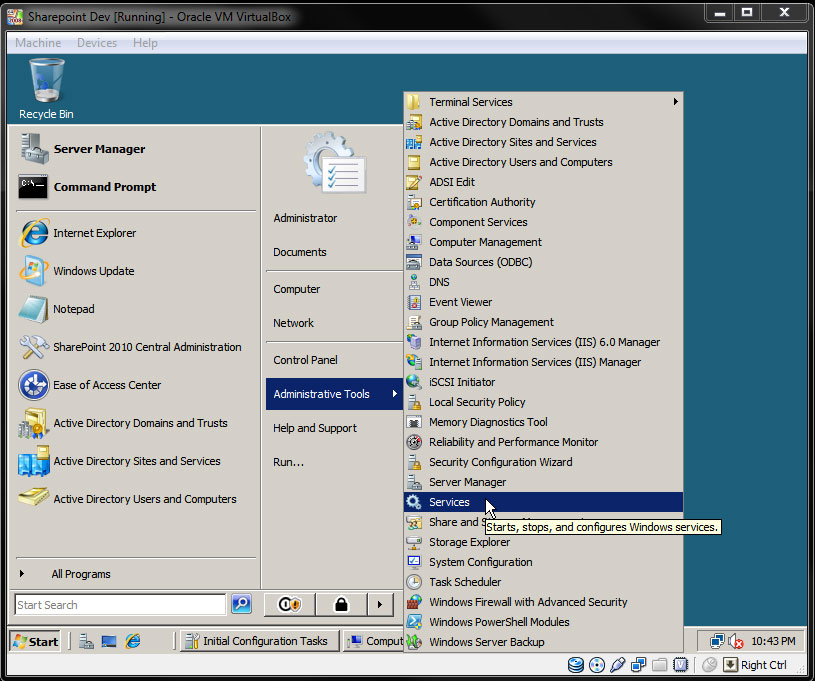
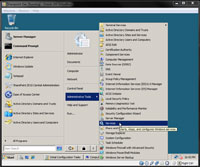
- From Start click on "Administrative Tools" and "Services".
|
|
STEP 78
|
(Enlarge)
|
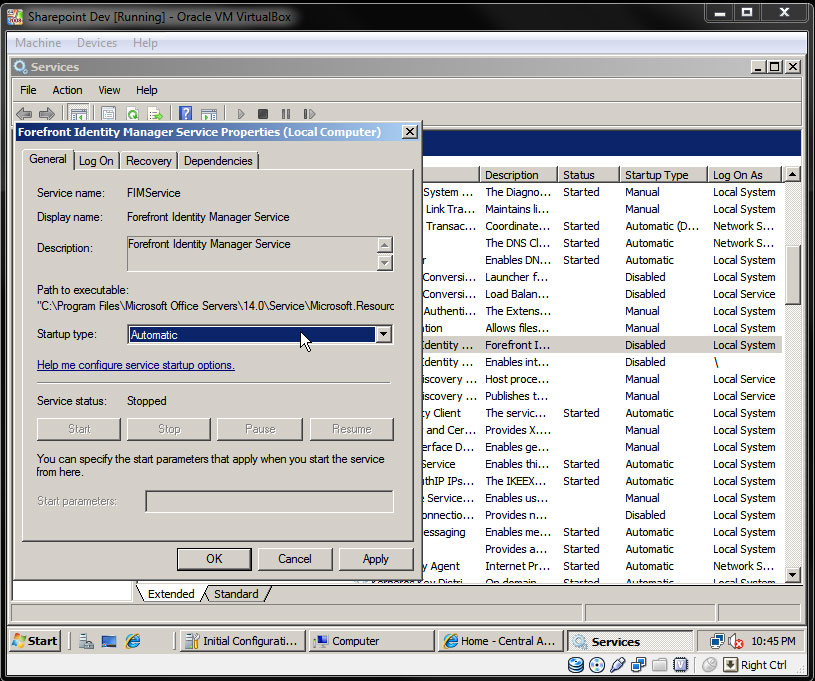
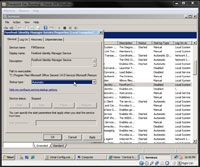
- Locate "Forefront Identity Manager Service" and ensure the startup type is Automatic.
|
|
STEP 79
|
(Enlarge)
|
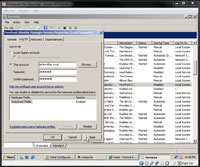
- Under the "Log On" tab, click on "This account" and enter the farm account and then click "Apply".
|
|
STEP 80
|
(Enlarge)
|
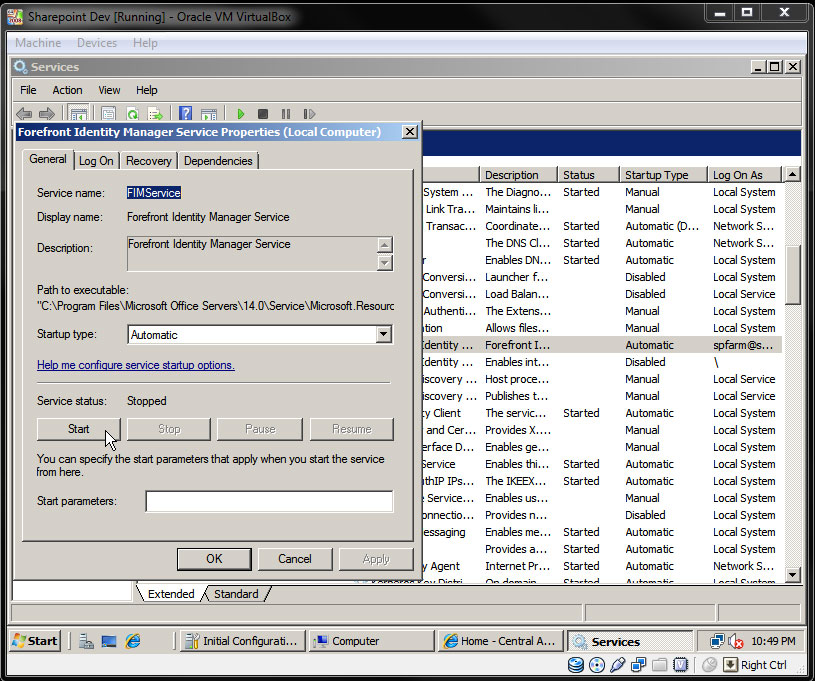
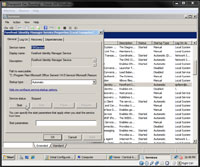
- Now click on "Start". Then click "OK". Perform the same action for the other Forefront service.
|
|
STEP 81
|
(Enlarge)
|
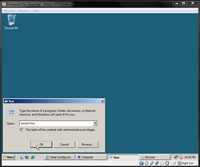
- Under Start click on Run and enter "secpol.msc".
|
|
STEP 82
|
(Enlarge)
|
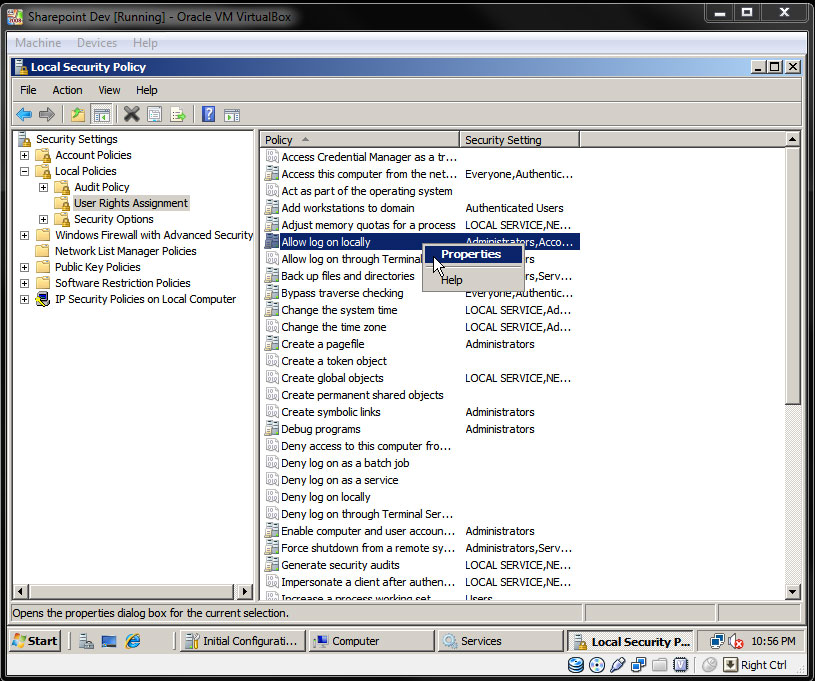
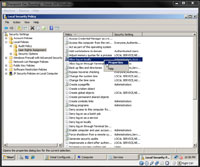
- Under "Local Policies" - "User Rights Assignment", right click on "Allow log on locally" and select "Properties". Add the farm account.
|
|
STEP 83
|

(Enlarge)
|
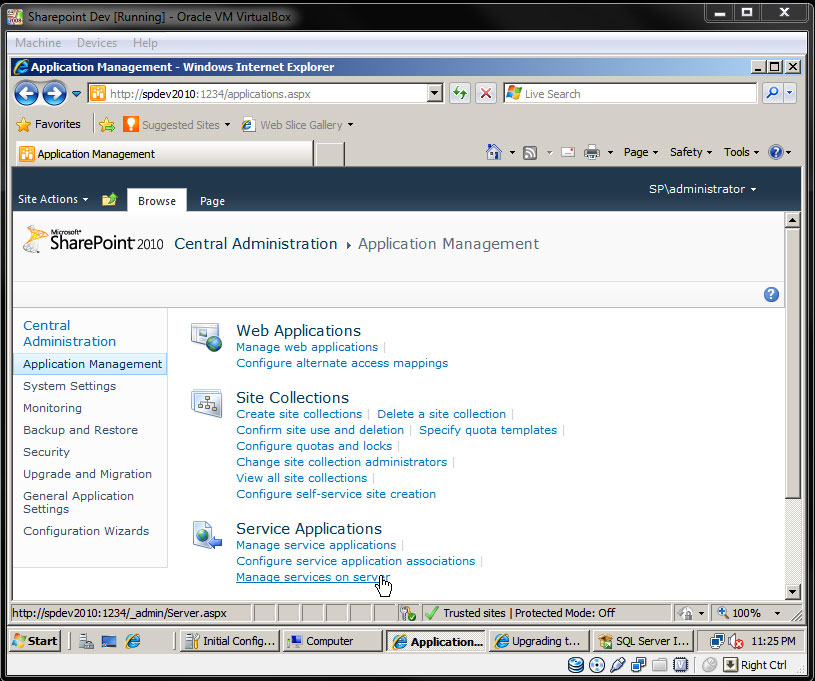
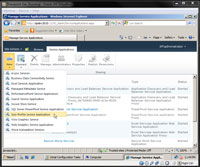
- From Central Administration click on "Application Management". Then, under "Service Applications" click on "Manage services on server".
|
|
STEP 84
|
(Enlarge)
|
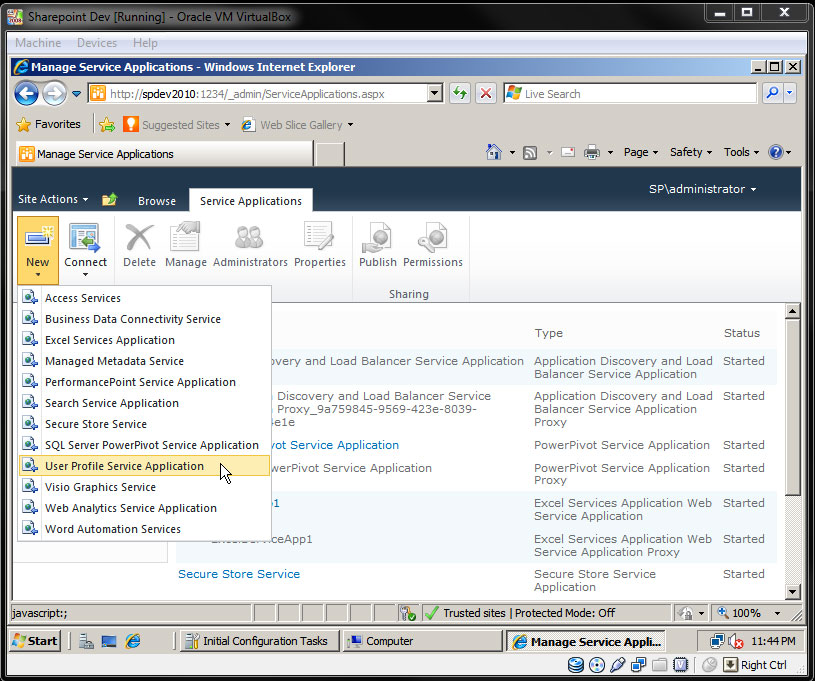
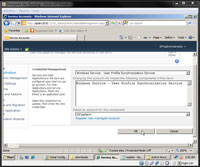
- Click on "New" and select "User Profile Service Application".
|
|
STEP 85
|
(Enlarge)
|
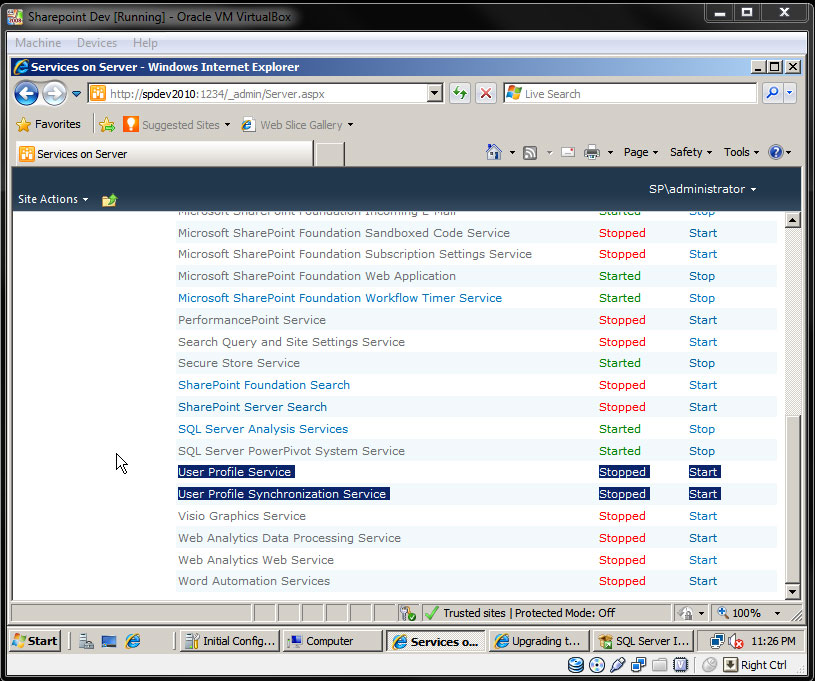
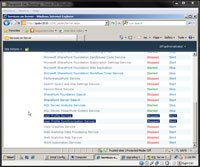
- Ensure that "User Profile Service" and "user Profile Synchronization Service" are started.
|
|
STEP 86
|
(Enlarge)
|
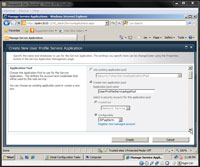
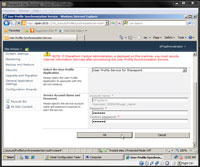
- Under "Create New User Profile Service Application", select "configurable" and select the farm account.
|
|
STEP 87
|
(Enlarge)
|
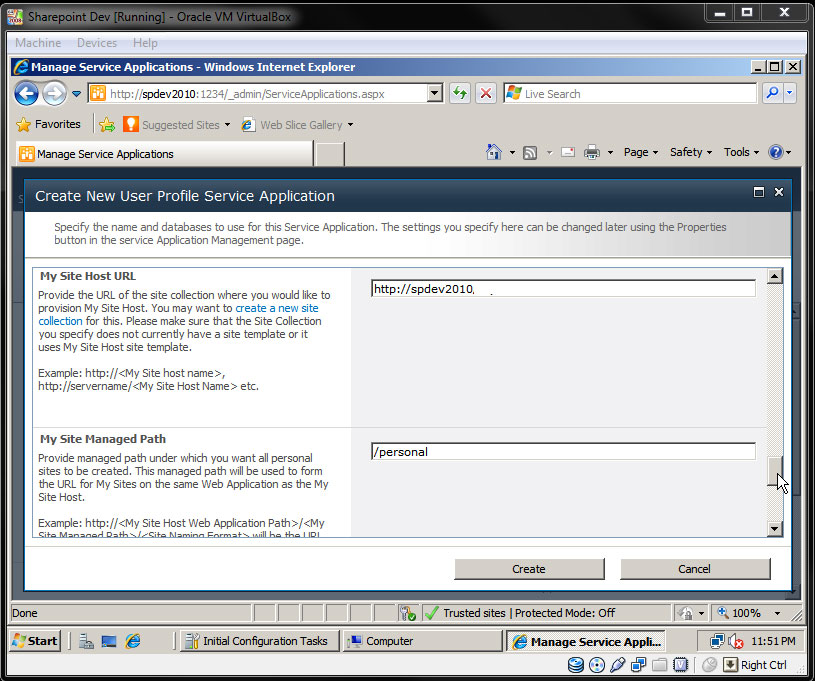
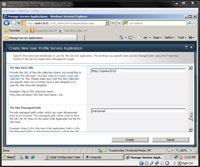
- Scolling down you'll see the Host URL. Under "My Site Managed Path" enter something such as "/personal".
|
|
STEP 88
|
(Enlarge)
|
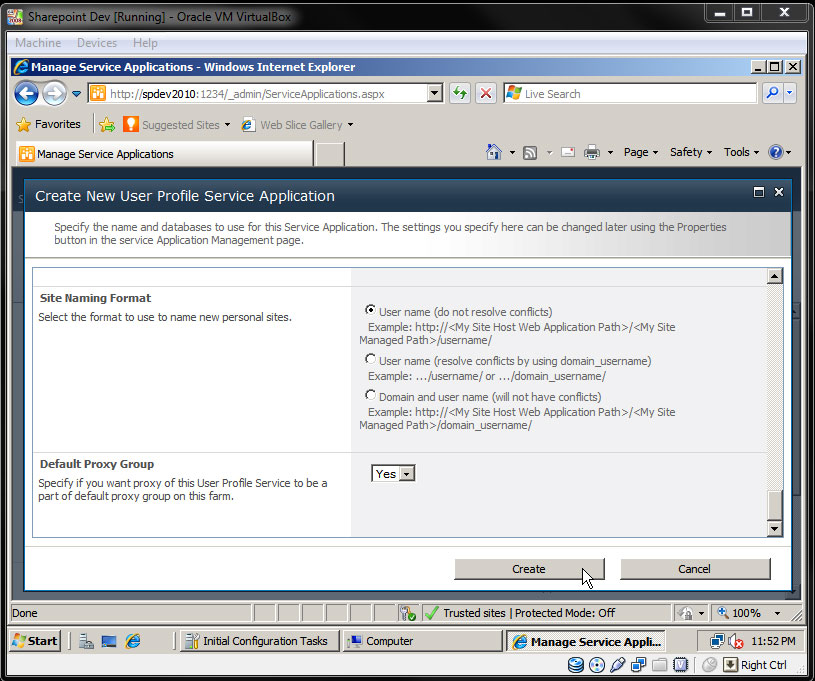
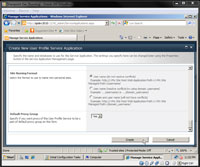
- Scrolling down you'll see "Site Naming Format" check "User name (do not resolve conflicts)". Click "Create".
|
|
STEP 89
|
(Enlarge)
|
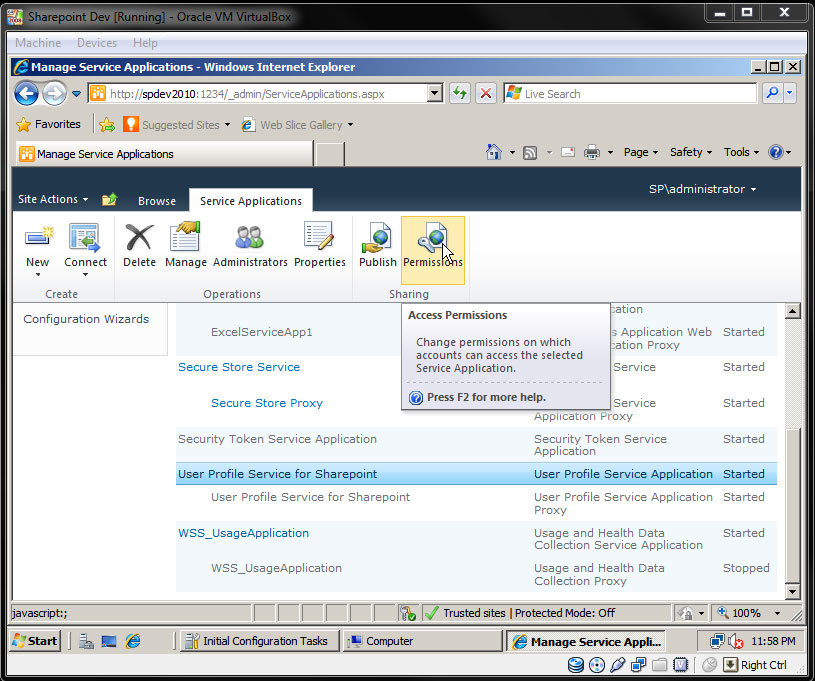
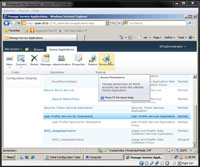
- Under "Service Applications" click next to the text "User Profile Service for Sharepoint". From the ribbon, click on Permissions.
|
|
STEP 90
|
(Enlarge)
|
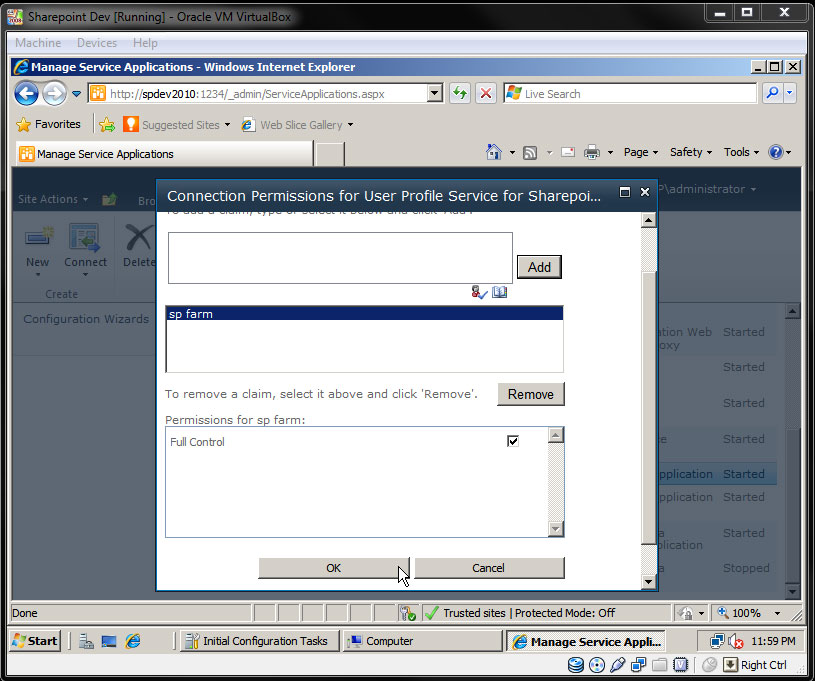
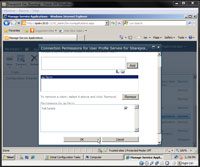
- Enter the farm account and click "OK".
|
|
STEP 91
|
(Enlarge)
|
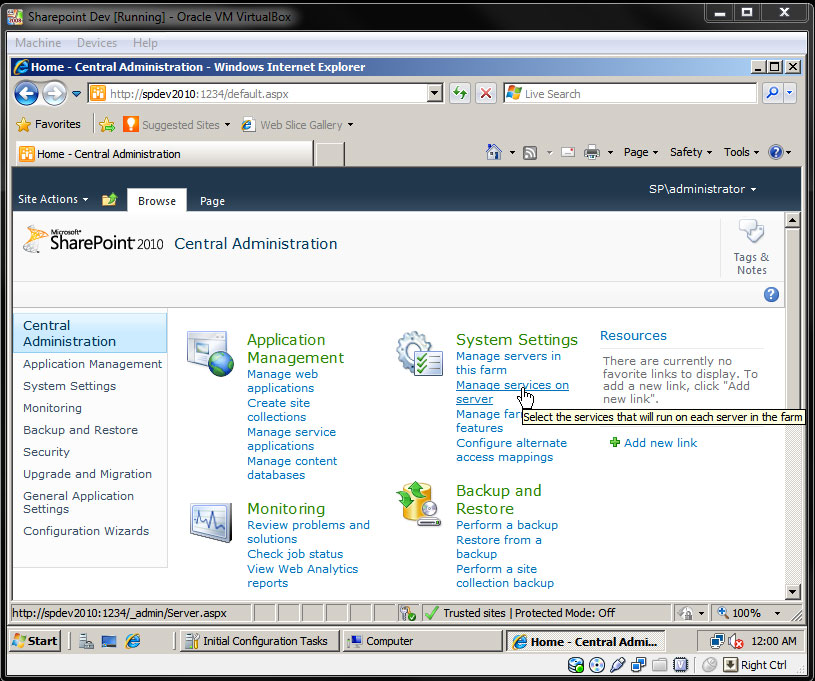
- Back at Central Administration, under the section "System Settings" click on "Manage services on server".
|
|
STEP 92
|
(Enlarge)
|
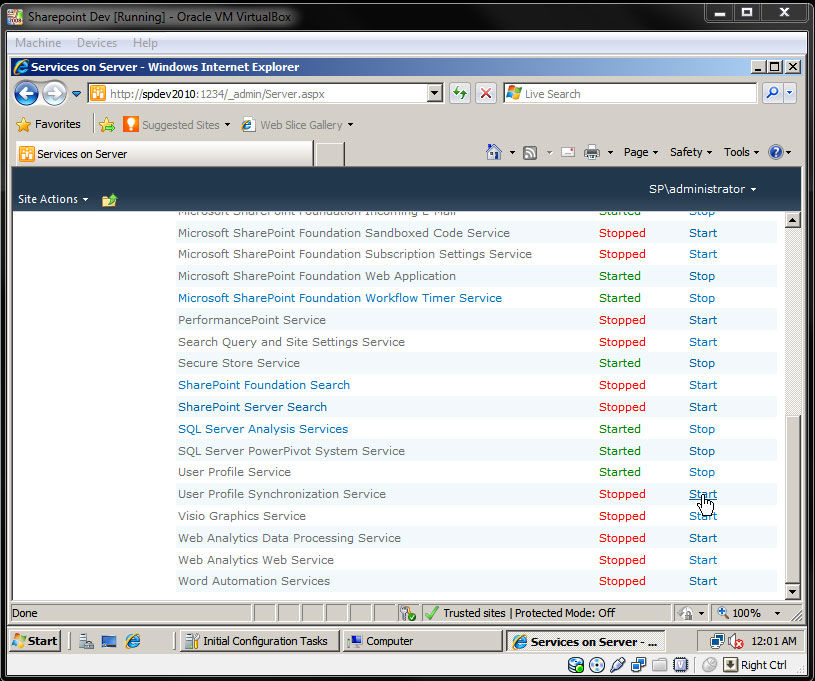
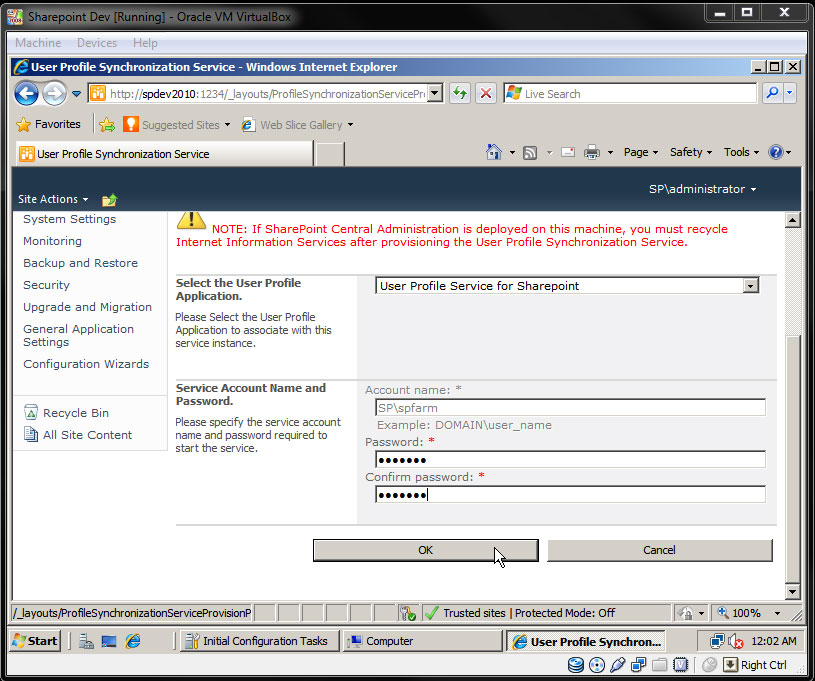
- Locate "user Profile Synchronization Service" and start it.
|
|
STEP 93
|
(Enlarge)
|
- Enter the farm account.
|
|
STEP 94
|
(Enlarge)
|
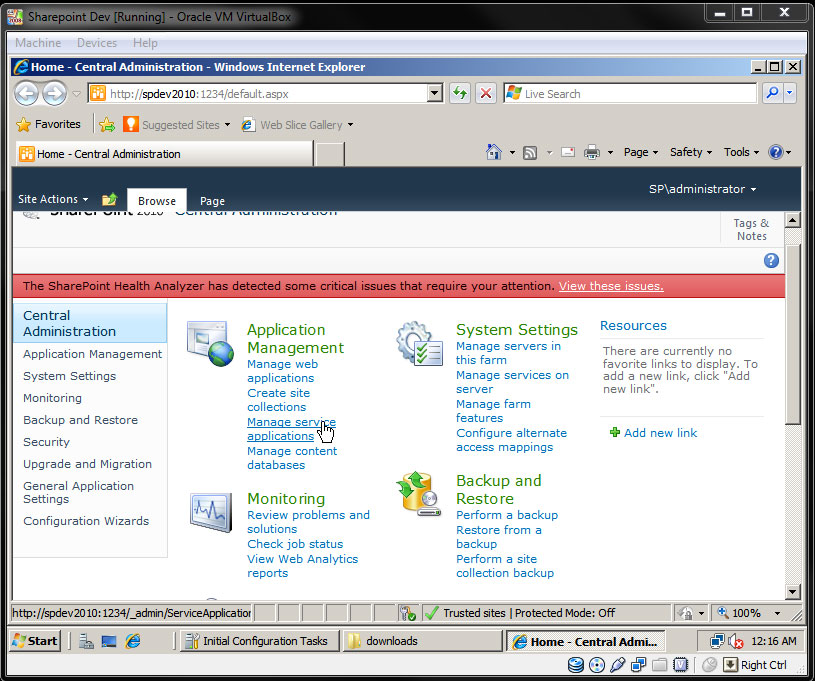
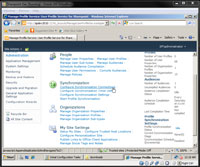
- From Central Administration under "Application Management" click on "Manage service applications".
|
|
STEP 95
|

(Enlarge)
|
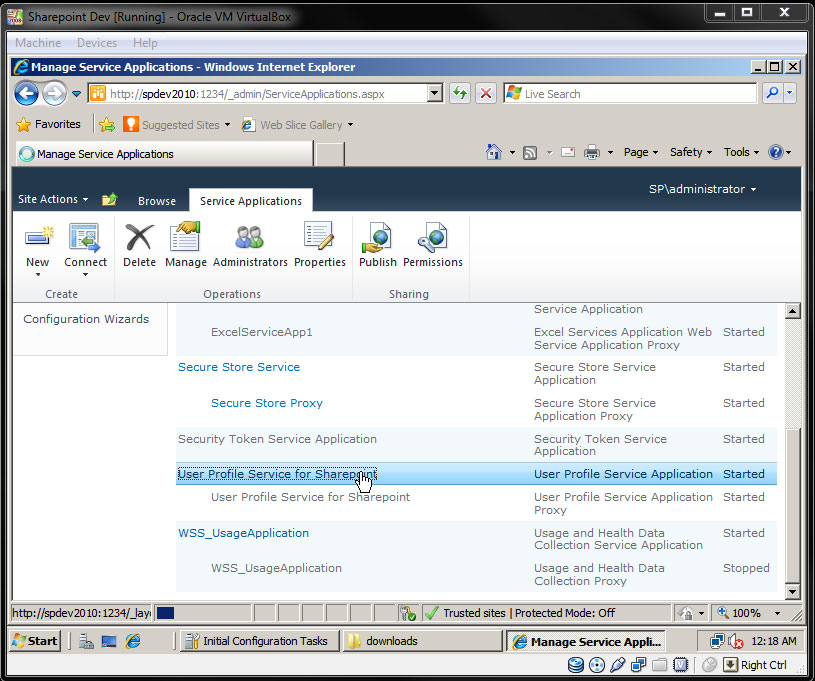
- Click on "User Profile Service for Sharepoint".
|
|
STEP 96
|
(Enlarge)
|
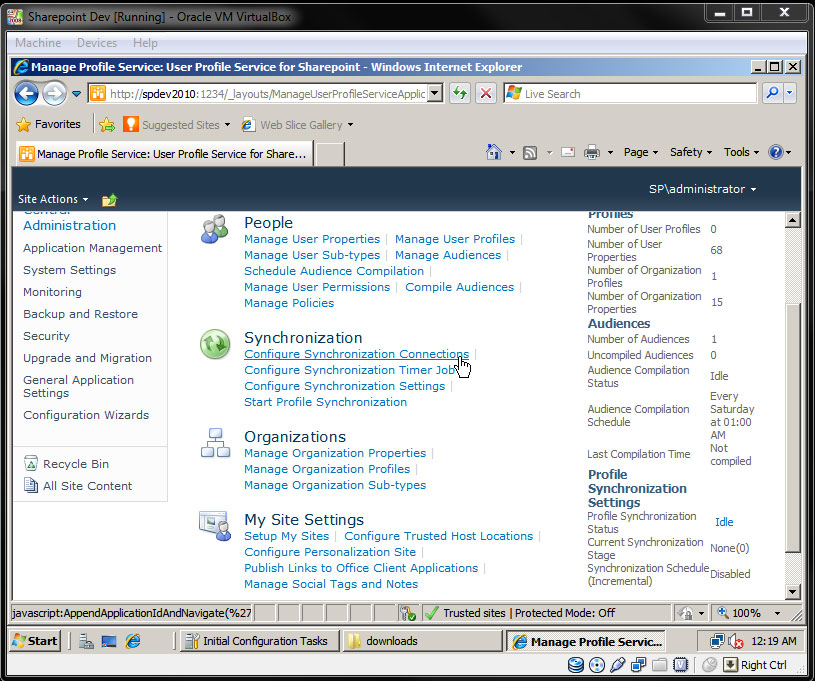
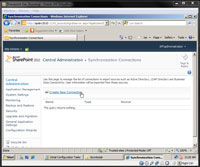
- Under Synchronization click on "Configure Synchronization Connections".
|
|
STEP 97
|
(Enlarge)
|
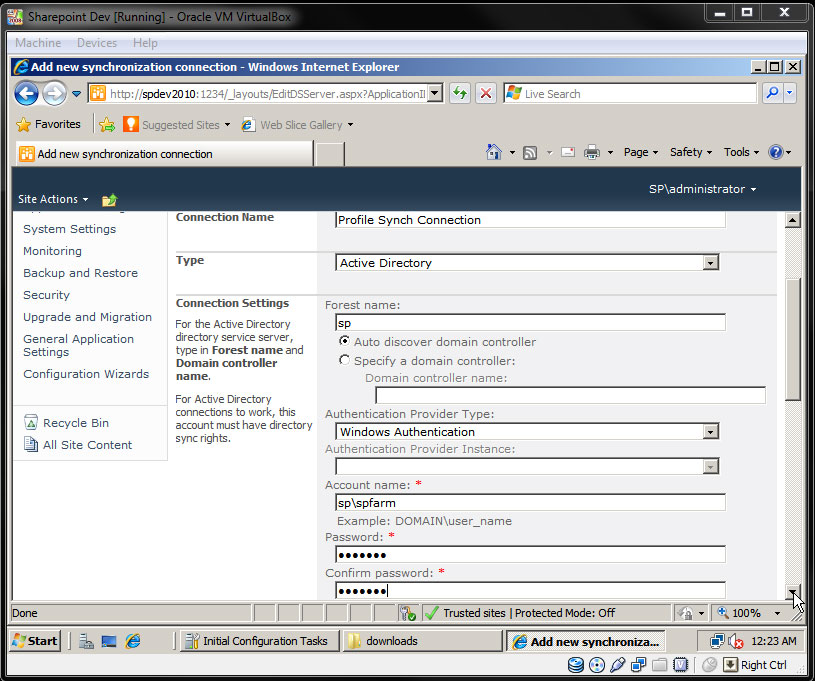
- Click on "Create New Connection".
|
|
STEP 98
|
(Enlarge)
|
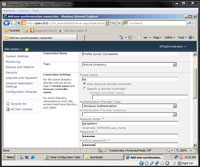
- Under Connection Settings enter the farm account.
|
|
STEP 99
|
(Enlarge)
|
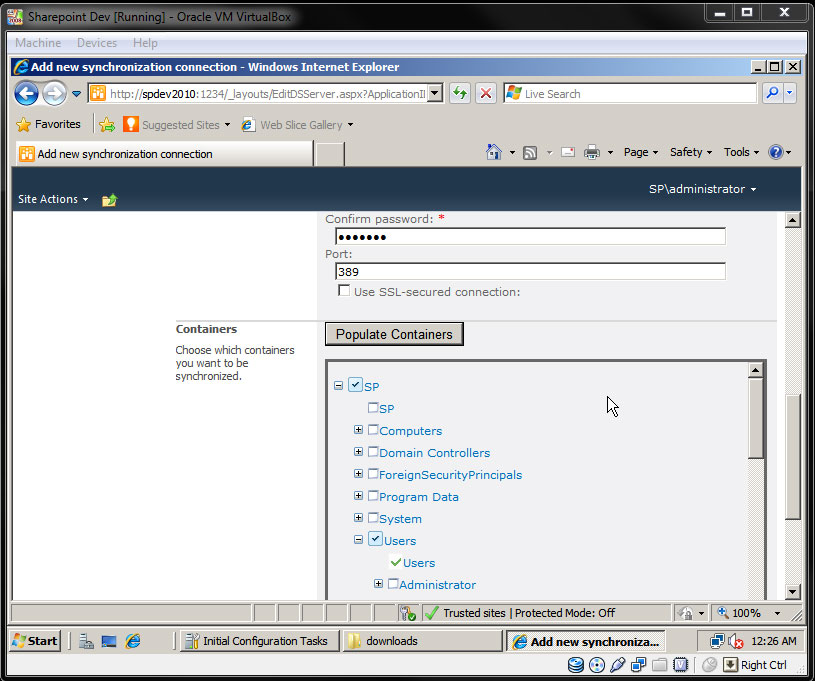
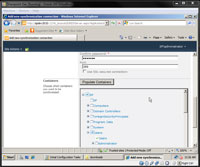
- Under Containers ensure that "Users" is selected.
|
|
STEP 100
|
(Enlarge)
|
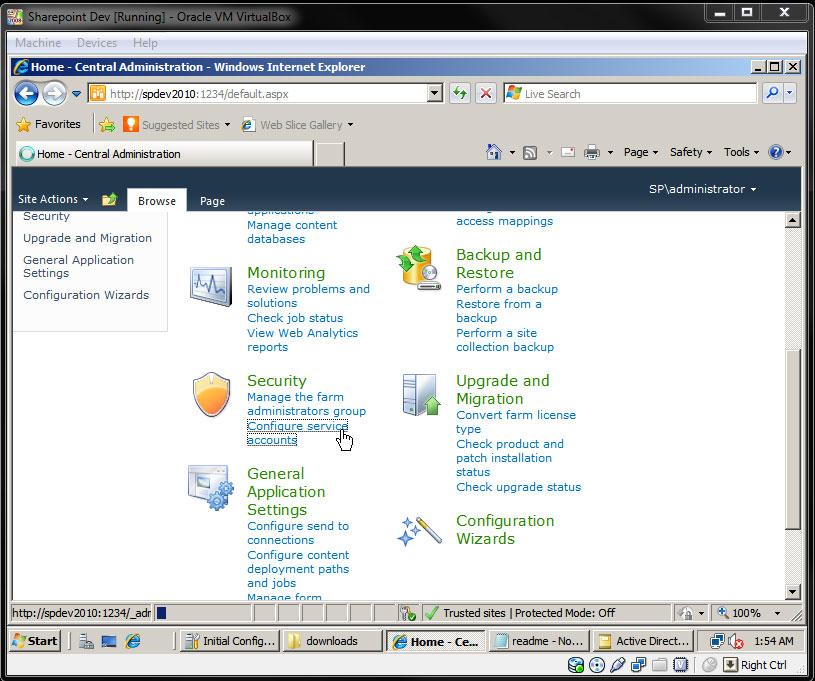
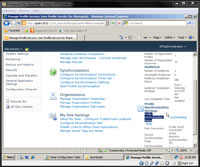
- From Central Administration under "Security" click on "Configure service accounts".
|
|
STEP 101
|
(Enlarge)
|
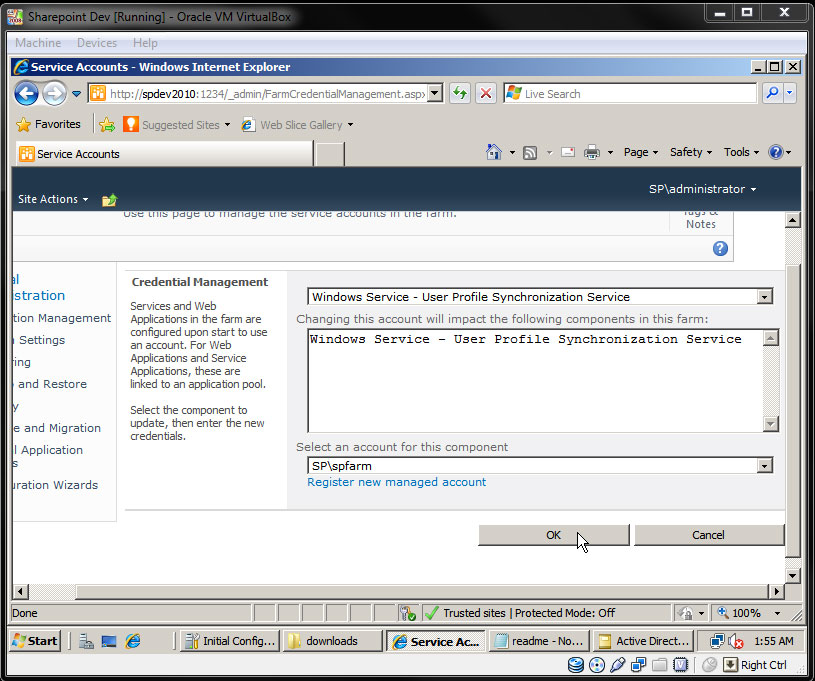
- For "Windows Service - user Profile Synchronization Service" enter the farm account.
|
|
STEP 102
|
(Enlarge)
|
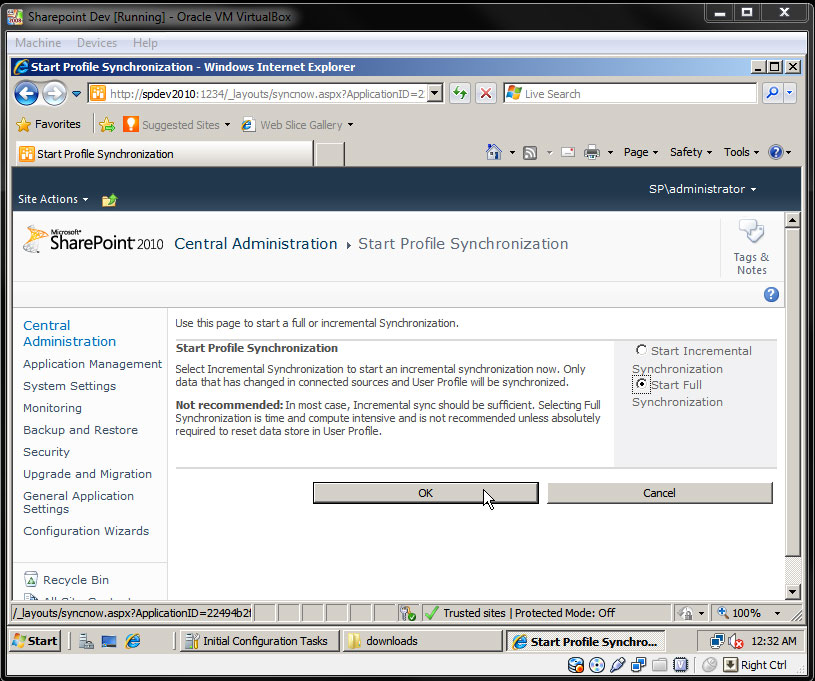
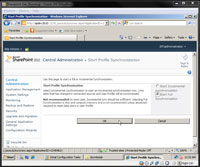
- Once completed with that page click on "Start Profile Synchronization". On the right side select "Start Full Synchronization" and click "OK".
|
|
STEP 103
|
(Enlarge)
|
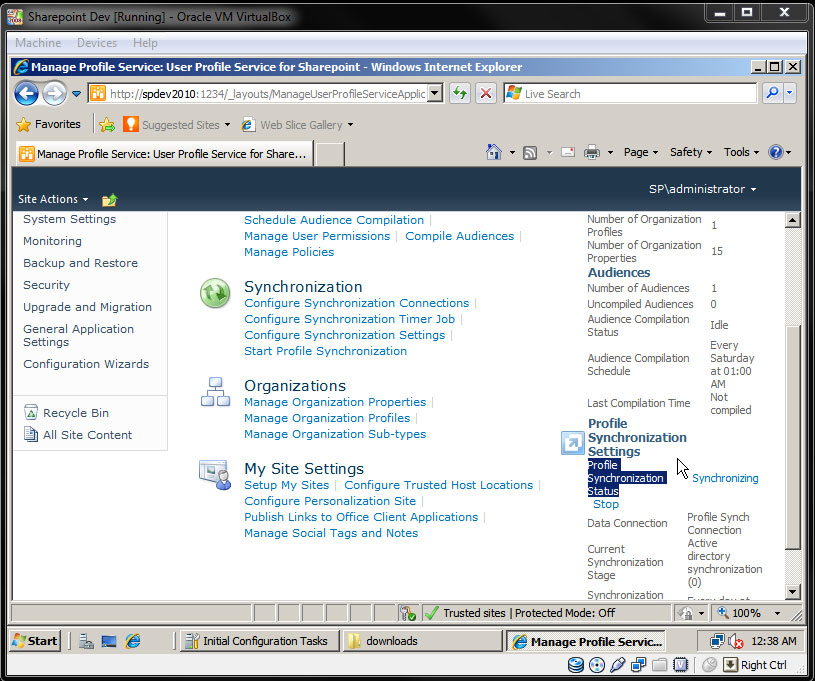
- On the right side of the page you should see "Profile Synchronization Status" set to synchronizing. Even though you have basically nothing in Active Directory, it should take approximately 20 minutes to complete.
- While you wait, you could enable the developer dashboard:
Method #1: (from the Sharepoint 2010 Management Console)
$service = [SPWebService]::ContentService;
$addsetting = $service.DeveloperDashboardSettings;
$addsetting.DisplayLevel = [SPDeveloperDashboardLevel]::OnDemand;
$addsetting.Update();
Method #2: (if Method #1 does not work)
$service = [Microsoft.SharePoint.Administration.SPWebService]::ContentService.DeveloperDashboardSettings;
$service.DisplayLevel = 'OnDemand';
$service.TraceEnabled = $true;
$service.Update()
|
|
STEP 104
|
(Enlarge)
|
- Install SharePoint Designer 2010 (64-bit).
- Optionally install the Office Professional Plus 2010 suite if you will be using InfoPath for creating web forms and so forth (InfoPath comes with the Plus suite).
|
|
STEP 105
|

(Enlarge)
|
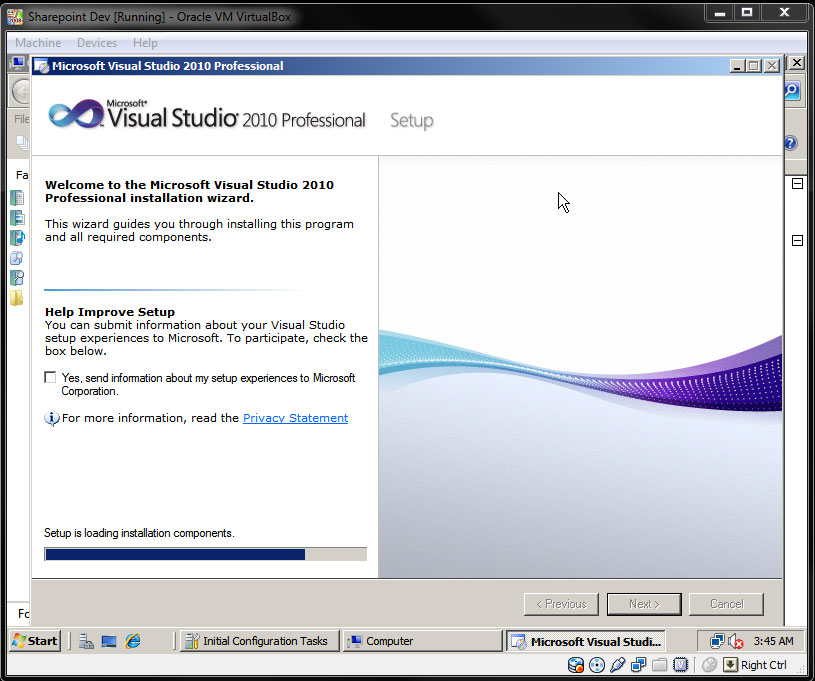
- Install Visual Studio 2010 Professional.
- If you've got the ability to do so you may also want to install Visio Premium 2010 (if you cannot install the entire Office Professional Plus 2010 suite which is a product only available to businesses). This will require more space than originally specified at the start of this tutorial.
|
|
STEP 106
|
(Enlarge)
|
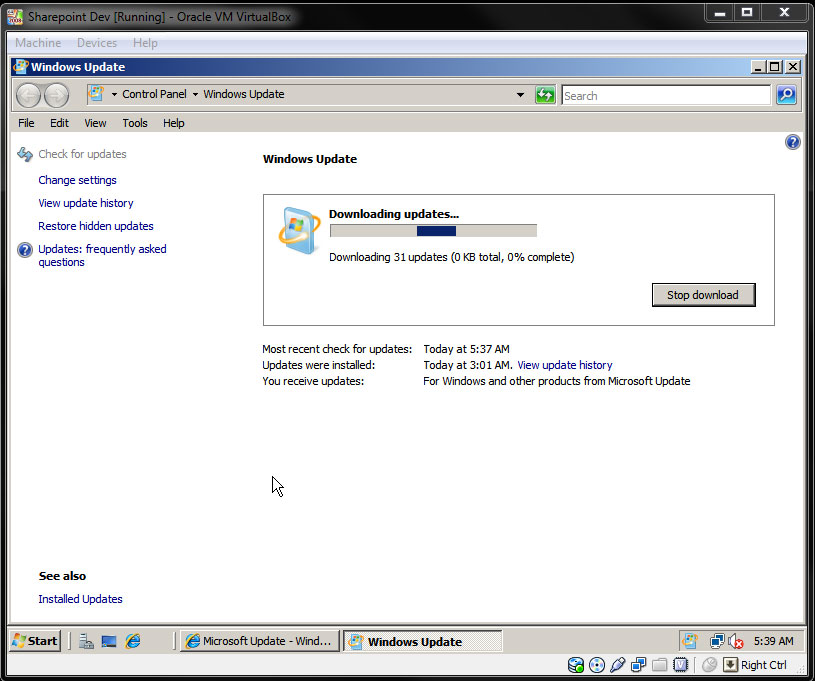
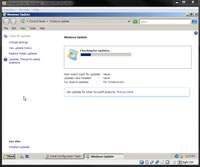
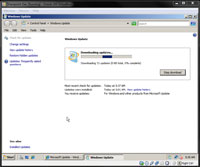
- Perform a Windows update. You may need to do this a few times as things get installed and other things need to be installed based on what was just installed from Windows Update.
|