(Enlarge)
|
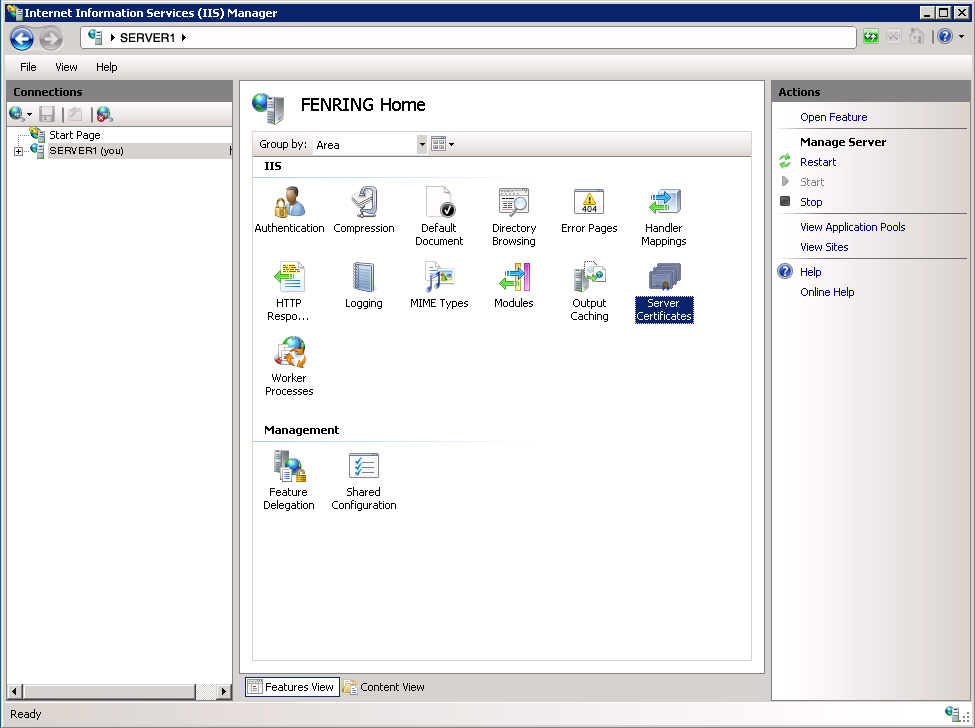
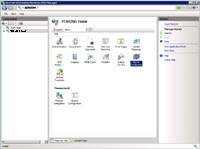
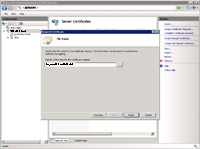
- Open Internet Information Services Manager. Under the left side, click on the server name. In the middle section under "IIS", select "Server Certificates".
|
(Enlarge)
|
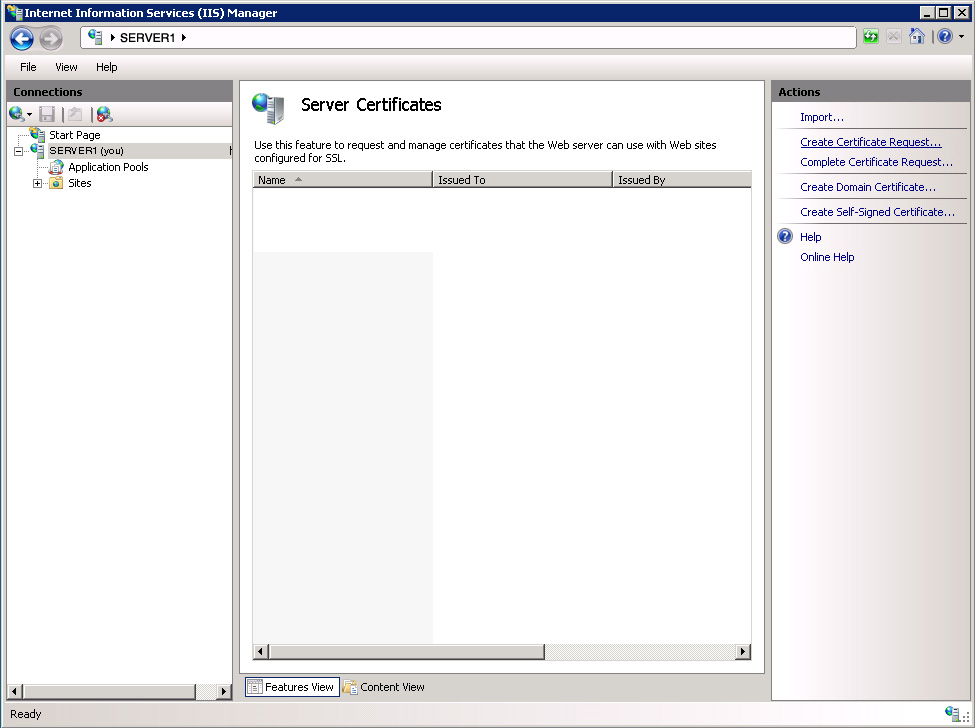
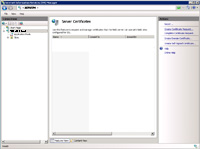
- In the right section under "Actions", select "Create Certificate Request".
|
(Enlarge)
|
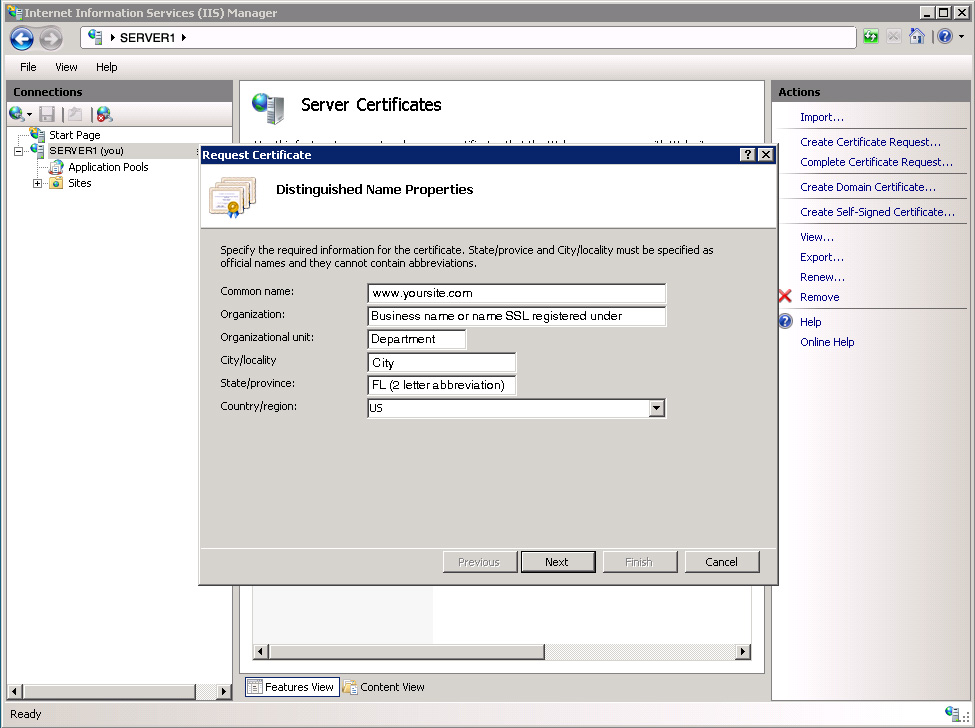
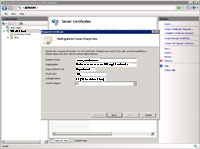
- A pane will come up prompting for basic certificate information:
Common Name = the website's domain name (like www.yoursite.com or *.yoursite.com if you are getting a wildcard)
Organization = Name or business the certificate will be registered under
Organizational Unit = Department responsible for the certificate; usually "IT" or something like that
City/locality = City the business or registered entity is in
State/province = normally 2 letter state abbreviation of the business or registered entity is in (state abbreviation or full name may vary depending on the CA you use)
Country/region = Country/region of the business or registered entity is in
|
(Enlarge)
|
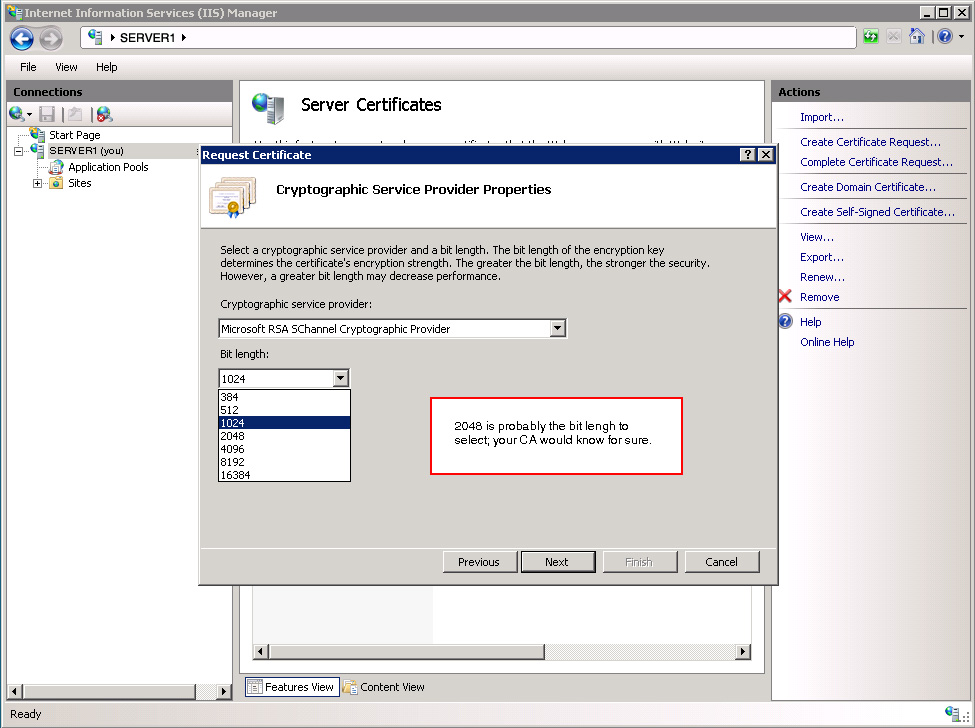
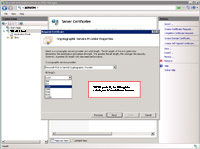
- After clicking "Next" you should see a pane resembling what is shown. Your CA would know which two options to select here for sure, but more than likely the selections may be "Microsoft RSA SChannel Cryptographic Provider" under "Cryptographic service provider" and "2048" for bit length.
|
(Enlarge)
|
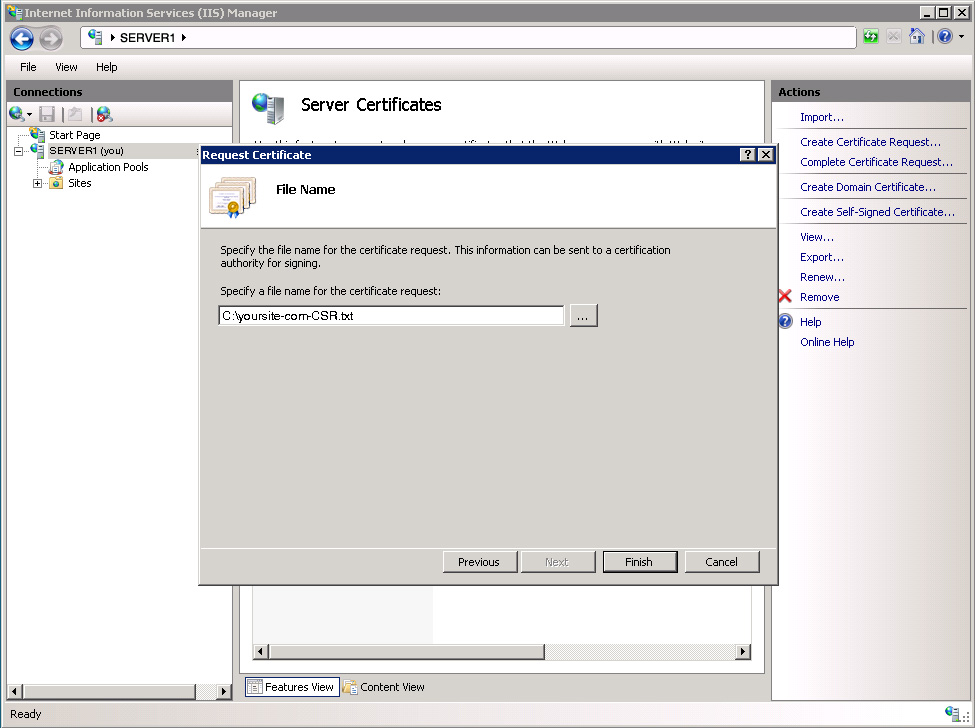
- The next pane will prompt for where to save the CSR. You may want to save it somewhere with an intuitive name like "yoursite-com-CSR.txt". The CSR can then be provided to the CA so the SSL certificate can be generated.
|
(Enlarge)
|
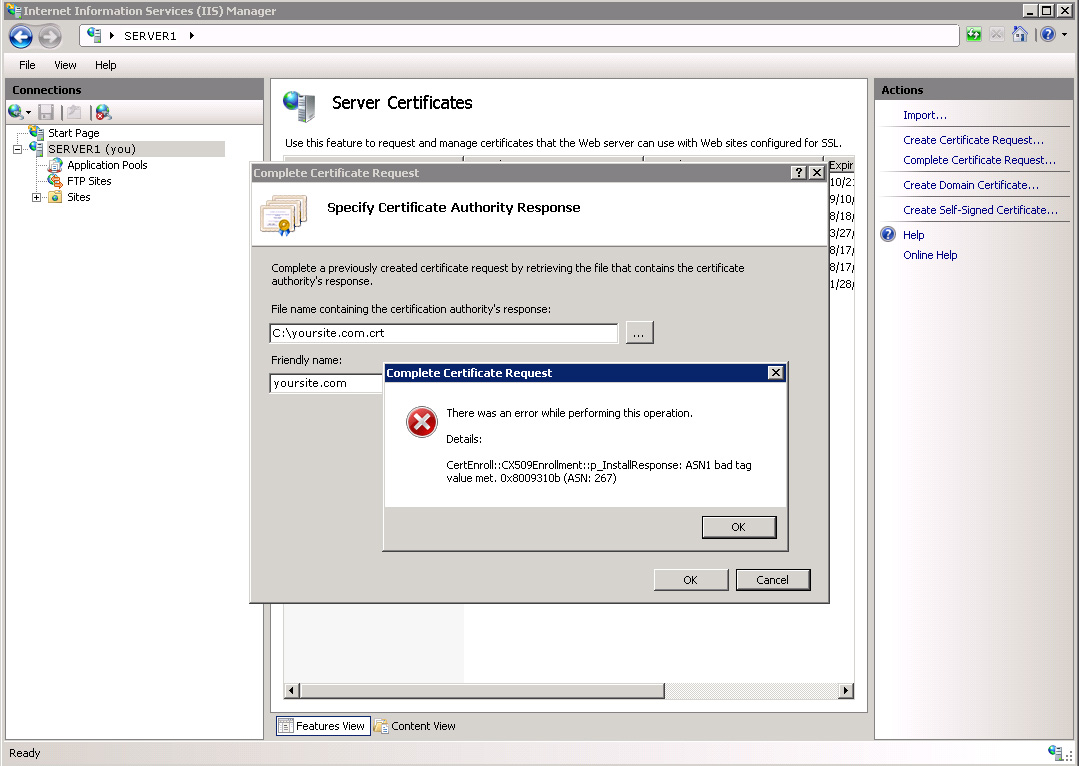
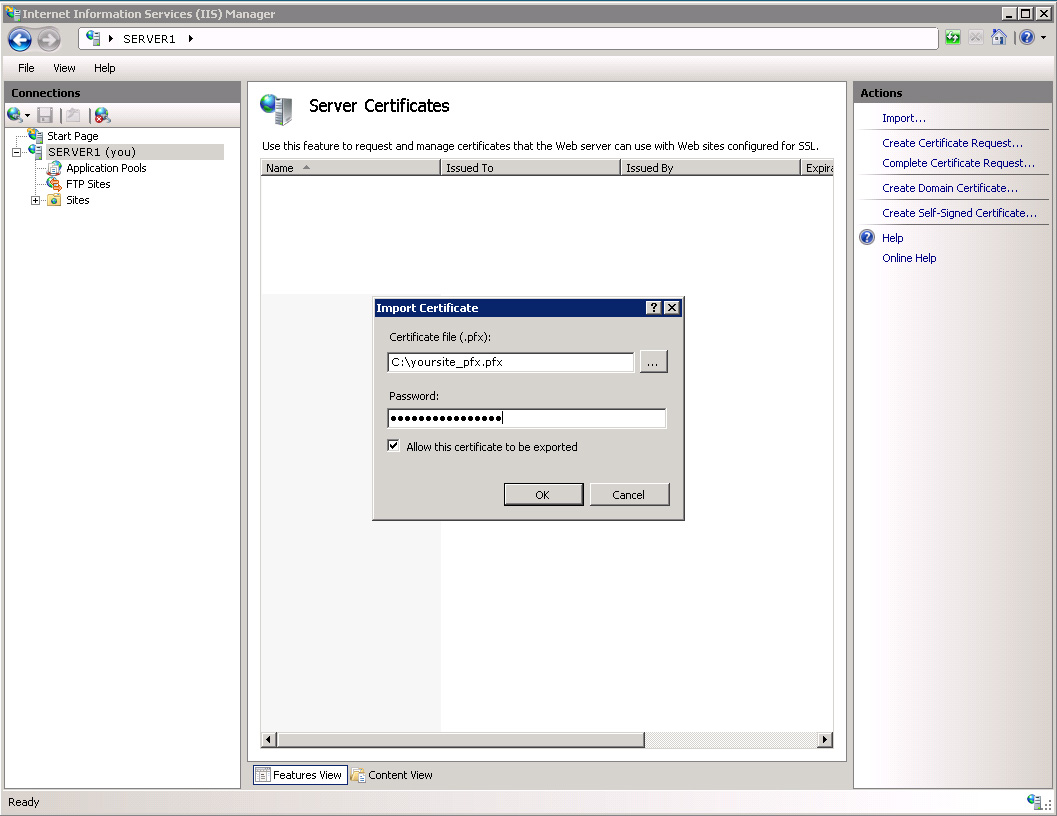
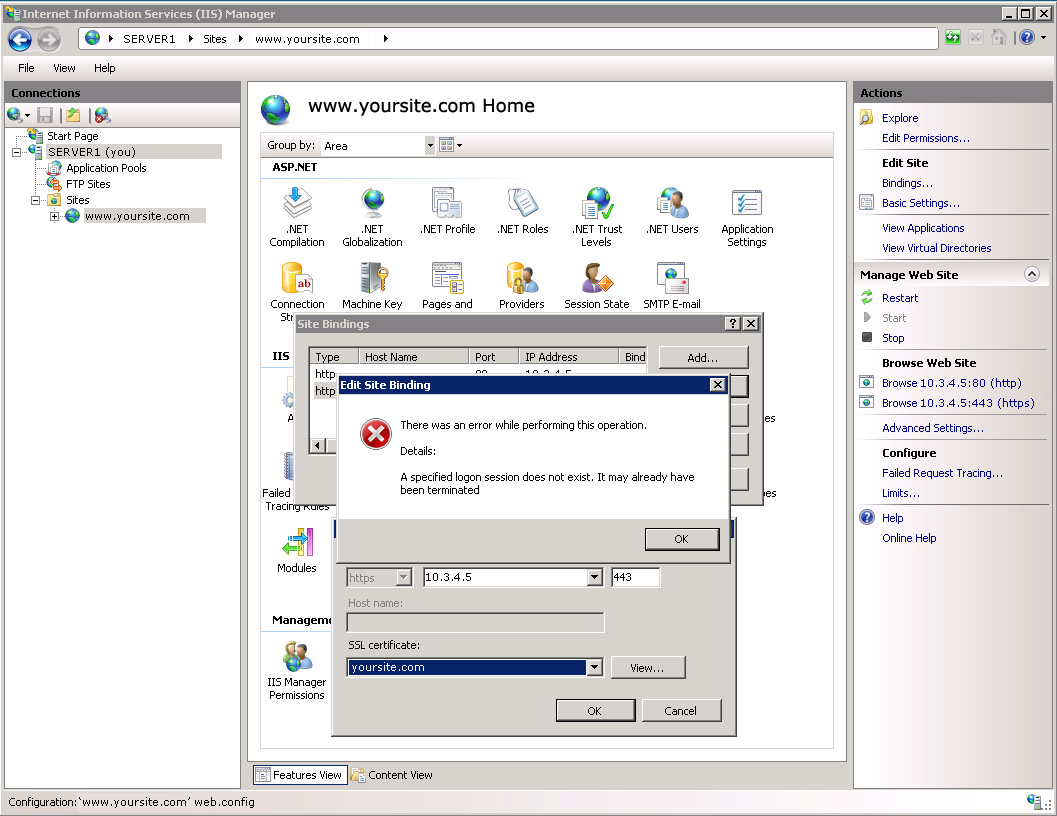
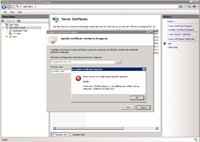
- From the IIS manager you attempt to import the SSL certificate (CRT) but you get an importation error to the effect of:
There was an error while performing this operation.
Details:
CertEnroll::CX509Enrollment::p_InstallResponse: ASN1 bad tag value met. 0x8009310b (ASN: 267)
|
(Enlarge)
|
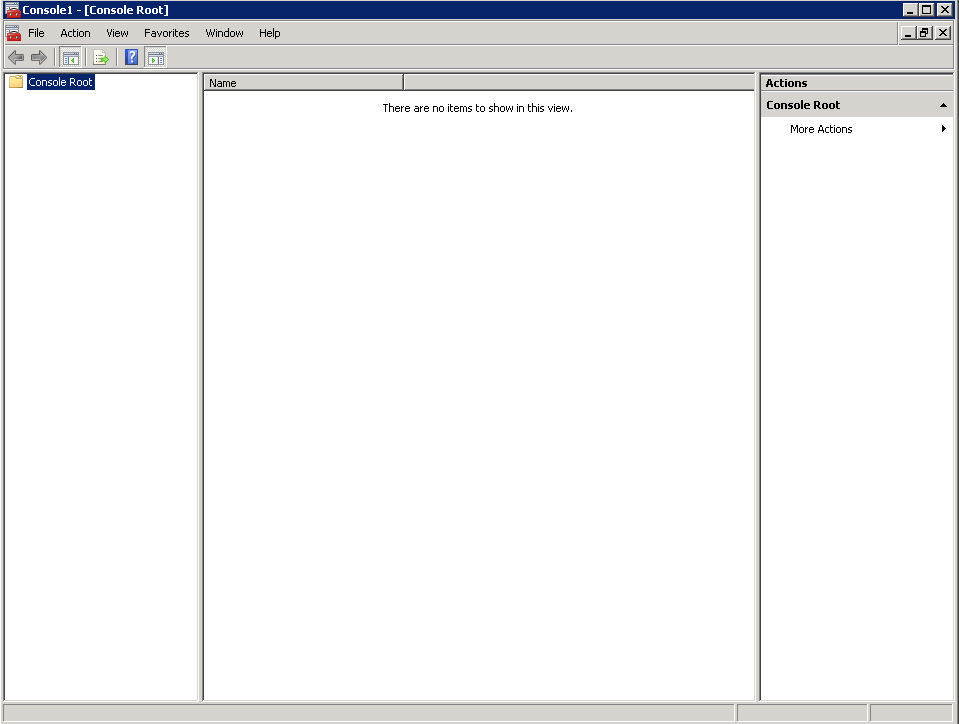
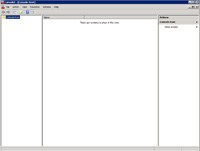
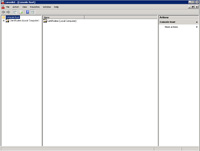
- Open up the MMC.
|
(Enlarge)
|
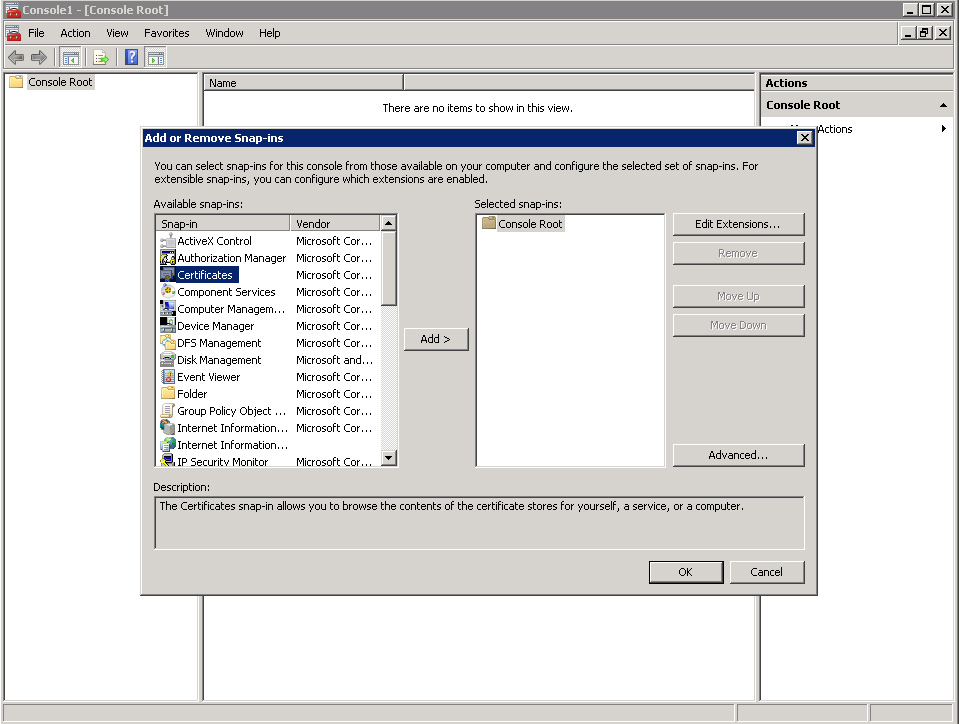
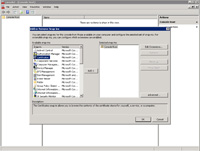
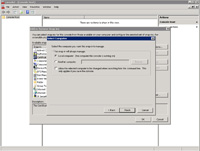
- From Add/Remove Snap-ins select certificates and click "Add >".
|
(Enlarge)
|
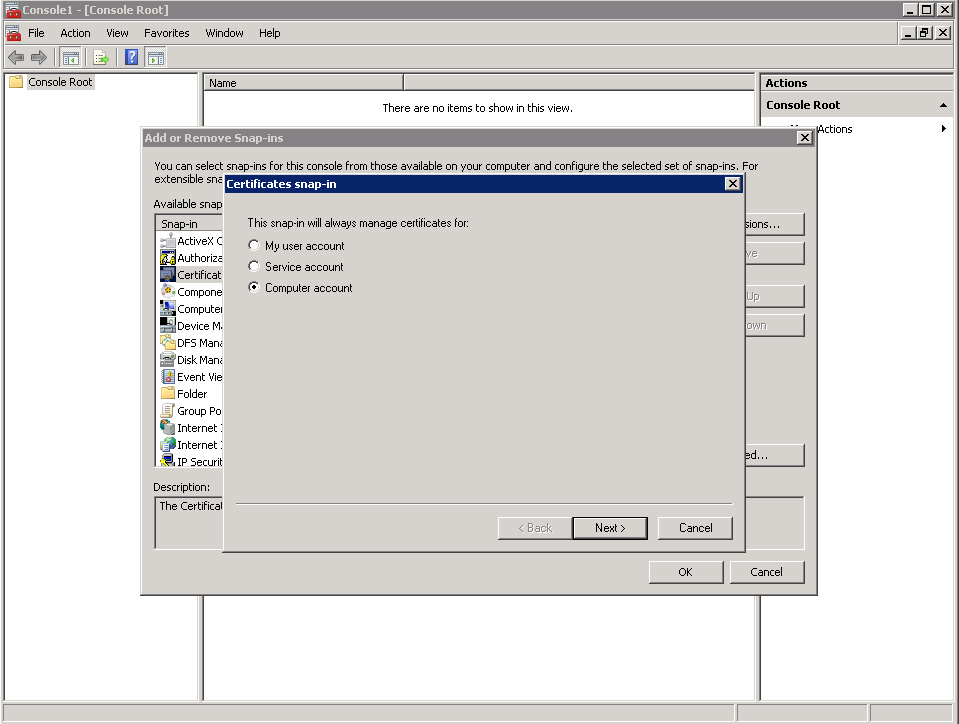
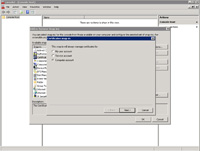
- Select "Computer account" as what the snap-in will always manage certificates for ("always manage" is usually temporary only to the duration of your session).
|
(Enlarge)
|
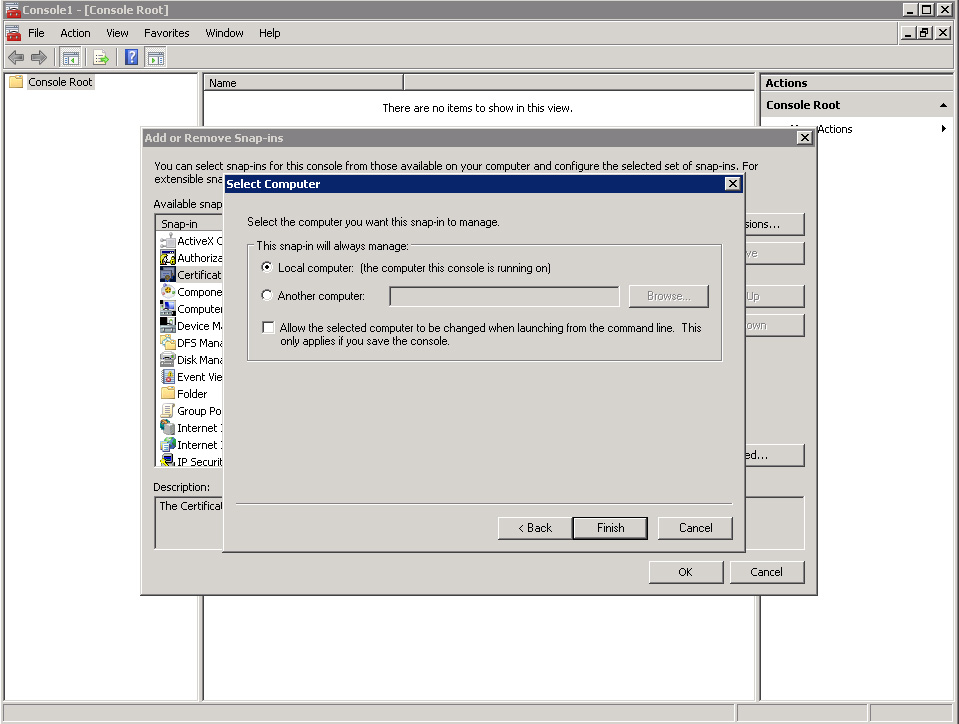
- Select "Local computer".
|
(Enlarge)
|
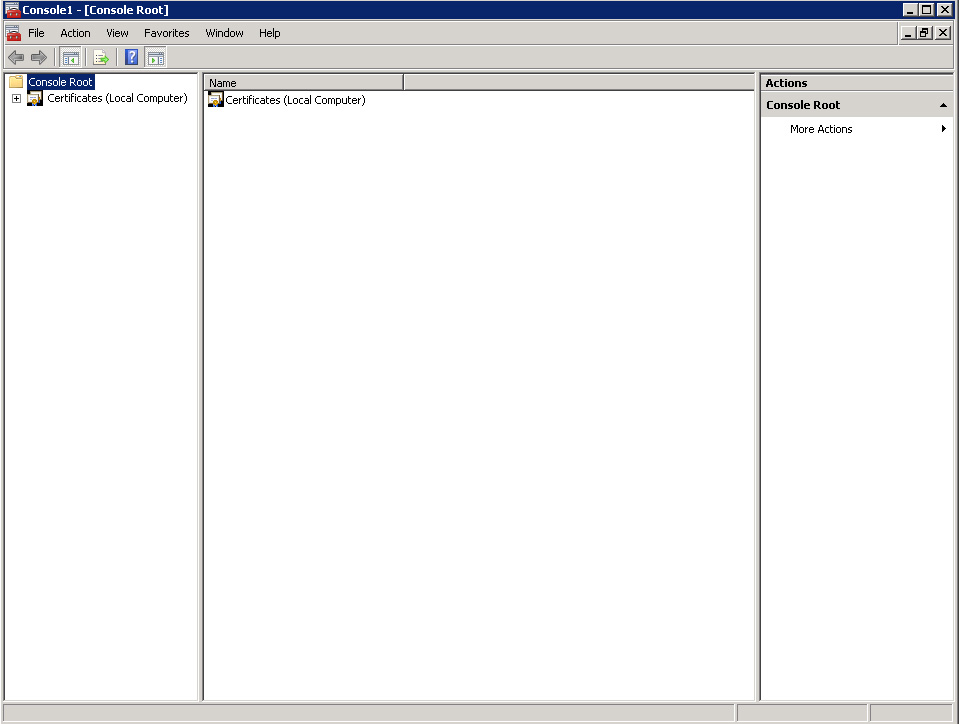
- Go to the console root.
|
(Enlarge)
|
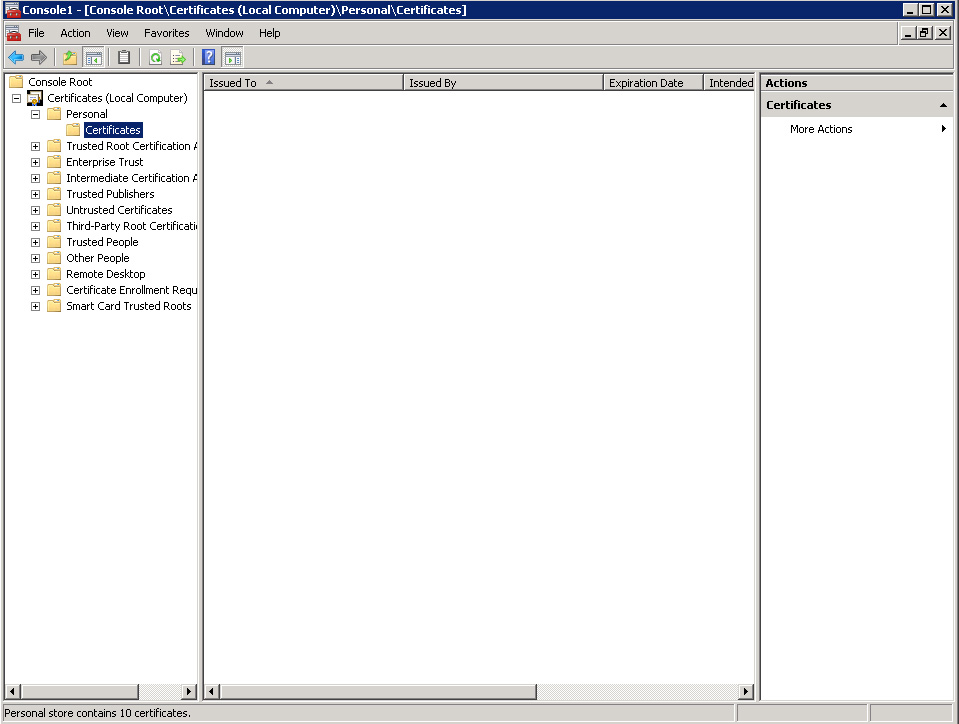
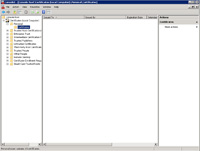
- Expand Certificates (Local Computer), Personal and then click on "Certificates".
|
(Enlarge)
|
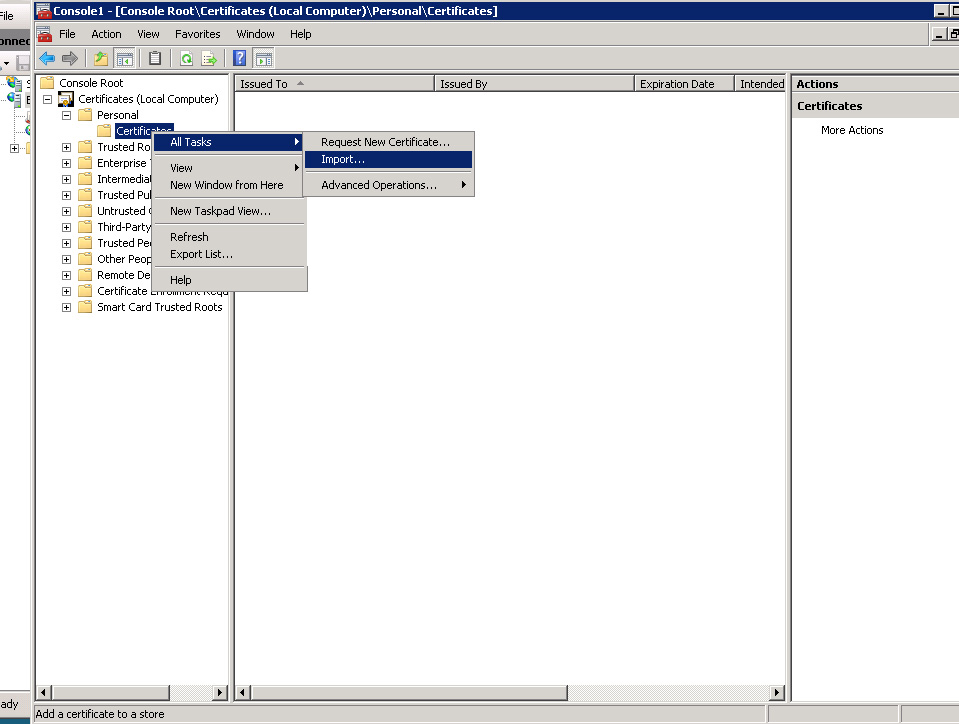
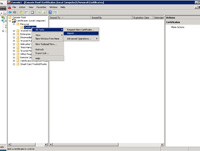
- Right-click on "Certificates". Select "Import..." from "All Tasks".
|
(Enlarge)
|
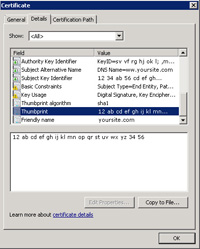
- NOTE: You don't need to do this step if you're importing an SSL certificate that is okay.
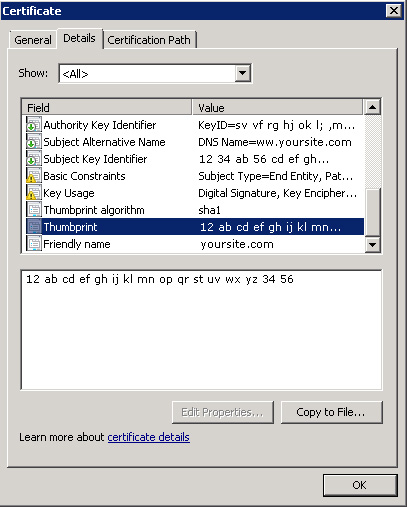
- Select the SSL certificate and go to the Details tab. Scroll down to "Thumbprint" and copy the code to the clipboard.
|
|
CMD
|
- NOTE: You don't need to do this step if you're importing an SSL certificate that is okay.
- Open the command-prompt.
- Enter: certutil -repairstore my "{PASTE THE THUMBPRINT CODE HERE}"
- When you see "CertUtil: -repairstore command completed successfully" the private key will be associated with the .CRT file in the personal store. The certificate should show up in IIS 7 under Server Certificates (you shouldn't need to import it).
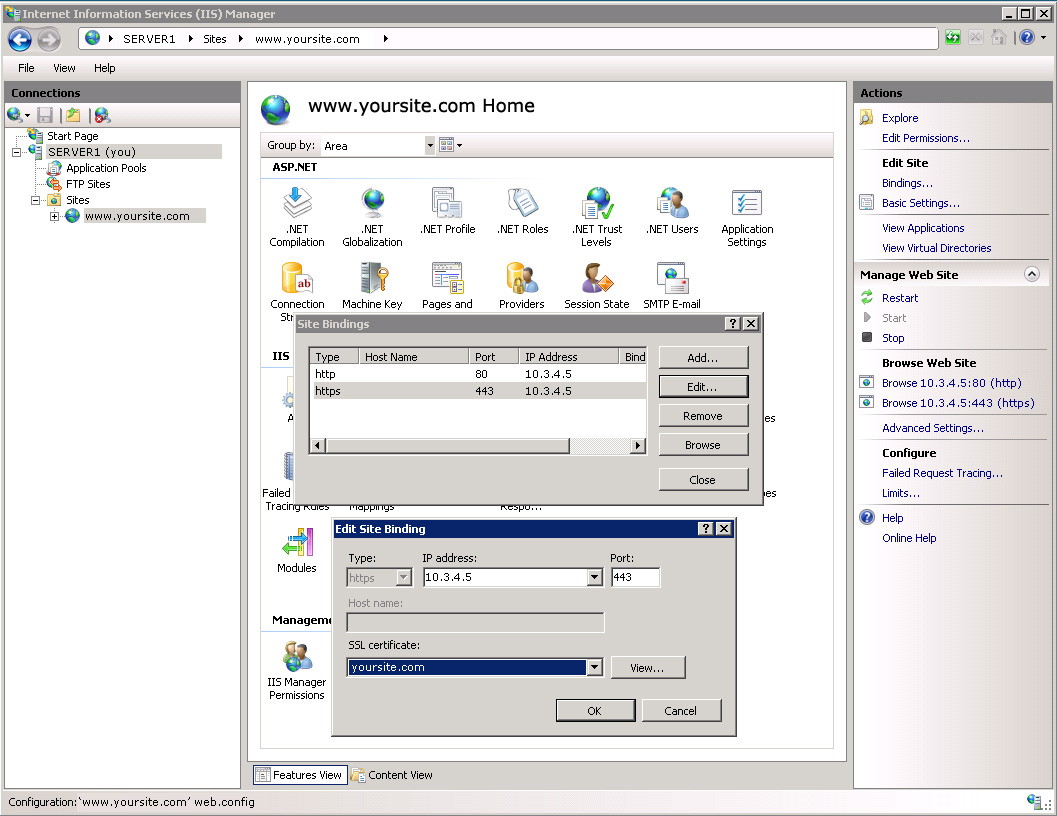
- Now you should be able to assign the SSL certificate to the appropriate website(s).
|
(Enlarge)
|
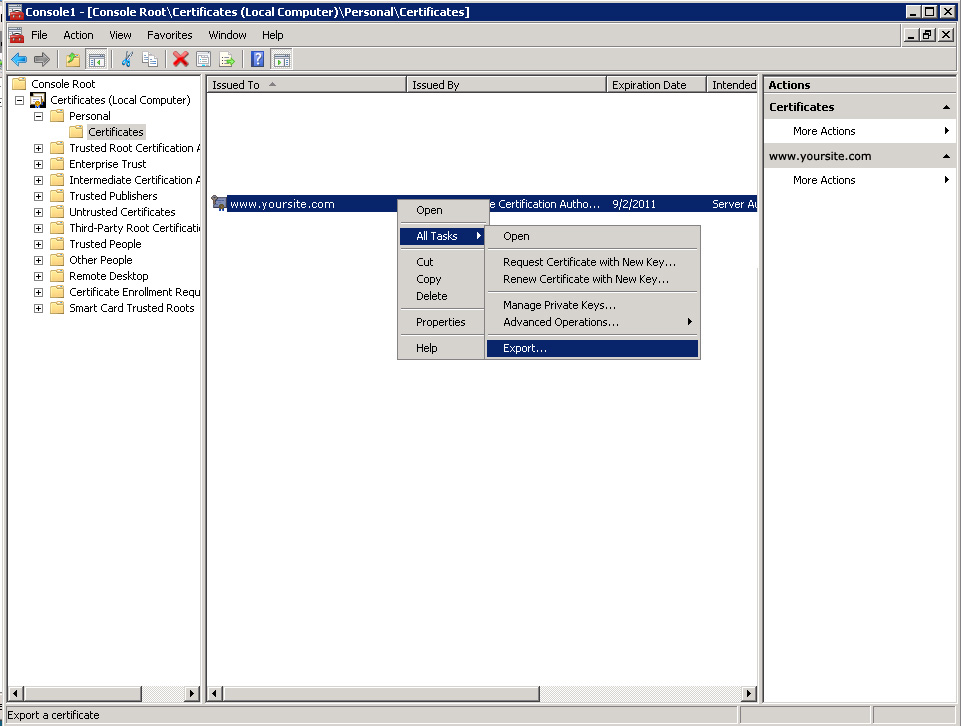
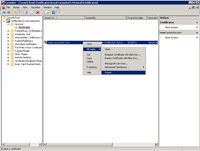
- Under the MMC, Console Root, Certificates (Local Computer), Personal, Certificates right-click on the SSL certificate you want to export (so you can import the SSL certificate to other servers or have a file for recovery).
- Under All Tasks select "Export..."
|
(Enlarge)
|
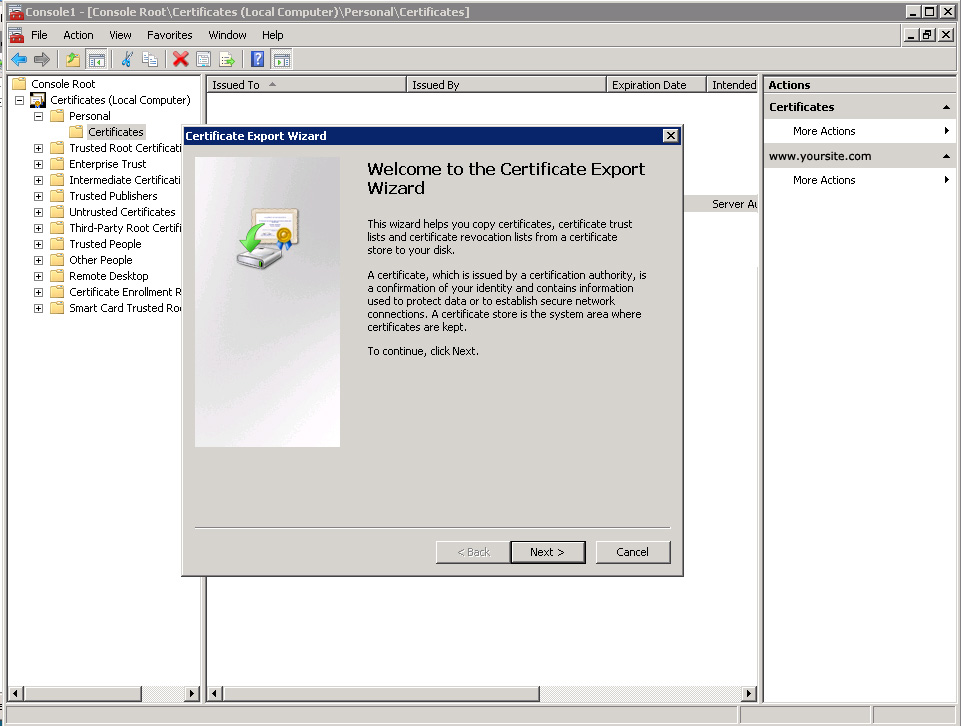
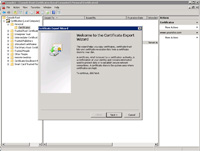
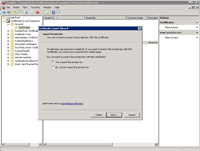
- The Certificate Export Wizard will start.
- Click "Next".
|
(Enlarge)
|
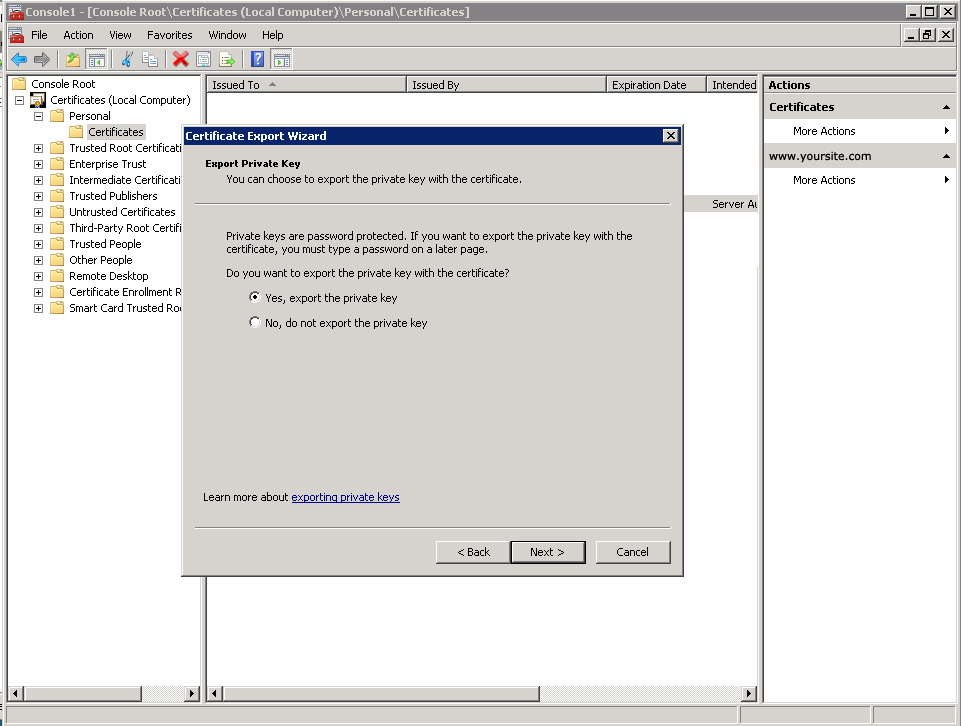
- Under Export Private Key select "Yes, export the private key".
|
(Enlarge)
|
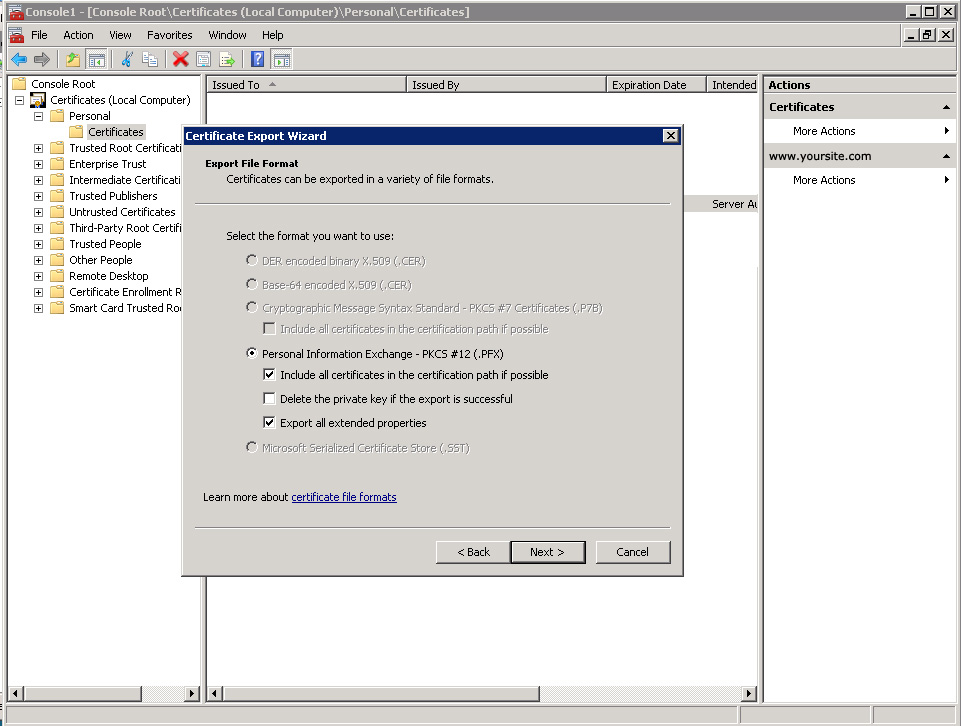
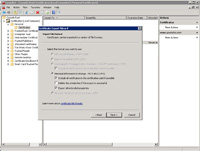
- Under Export File Format select (1) "Peronal Information Exchange - PKCS #12(.PFX)", (2) "Include all certificates in the certification path if possible", (3) "Export all extended properties".
|
(Enlarge)
|
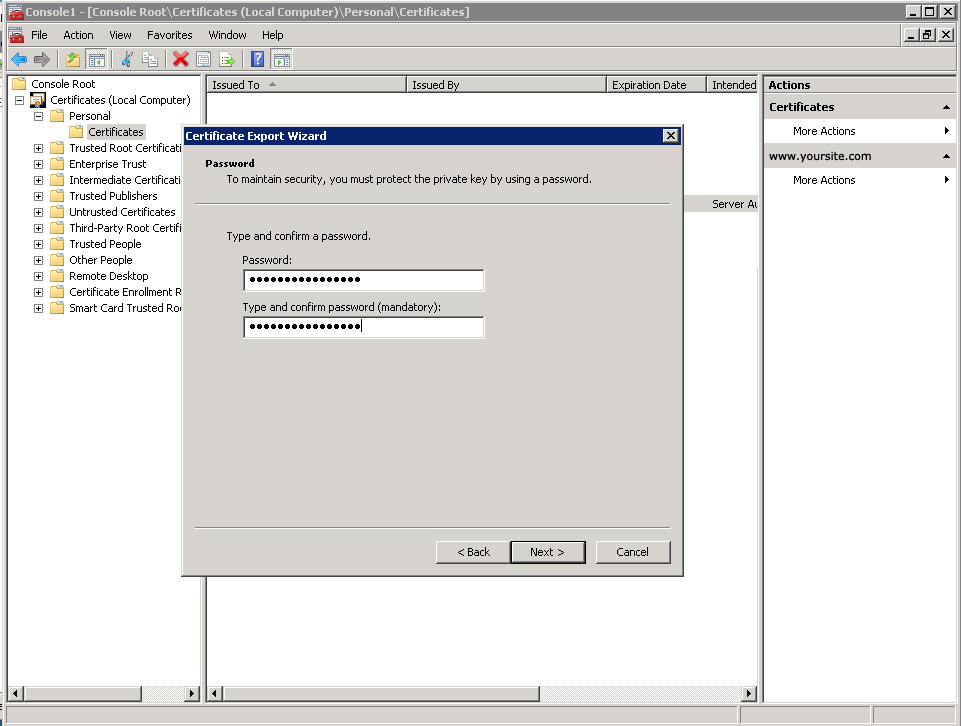
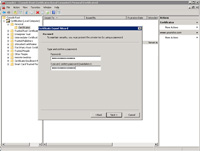
- Enter a password; while this password can be anything, bear in mind that this password must be manually entered when importing the PFX to other servers or performing a recovery.
|
(Enlarge)
|
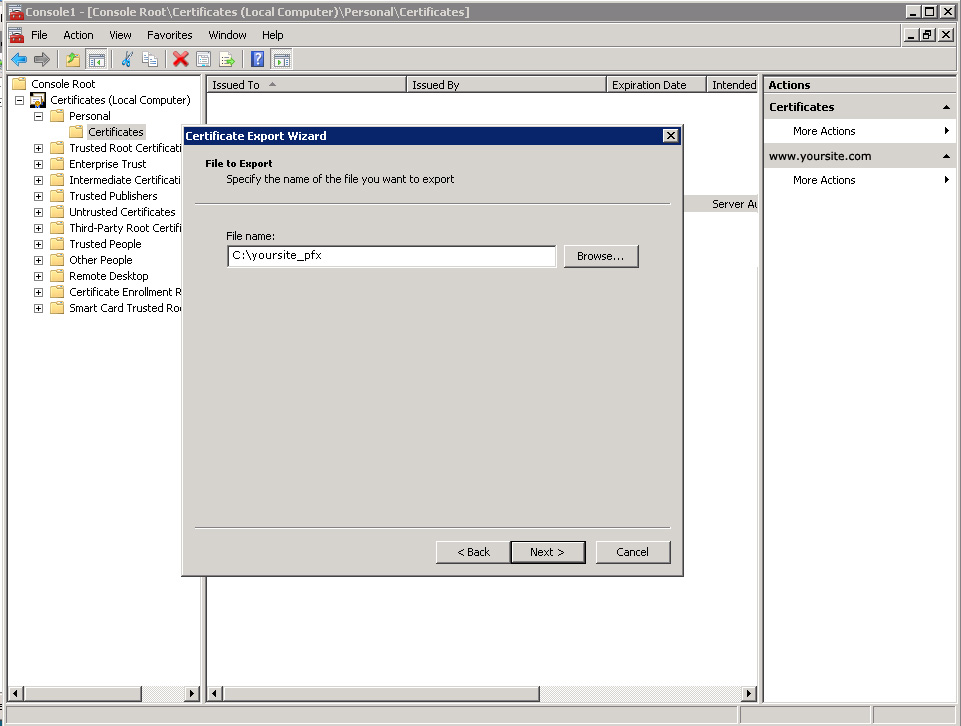
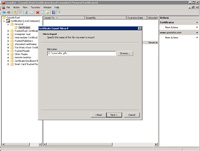
- Provide the target export location and name of the PFX file.
|