|
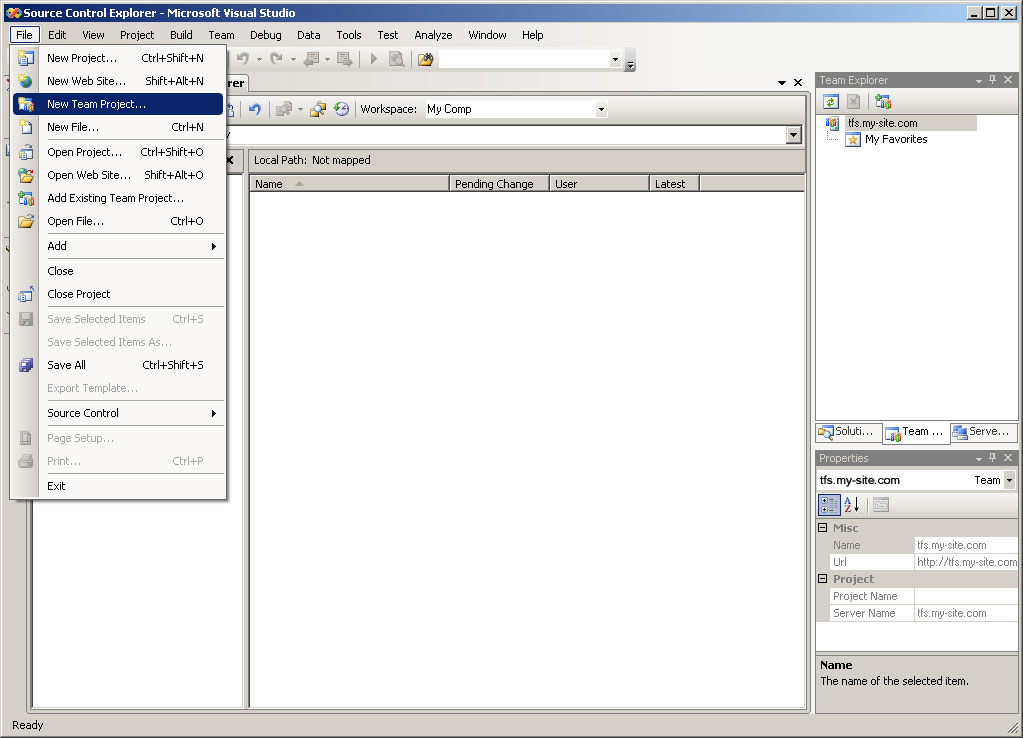
STEP 1
|
(Enlarge)
|
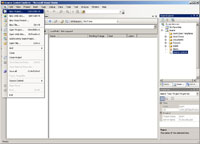
- Under "File" select "New Team Project"
|
|
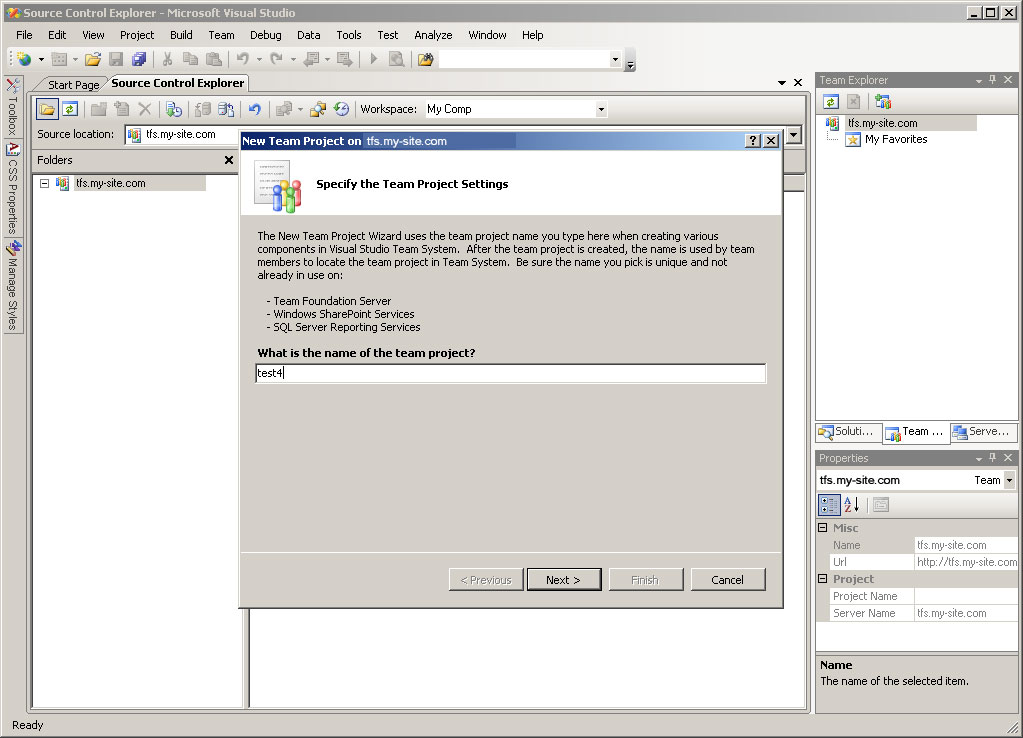
STEP 2
|
(Enlarge)
|
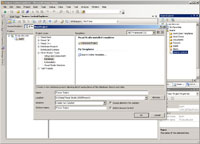
- Specify a name for the team project
- Click on the button labeled "Next >"
|
|
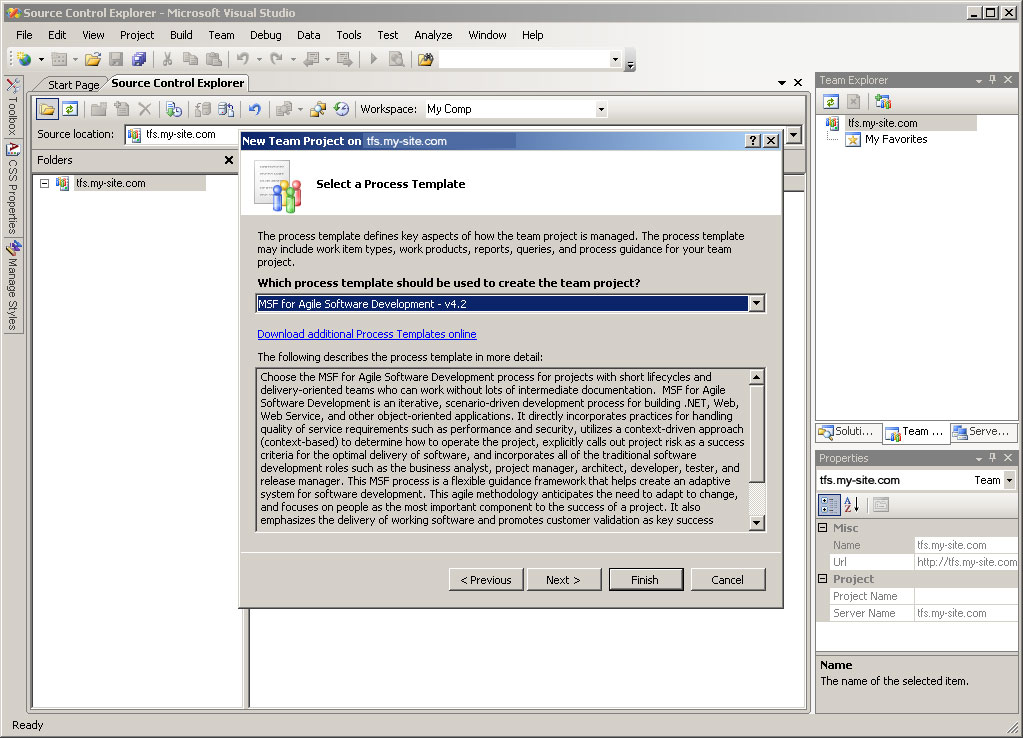
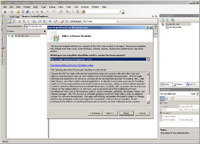
STEP 3
|
(Enlarge)
|
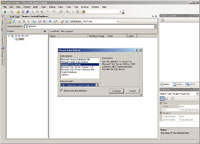
- Select a process template to use. I've always used "MSF for Agile Software Development - v4.2"
- Click on the button labeled "Next >"
|
|
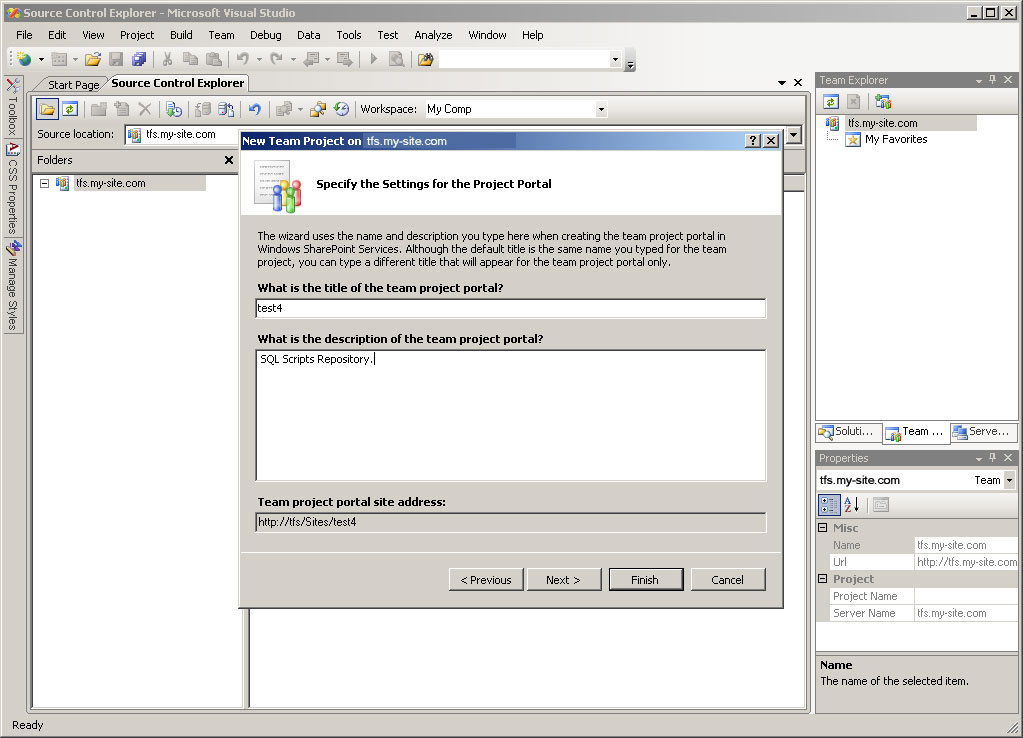
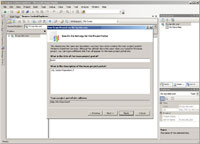
STEP 4
|
(Enlarge)
|
- Provide a description of the team project
- Click on the button labeled "Next >"
|
|
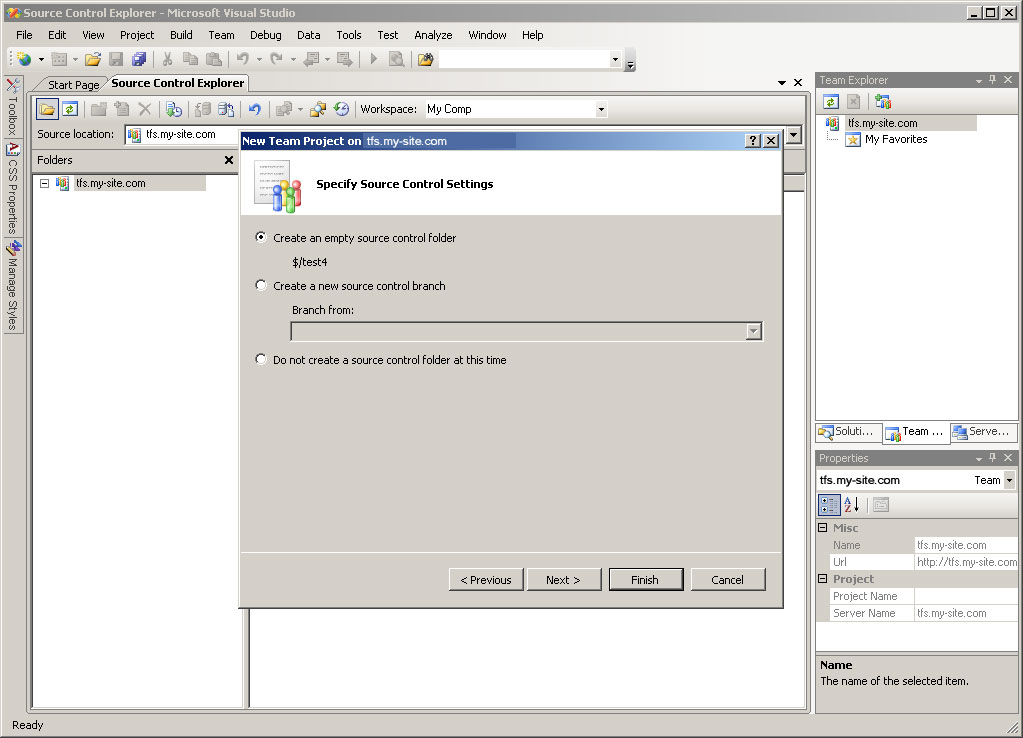
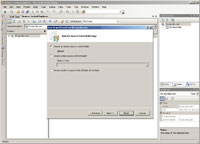
STEP 5
|
(Enlarge)
|
- Starting out you will probably want to select "Create an empty source control folder"
- Click on the button labeled "Next >"
|
|
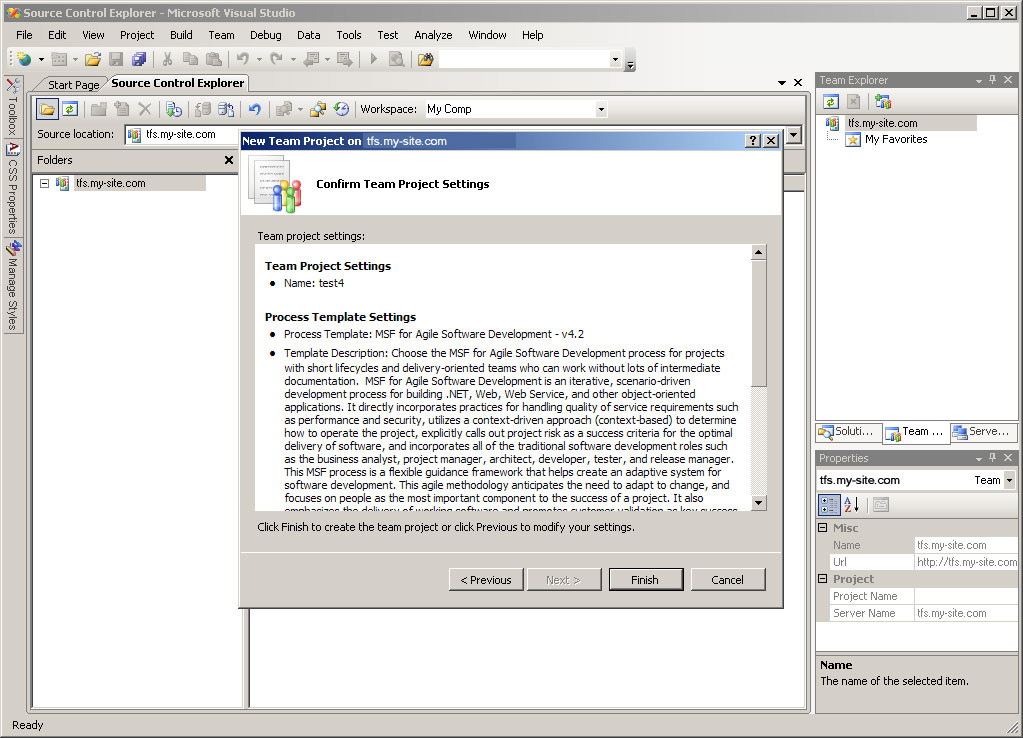
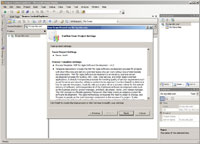
STEP 6
|
(Enlarge)
|
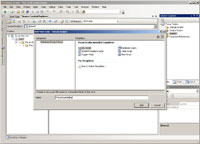
- Confirm the settings and click "Finish" when you are ready to proceed
|
|
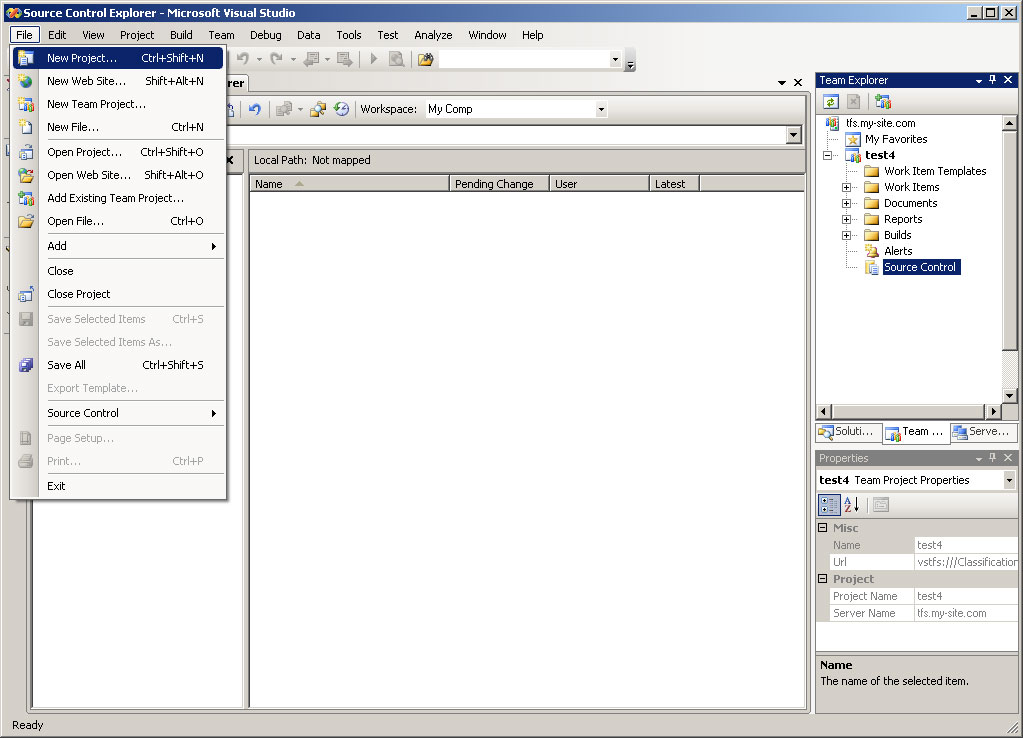
STEP 7
|
(Enlarge)
|
- Now that we have a team project that we can place all SQL Server related scripts and projects inside of, let's create a SQL project for a forums database
- Under "File" select "New Project"
|
|
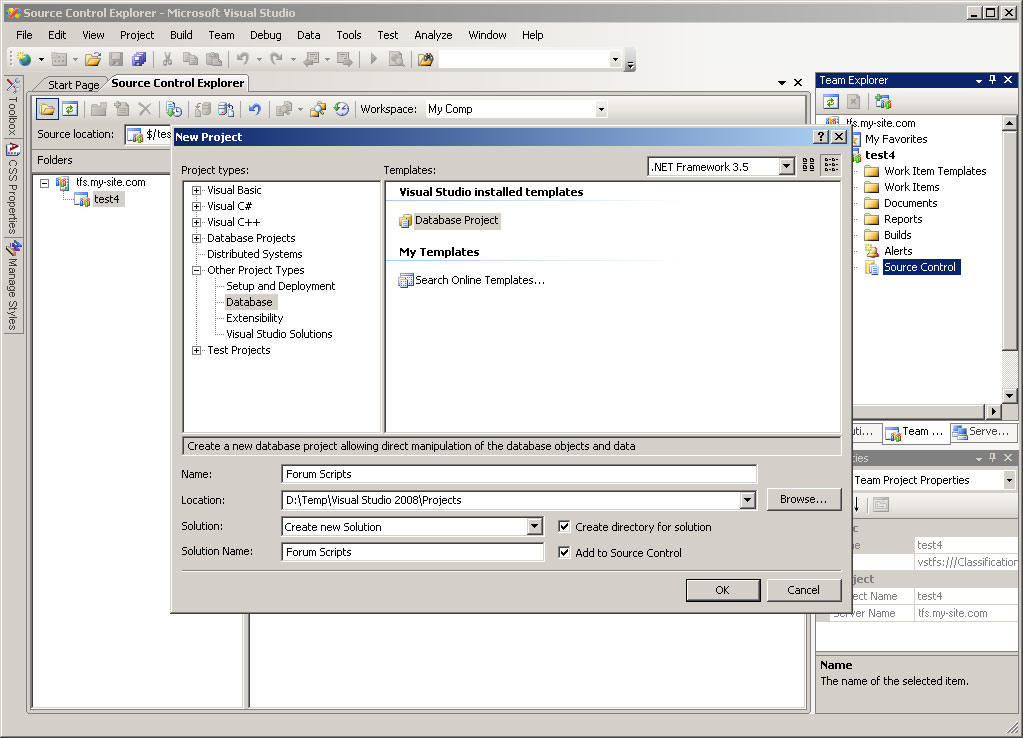
STEP 8
|
(Enlarge)
|
- Under "Project types:" expand "Other Project Types"
- Select "Database"
- Under "Templates:" ensure that "Database Project" is selected
- Where it prompts for a name of the database project, provide a name
- NOTE: Ensure that "Add to Source Control" is checked
|
|
STEP 9
|
(Enlarge)
|
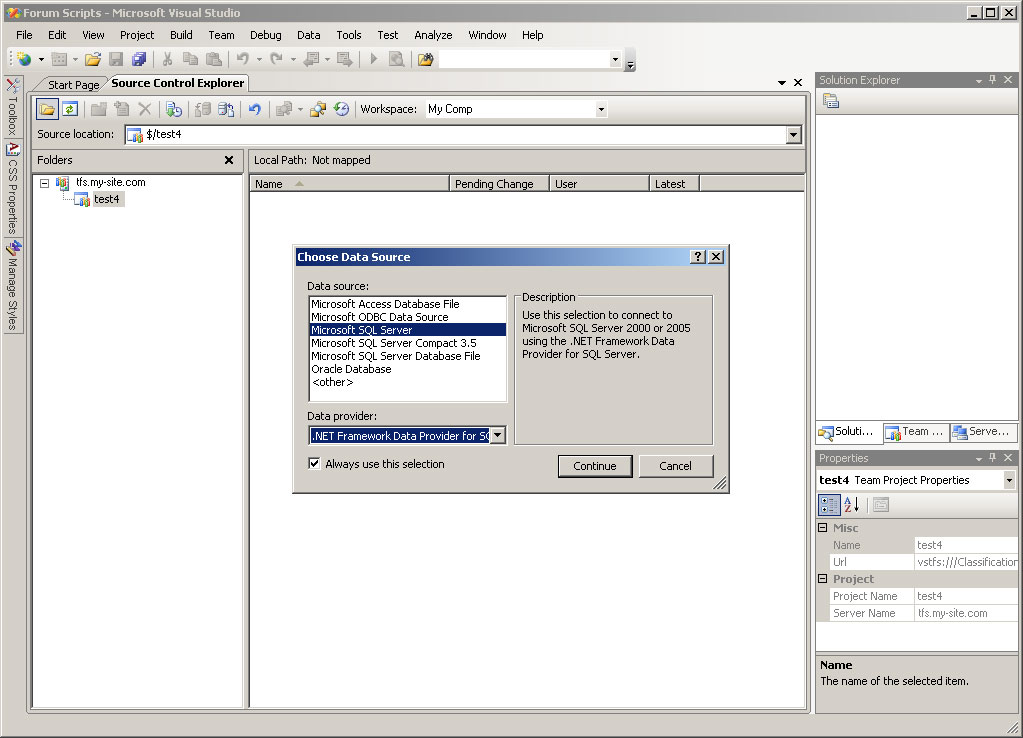
- You will be prompted to choose a data source for the database project
- In our case select "Microsoft SQL Server"
|
|
STEP 10
|
(Enlarge)
|
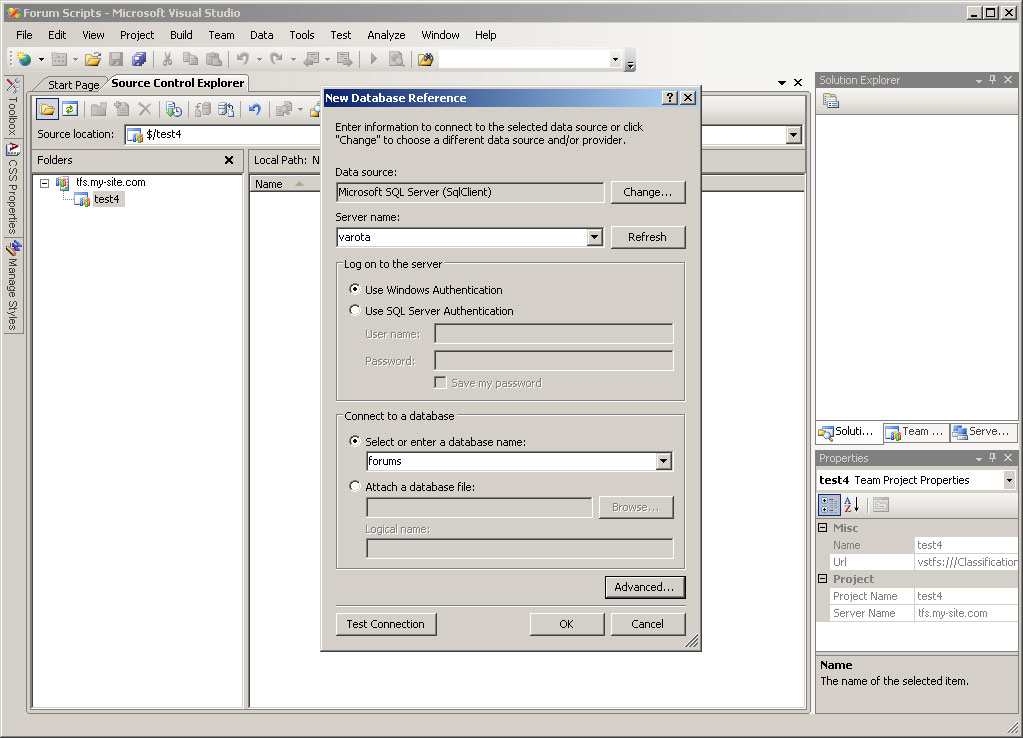
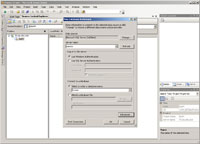
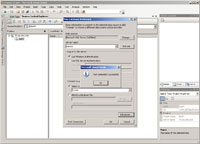
- The "New Database Reference" pane will appear
- You will need to specify the name of the Microsoft SQL Server that will be connected to
- Under the section "Log on to the server" choose the method that the project will use to connect to the server
- Under "Connect to a database", select the name of the database that the database project will be interacting with
|
|
STEP 11
|
(Enlarge)
|
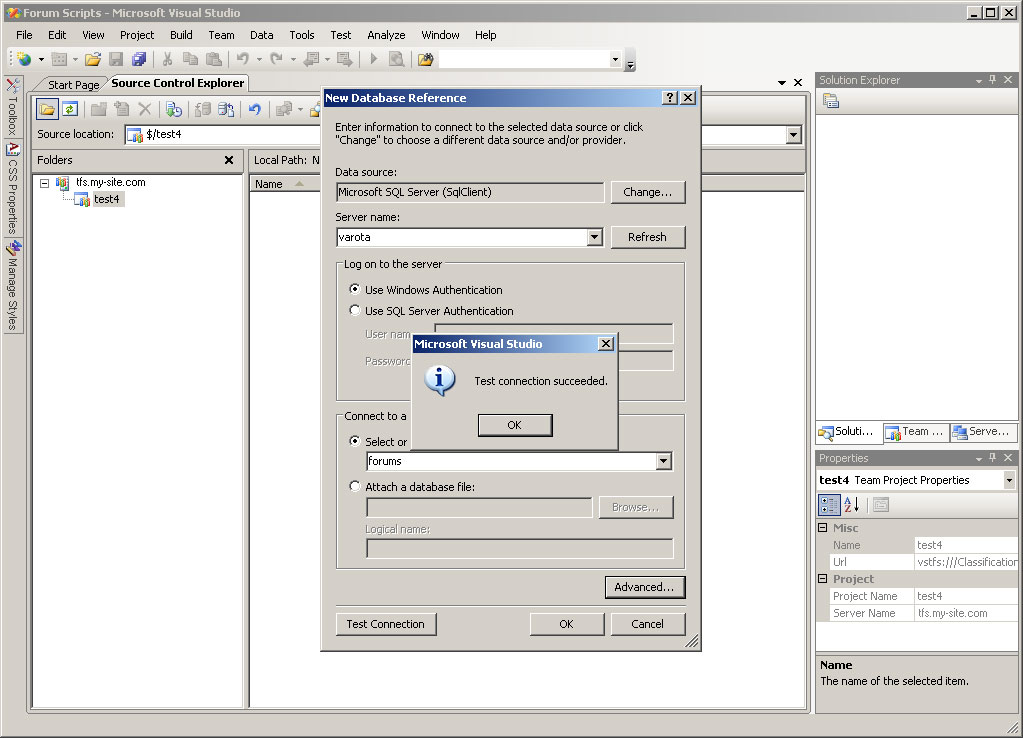
- If you need to test your connection, you can click the button labeled "Test Connection"
|
|
STEP 12
|
(Enlarge)
|
- Confirm the details and click on the button labeled "OK"
|
|
STEP 13
|
(Enlarge)
|
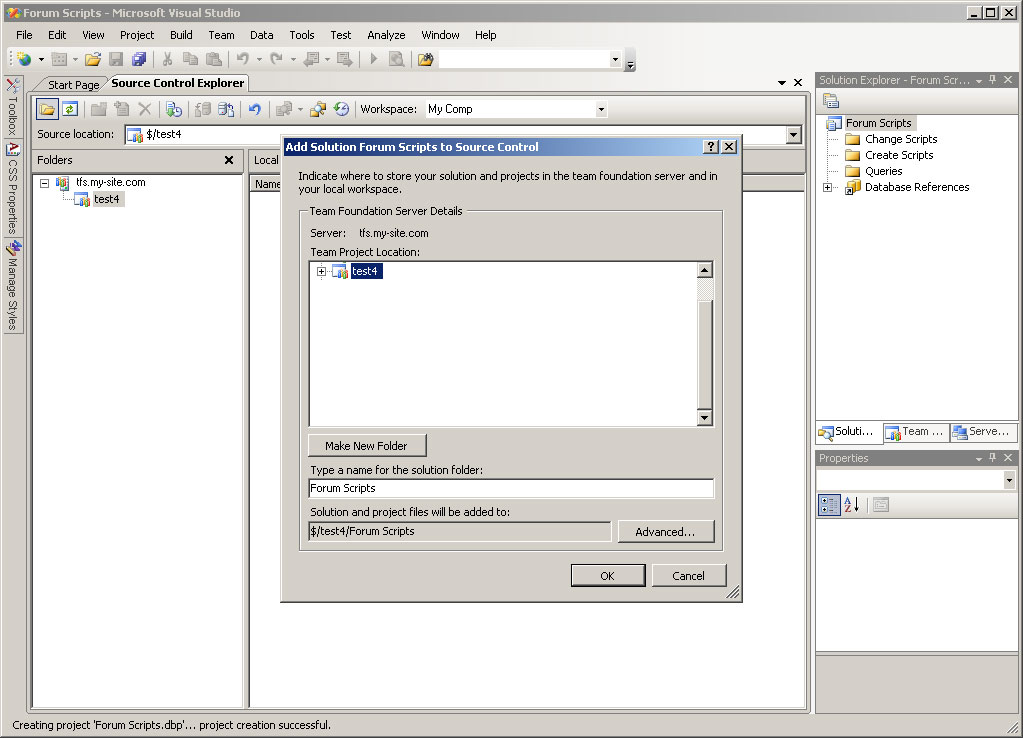
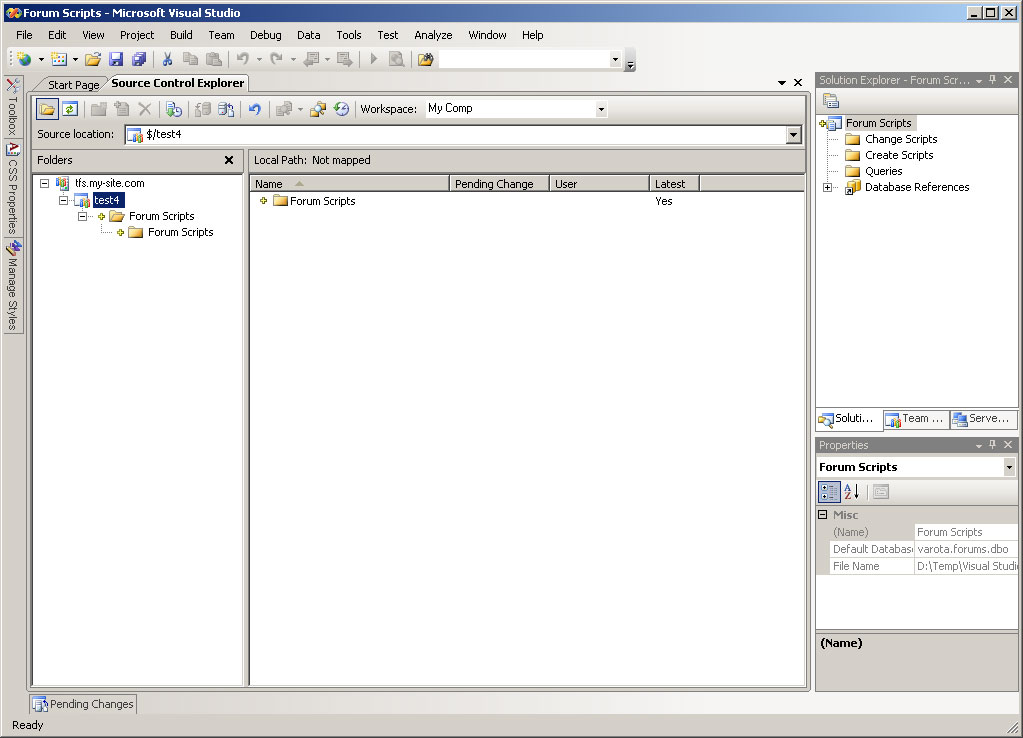
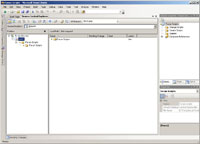
- After confirmation, The Solution Explorer and Source Control Explorer would look something like this
|
|
STEP 14
|

(Enlarge)
|
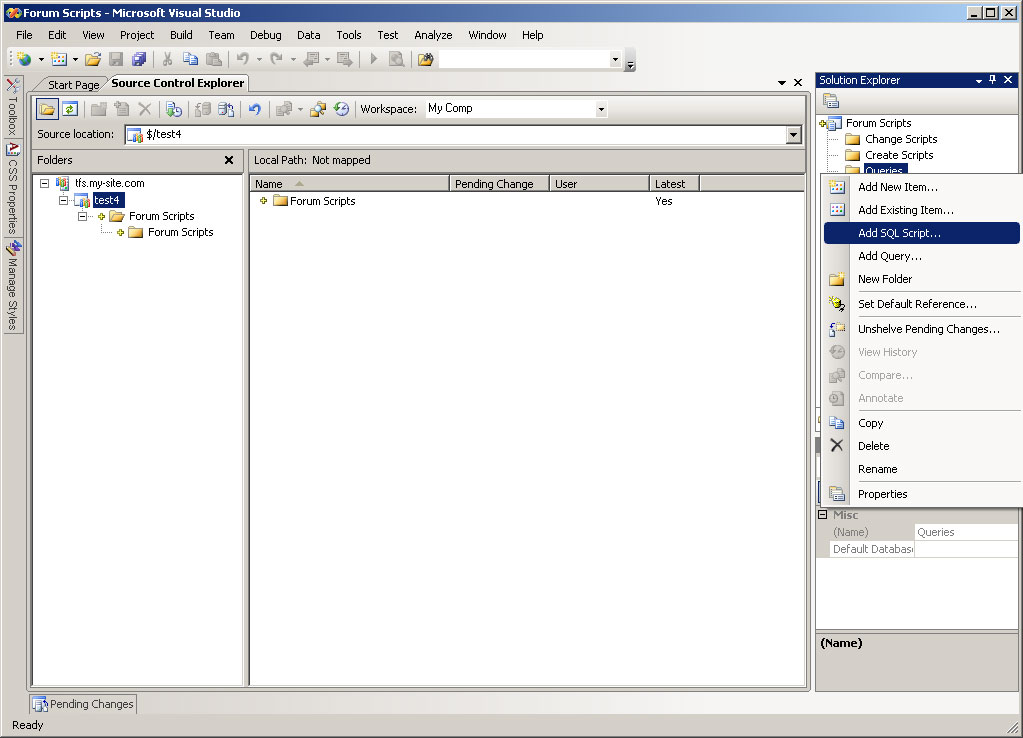
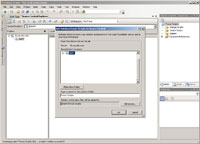
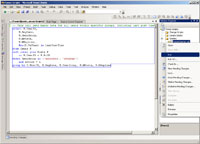
- Now it's time to add an SQL Script to the database project
- Under the Solution Explorer (where you can create folders or use existing ones) right-click on the folder labeled "Queries"
- Select "Add SQL Script" from the popup menu
|
|
STEP 15
|
(Enlarge)
|
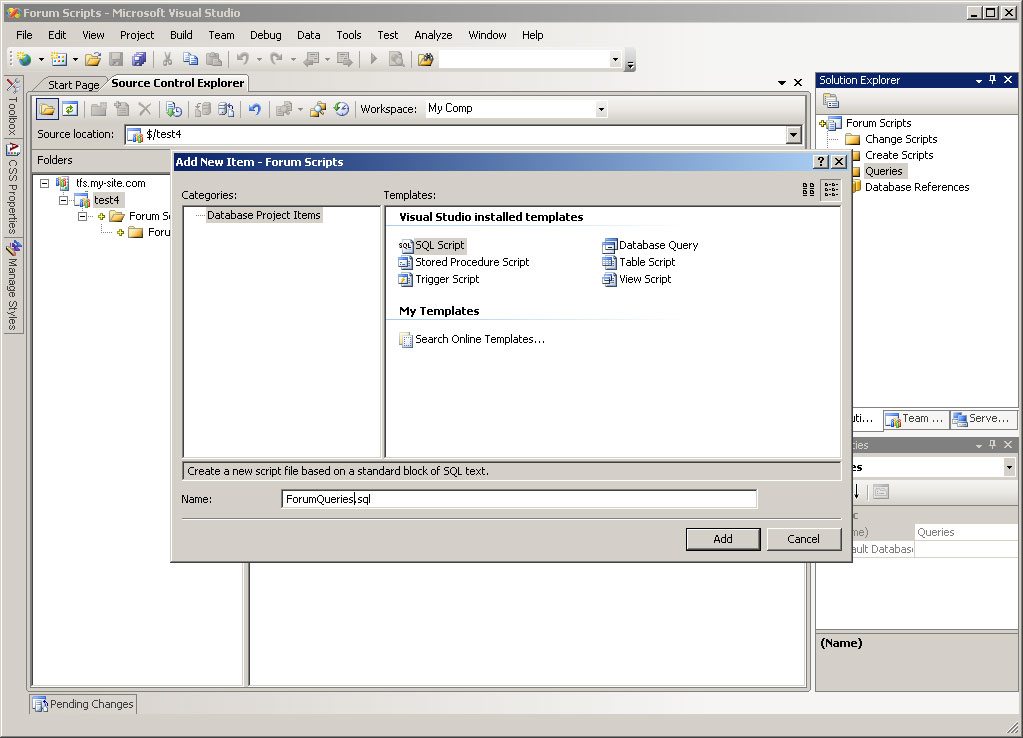
- Under "visual Studio installed templates" select "SQL Script"
- Next to "Name:" provide a name for the SQL Script that will be intuitive
- Click the button labeled "Add"
|
|
STEP 16
|
(Enlarge)
|
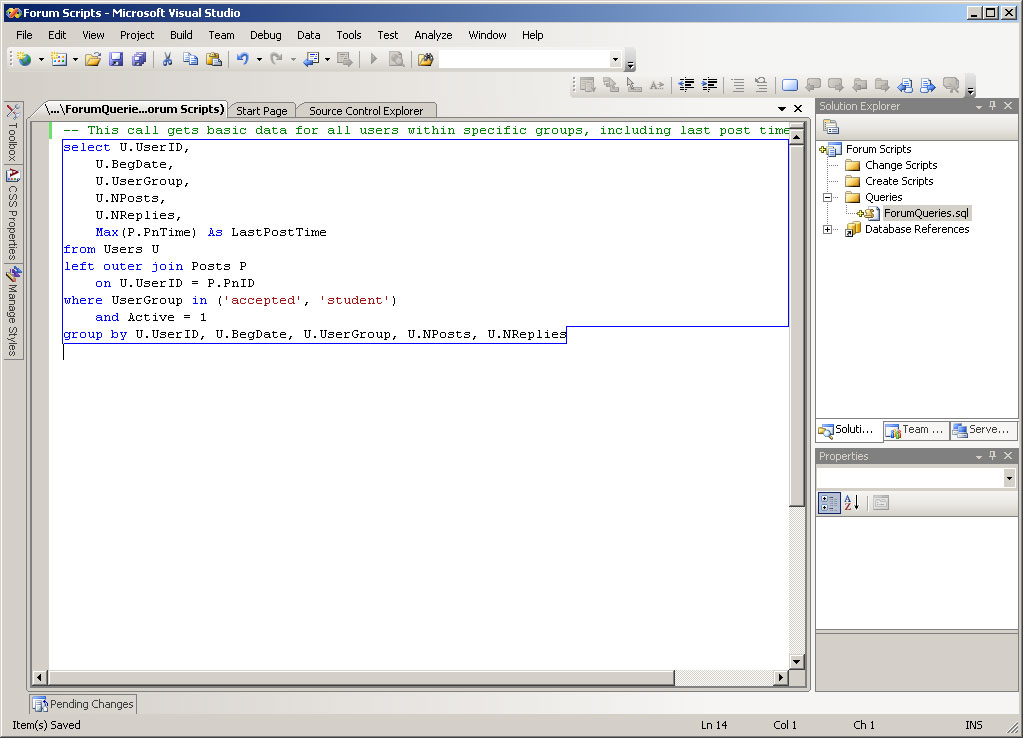
- Now, let's add that SQL code! I would recommend having one block of SQL per script page just so that it is easier to track changes being made to SQL code
|
|
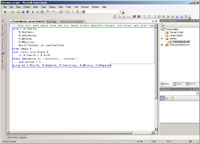
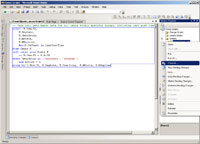
STEP 17
|
(Enlarge)
|
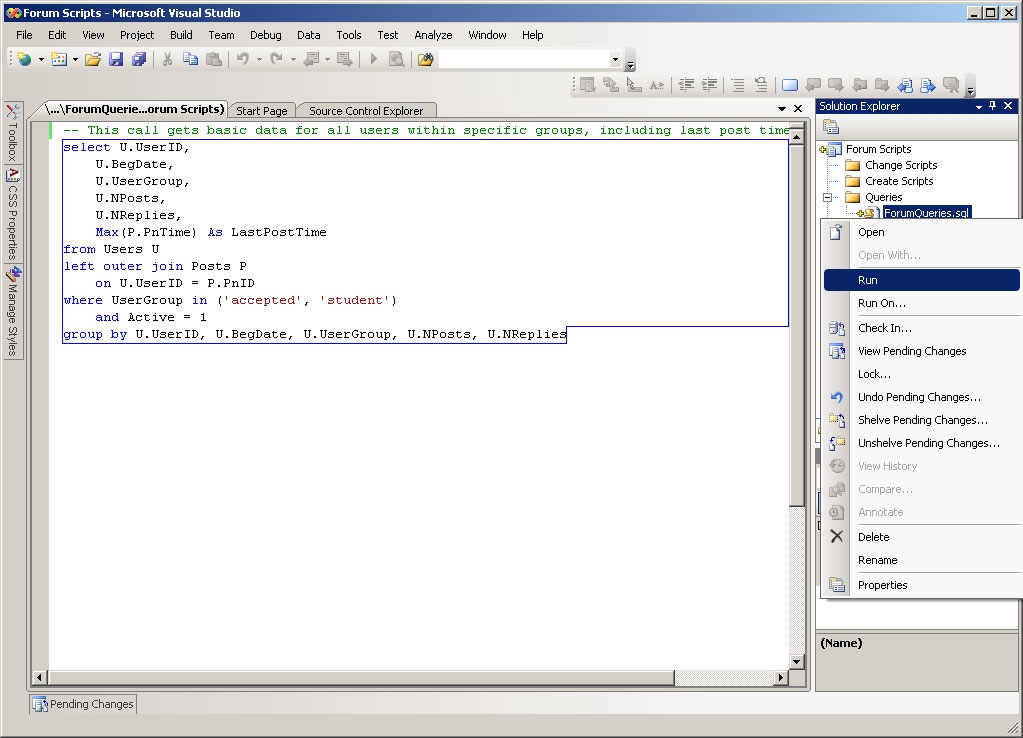
- Now that you've got some SQL script added to the project, there are a few different ways that you can have that code executed
- Under Solution Explorer you can right-click on the .SQL page and select "Run" from the popup menu...
|
|
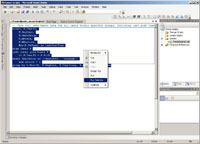
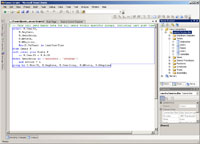
STEP 18
|
(Enlarge)
|
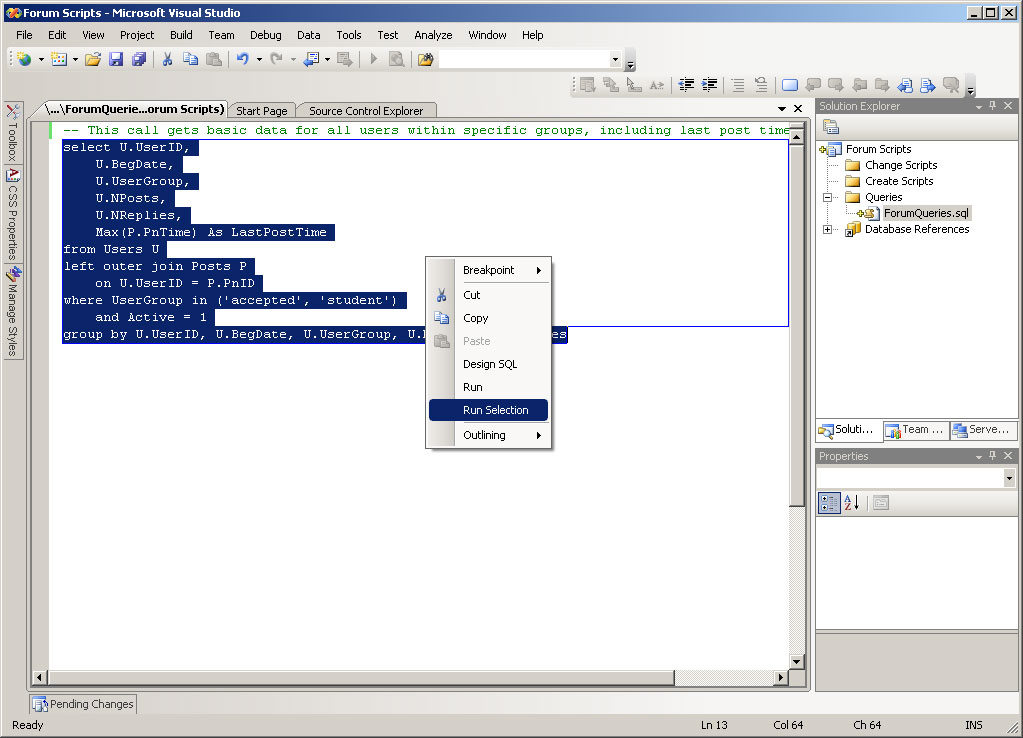
- ...or you can do it the "old school" way and highlight the code, right-click and select "Run Selection" from the popup menu
|
|
STEP 19
|
(Enlarge)
|
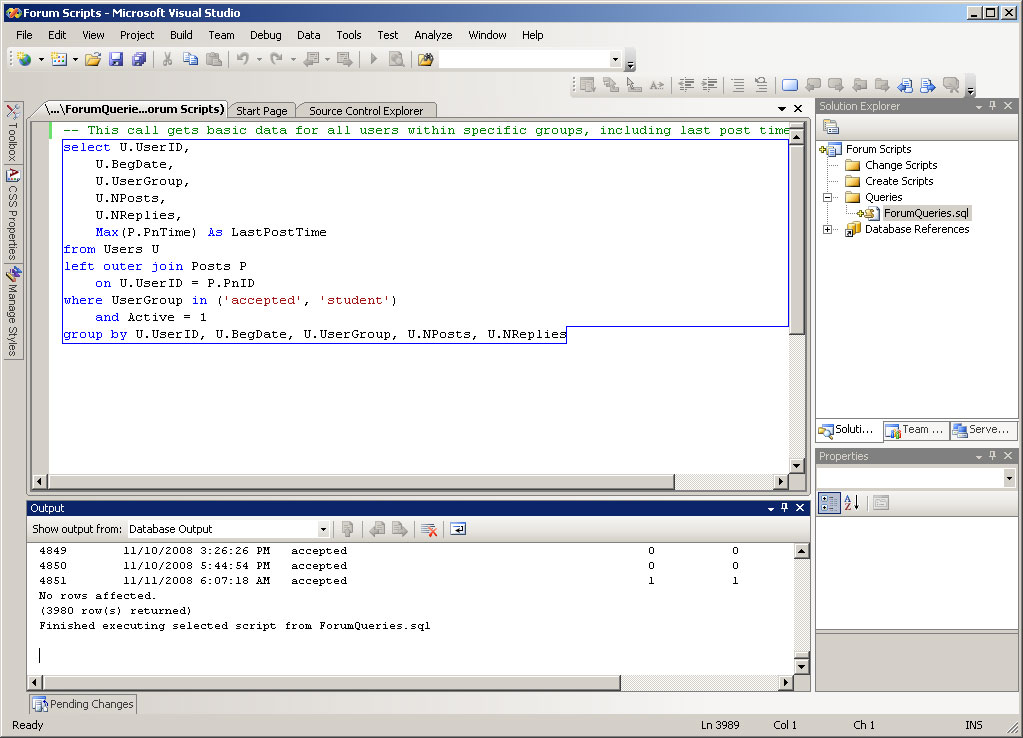
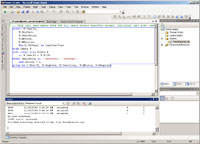
- After execution, the Output pane will show the results of the code you executed
|
|
STEP 20
|
(Enlarge)
|
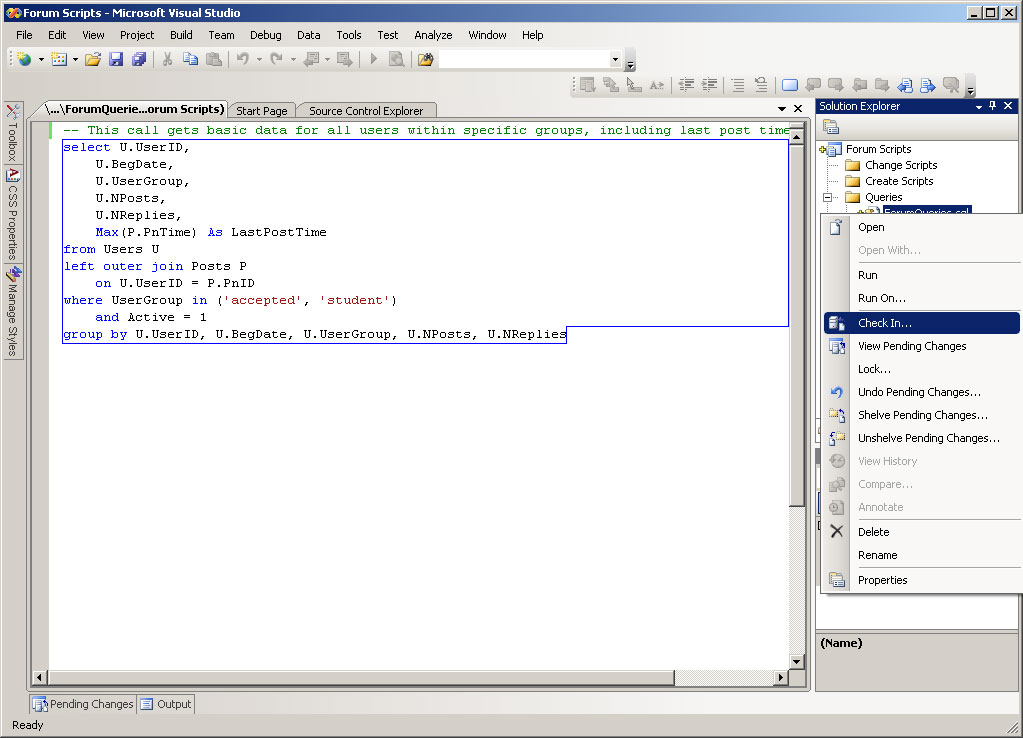
- After you have added the script(s), be sure to right-click on the .SQL(s) and select "Check In..." from the popup menu
|
|
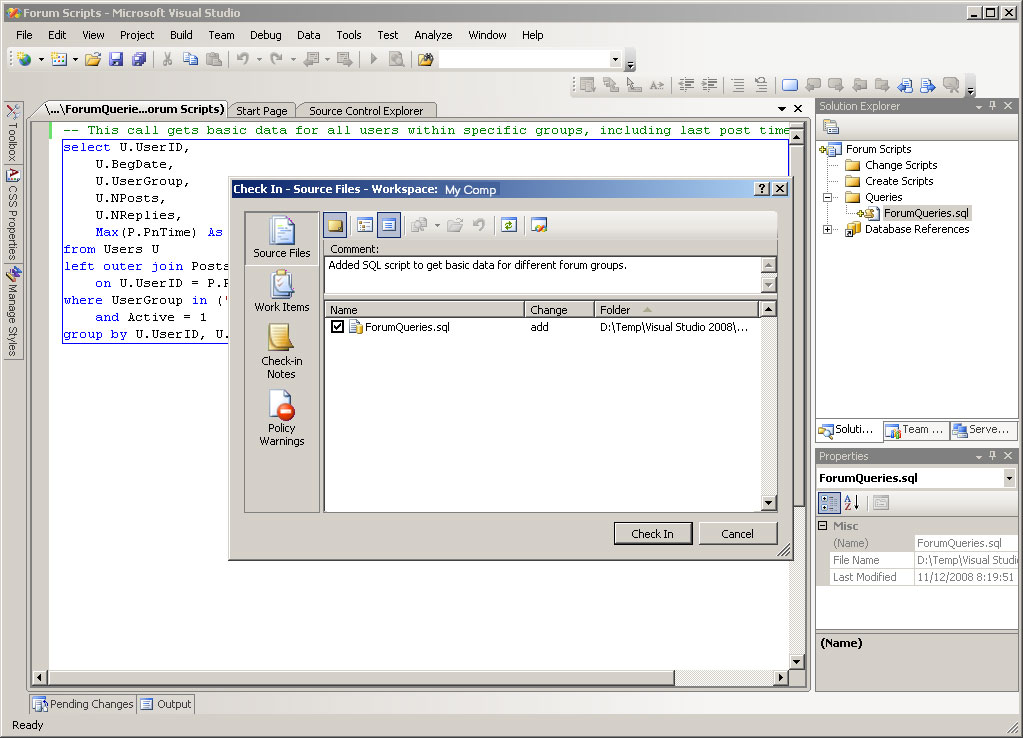
STEP 21
|

(Enlarge)
|
- Be sure to add at least a comment about the .SQL you are checking into Team Foundation Server
- When finished, click on the button labeled "Check In"
|
|
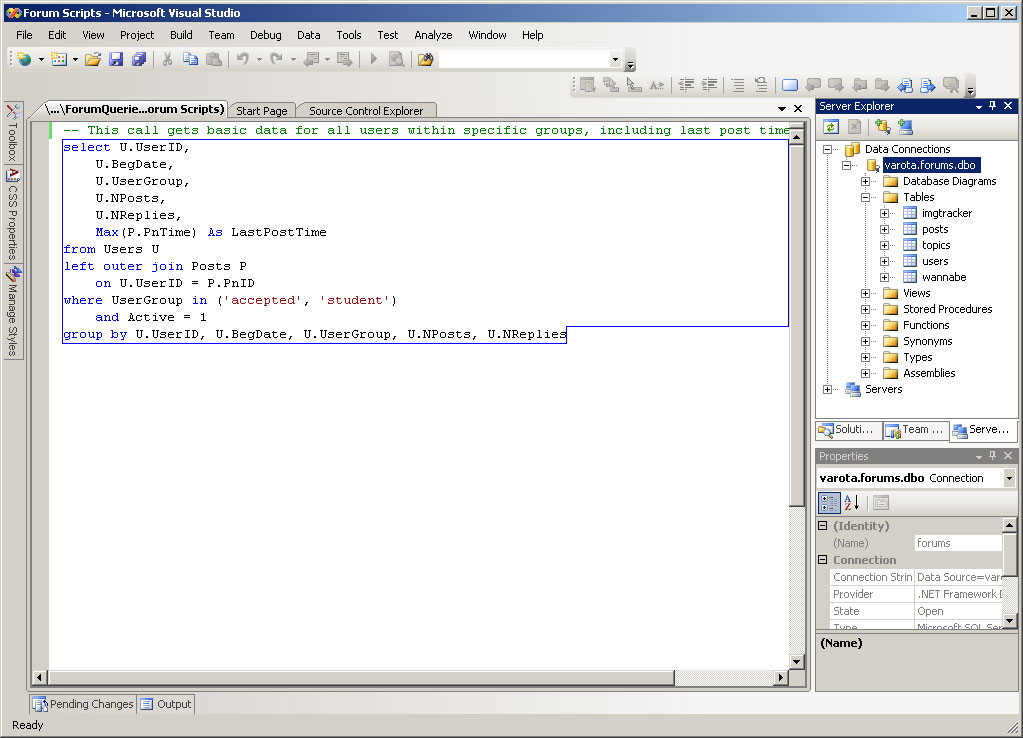
STEP 22
|
(Enlarge)
|
- As a side note, if you expand "Server Explorer" you fill discover that you have many options similar to SQL Server 2005 Management Studio
|